


68
Storing/Recalling of Settings
lected, the colors are converted to gray scales when the
data is stored, if Color is selected, the data is stored as it
displays in the screen, and if Inverted is activated, data will
be stored in color with a white background. If you press
the key SAVE, the current screen will be saved immedi-
ately to the selected storage location with the selected
name and format.
If a printer is detected the soft menu key Print is no lon-
ger grayed out. Pushing this softkey will open a sub-
menu where you can select the paper format and the co-
lor mode. The paper formats A4, A5, B5, B6, and Execu-
tive are possible. The menu item Color Mode allows the
selection of the modes Grayscale, Color or Inverted. The
Grayscale mode converts a color display to a grayscale dis-
play which can be printed on a Black-and-White printer.
The Color Mode will print the display in color as it is shown
on the screen (black background). In the Inverted Mode
the color display will be printed in color with a white back-
ground on a color printer in order to save toner and ink.
With the softkey MENU OFF you can jump back to the last
menu.
7.3.1 Printer
The soft menu key PRINT allows you to print a screenshot
immediately to a connected printer. PCL-5, PCL-XL (= PCL-
6) and Postscript settings are supported as „printer lan-
guage“ (PCL-3 is not supported). If a printer is detected,
the soft menu key PRINT will no longer be grayed out.
The supported printer will be displayed in the soft menu
DEVICE INFOS. The message „This printer is supported“
does not guaranteed the the connected printer will be sup-
ported. This message only means that the USB printer
connection was successful and the important printer pro-
perties are available.(e.g. printer language PCL or PCL-XL).
Connected PLC printers send an identification string to the
instrument. This identification string should be for all print-
ers the same (standard), but there are many printers on
the market, which have another identification string. In this
case, the instrument is not able to detect the printer be-
cause the instrument does not have a Windows system in-
ternally to handle the identification string deviation.
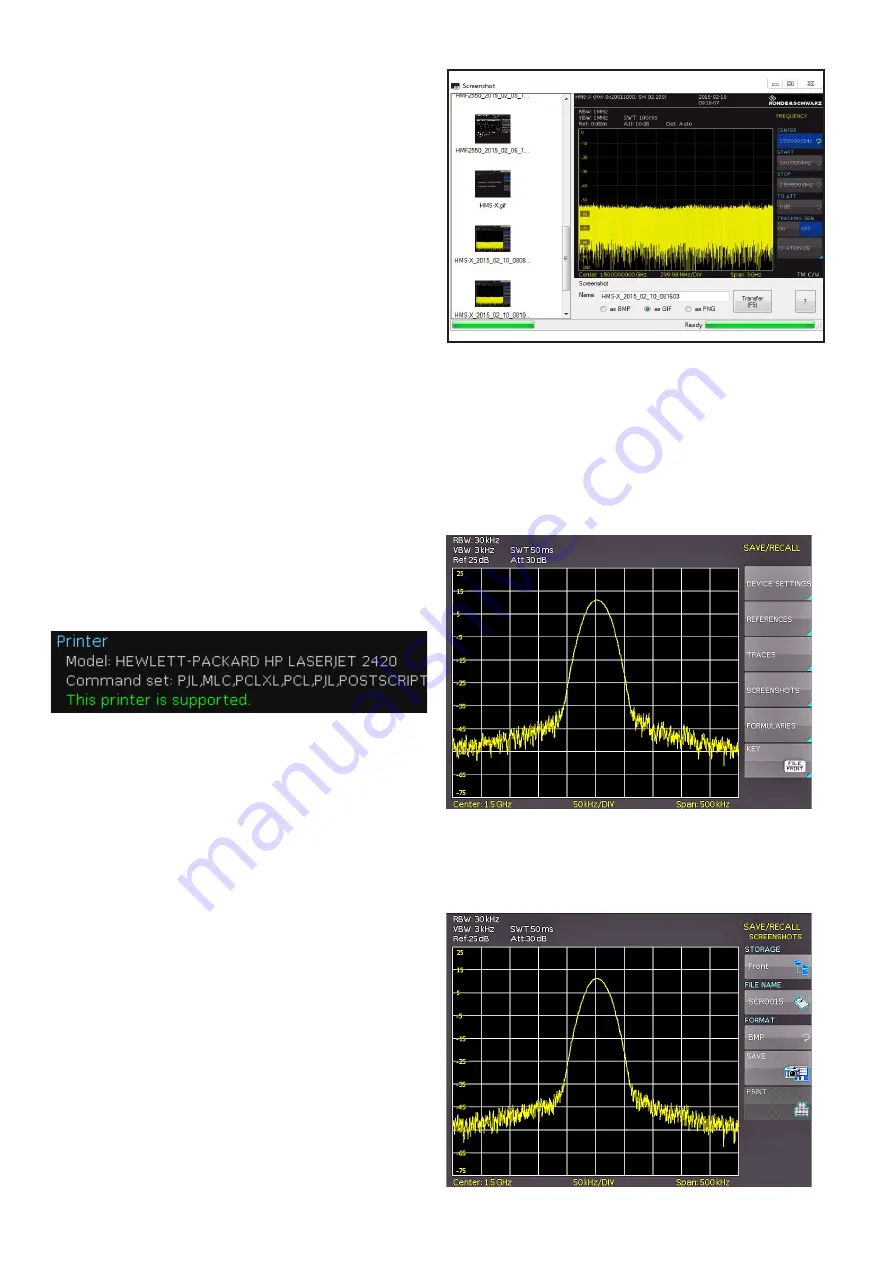
If a printer connection is not possible, you have the pos-
sibillity to use the HMExplorer software with the screen-
shot software module. The free software HMScreenshot
(software module of the HMExplorer software) enables the
transfer of screenshots in bitmap, GIF or PNG format from
the spectrum analyzer via interface to a connected PC
where the screenshots may then be saved or printed. For
additional information on the software, refer to the HMEx-
plorer software help.
Fig. 7.7: Supported printer example
7.3.2 Screenshot example
In order to store data you have to define the kind of data
and the destination. First attach a USB stick (refer to 10.1
USB connector) to the front panel connector. Press SAVE/
RECALL in order to call the respective menu.
Select the kind of data by pressing the respective softkey
(in this example the softkey SCREENSHOT) in order to
access the settings menu.
Fig. 7.9: Save/Load menu
Fig. 7.10: Menu with the settings for screenshots
Fig. 7.8: Screenshot-module
Summary of Contents for HMS-X
Page 82: ...82 Appendix ...
Page 83: ...83 Appendix ...


