


Maintenance
Cleaning
237
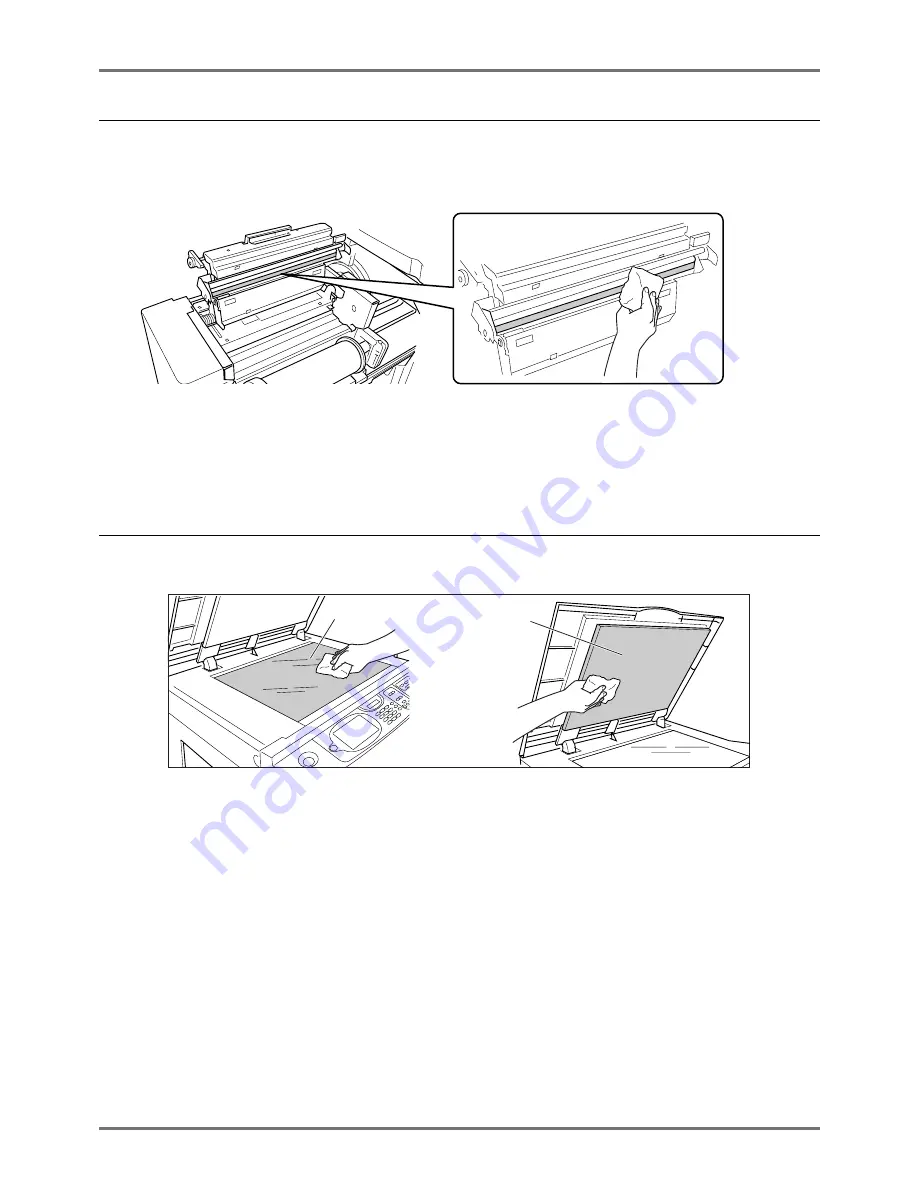
Thermal Print Head
Clean the Thermal Print Head each time you replace the Master Roll.
Open the Master Making Unit Cover, and gently wipe the Thermal Print Head in the back of the unit several times with
a soft cloth or tissue.
Important!:
• Since the Thermal Print Head is very delicate, avoid shocks or scratches with a hard object.
• Since Thermal Print Head is susceptible to (damage by) static electricity, please be sure to remove the static elec-
tricity charged in the body before cleaning.
Glass Platen and Platen Cover Pad
If the Glass Platen and/or Platen Cover Pad is stained, gently wipe them with a soft cloth or tissue.
Important!:
• Since the Glass Platen is very delicate, avoid shocks or scratches with a hard object.
Glass Platen
Platen Cover Pad
Summary of Contents for RZ1070
Page 11: ...Icons Used in This Manual 11...
Page 21: ...Before Starting to Use Originals 21...
Page 97: ...Functions for Master Making Checking the Print Image Prior to Making Master Preview 97...
Page 203: ...Storing Original Data and Use Method Copying Moving Stored Data 203...
Page 241: ...Maintenance Cleaning 241...
Page 286: ...286...


