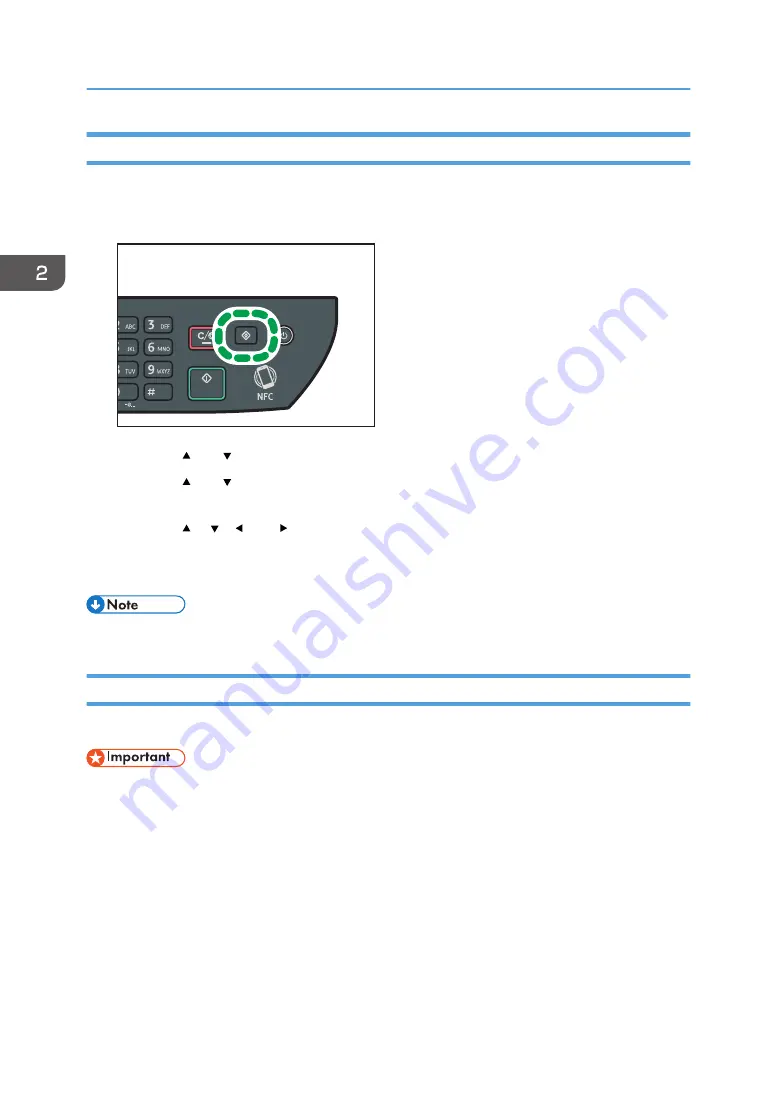
Specifying the Standard Paper Size
This section describes how to specify the standard paper size.
1.
Press the [User Tools] key.
DSG126
2.
Press the [ ] or [ ] key to select [Tray Paper Settings], and then press the [OK] key.
3.
Press the [ ] or [ ] key to select the paper size setting for the desired tray, and then press
the [OK] key.
4.
Press the [ ], [ ],[ ], or [ ] key to select the desired paper size, and then press the [OK]
key.
5.
Press the [User Tools] key to return to the initial screen.
• You can press the [Back] key to exit to the previous level of the menu tree.
Specifying a Custom Paper Size
This section describes how to specify a custom paper size.
• When you perform printing, make sure that the paper size specified with the printer driver matches
the paper size specified with the control panel. If a paper size mismatch occurs, a message
appears on the display. To ignore the error and print using mismatched paper, see page 73 "If a
Paper Mismatch Occurs".
2. Paper Specifications and Adding Paper
46
Summary of Contents for SP 320SFN
Page 2: ......
Page 14: ...Smart Organizing Monitor 1 Click Help on the Printer Configuration screen DSG253 12 ...
Page 18: ...16 ...
Page 36: ...1 Guide to the Machine 34 ...
Page 81: ...2 Press the Clear Stop key DSG129 Basic Operation of Copying 79 ...
Page 136: ...5 Scanning Originals 134 ...
Page 138: ...DSG273 6 Sending and Receiving a Fax 136 ...
Page 222: ...7 Configuring the Machine Using the Control Panel 220 ...
Page 293: ...DSG187 5 Lower the ADF Clearing Misfeeds 291 ...
Page 320: ...11 Configuring Network Settings Using OS X 318 ...
Page 376: ...MEMO 374 ...
Page 377: ...MEMO 375 ...
Page 378: ...MEMO 376 EN GB EN US EN AU M289 8616A ...
Page 379: ... 2016 ...
Page 380: ...M289 8616A AU EN US EN GB EN ...


