


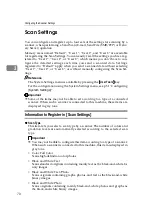


Print Scan Settings
69
3
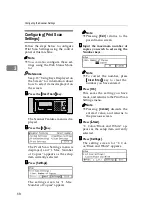
HHHH
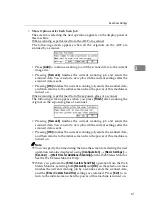
Display the option you wish to se-
lect.
• The option currently selected is
displayed first.
• The “*” mark appears along
with the option currently select-
ed.
• Use
[
↑↑↑↑
]
or
[
↓↓↓↓
]
to display the op-
tion you wish to select.
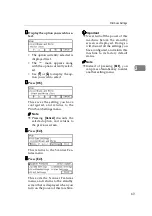
IIII
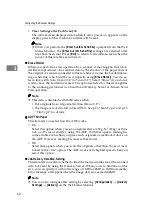
Press
[
OK
]
.
This saves the setting you have
configured, and returns to the
Print Scan Settings menu.
Note
❒
Pressing
[
Cancel
]
discards the
selected option, and returns to
the previous screen.
JJJJ
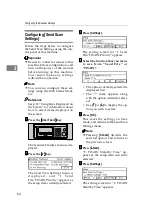
Press
[
Exit
]
.
This returns to the Scanner Fea-
tures menu.
KKKK
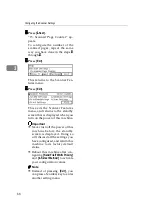
Press
[
Exit
]
.
This exits the Scanner Features
menu, and returns to the standby
screen that is displayed when you
turn on the power of this machine.
Important
❒
Never turn off the power of this
machine before the standby
screen is displayed. Doing so
will discard all the settings you
have configured, and return this
machine to its factory default
status.
Note
❒
Instead of pressing
[
Exit
]
, you
can press a Number key to enter
another setting menu.
Summary of Contents for Network Scanning Unit A
Page 8: ...vi ...
Page 28: ...What You Can Do With This Machine 20 1 ...
Page 36: ...Setting Up the Machine 28 2 ...
Page 118: ...Configuring the Scanner Settings 110 3 ...
Page 138: ...Sending Scan File by E mail 130 5 ...
Page 148: ...Sending Scan File by Scan to Folder 140 6 ...
Page 154: ...Sending Scan File by Scan to FTP 146 7 ...
Page 164: ...Printing Scanned Image Files 156 8 ...
Page 168: ...Sending Scan Files Using Delivery Server 160 9 ...
Page 172: ...Using the Network TWAIN Scanner Function 164 10 ...
Page 204: ...196 EN USA G829 8602 ...
Page 206: ...Network Scanning Unit Type A Operating Instructions EN USA G829 8602 ...