Using Wireless LAN
187
11
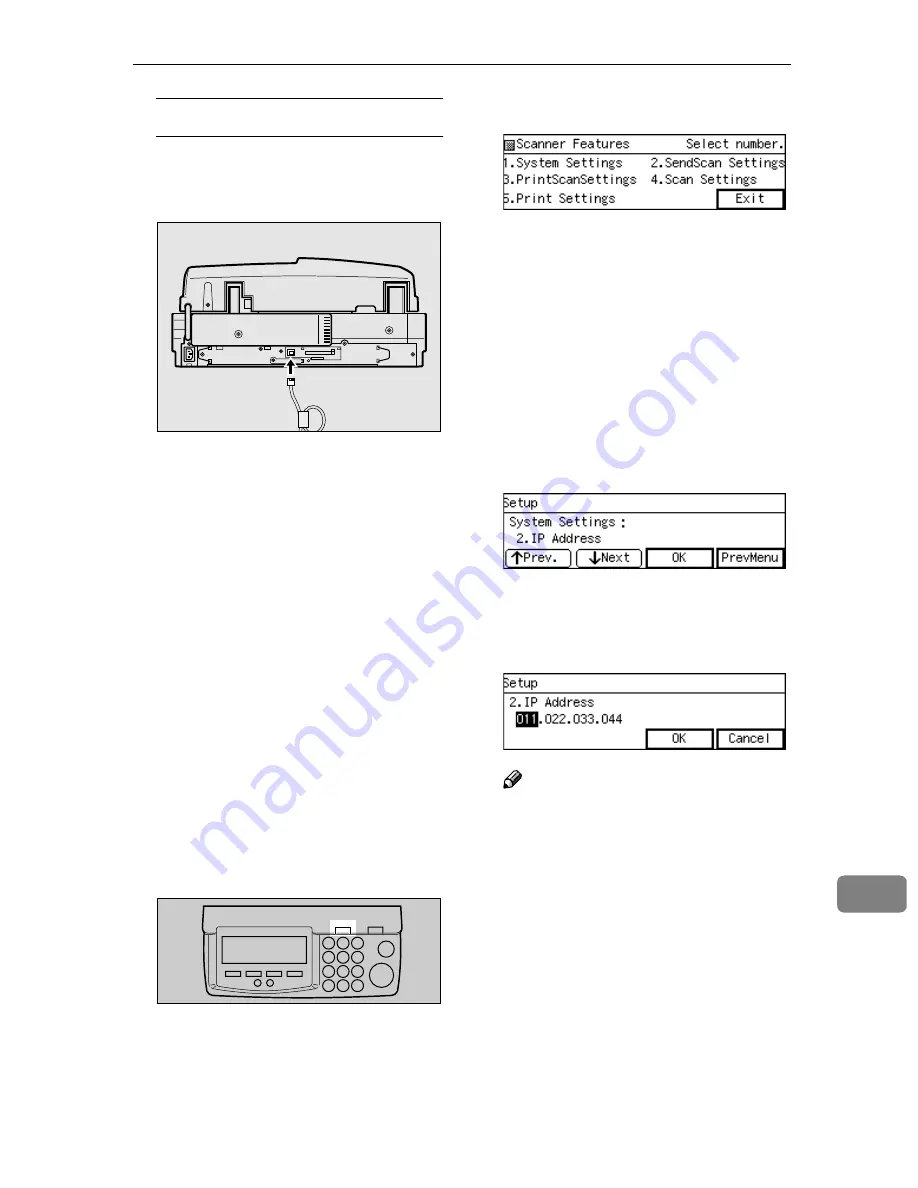
When you use a hub
A
Connect a straight network ca-
ble to the network interface
connector of this machine.
B
Connect the other end of the
cable to an available connector
of the hub.
C
Confirm that the computer is
connected to the hub
B
B
B
B
.
When not connected, connect
the computer to the hub using a
1 0 B A S E - T o r 1 0 0 B A S E - T X
straight network cable.
BBBB
Change the computer's IP address
to 192.168.1.3, and subnet mask to
255.255.255.0.
CCCC
Restart the computer.
The computer's IP address is
changed to 192.168.1.3.
DDDD
Press the
{{{{
User Tools
}}}}
key on this
machine.
The scanner Features menu ap-
pears.
EEEE
Press the
{{{{
1
}}}}
key.
The System Settings menu is dis-
played, and “1. Function Priority ”
appears as the setup item currently
selected.
FFFF
Press
[
Next
]
.
“1. IP Address ” input screen will
appear.
“2. IP Address ” appears as the set-
up item currently selected.
GGGG
Press
[
OK
]
.
HHHH
Enter “192.168.1.2” with the number
keys.
Note
❒
Input each part of the IP address
in three digits.
❒
You can use
{{{{
1
1
1
1
}}}}
(or
{{{{
#
}}}}
) and
{{{{
0
0
0
0
}}}}
keys to move the high-
lighting to right and left.
❒
You can use the
{{{{
Clear/Stop
}}}}
key
to clear the three-digit number
currently highlighted.
IIII
Press
[
OK
]
.
This returns to the System Settings
menu.
JJJJ
Press
[
↓↓↓↓
Next
]
.
“3. Subnet Mask ” appears as the
setup item currently selected.
ADG004S
ABK006S
Summary of Contents for 402252 - IS 300e
Page 8: ...vi...
Page 14: ...6...
Page 30: ...What You Can Do With This Machine 22 1...
Page 116: ...Configuring the Scanner Settings 108 3...
Page 126: ...Setting Originals 118 4...
Page 146: ...Sending Scan File by E mail 138 6...
Page 162: ...Sending Scan File by Scan to FTP 154 8...
Page 166: ...Sending Scan Files Using Delivery Server 158 9...
Page 176: ...Printing Scanned Image Files 168 10...
Page 204: ...Appendix 196 11 When Gray scale is selected...
Page 206: ...Appendix 198 11 When 256 colors is selected...
Page 222: ...Image Scanner Operating Instructions GB GB G421 8601...


