Please read this manual before operating this scanner.
User Manual
Page 1: ...Please read this manual before operating this scanner User Manual...
Page 2: ...iques applicables aux appareils num riques de Classe B prescrites dans la norme sur le mat riel brouilleur Appareils Num riques NMB 003 dict e par l Industrie Canada International ENERGY STAR Office E...
Page 3: ...and regulations Paper money or bank notes domestic and foreign Postage stamps revenue stamps or other similar stamps Stock certificates bond certificates promissory notes cheques or other valuable cer...
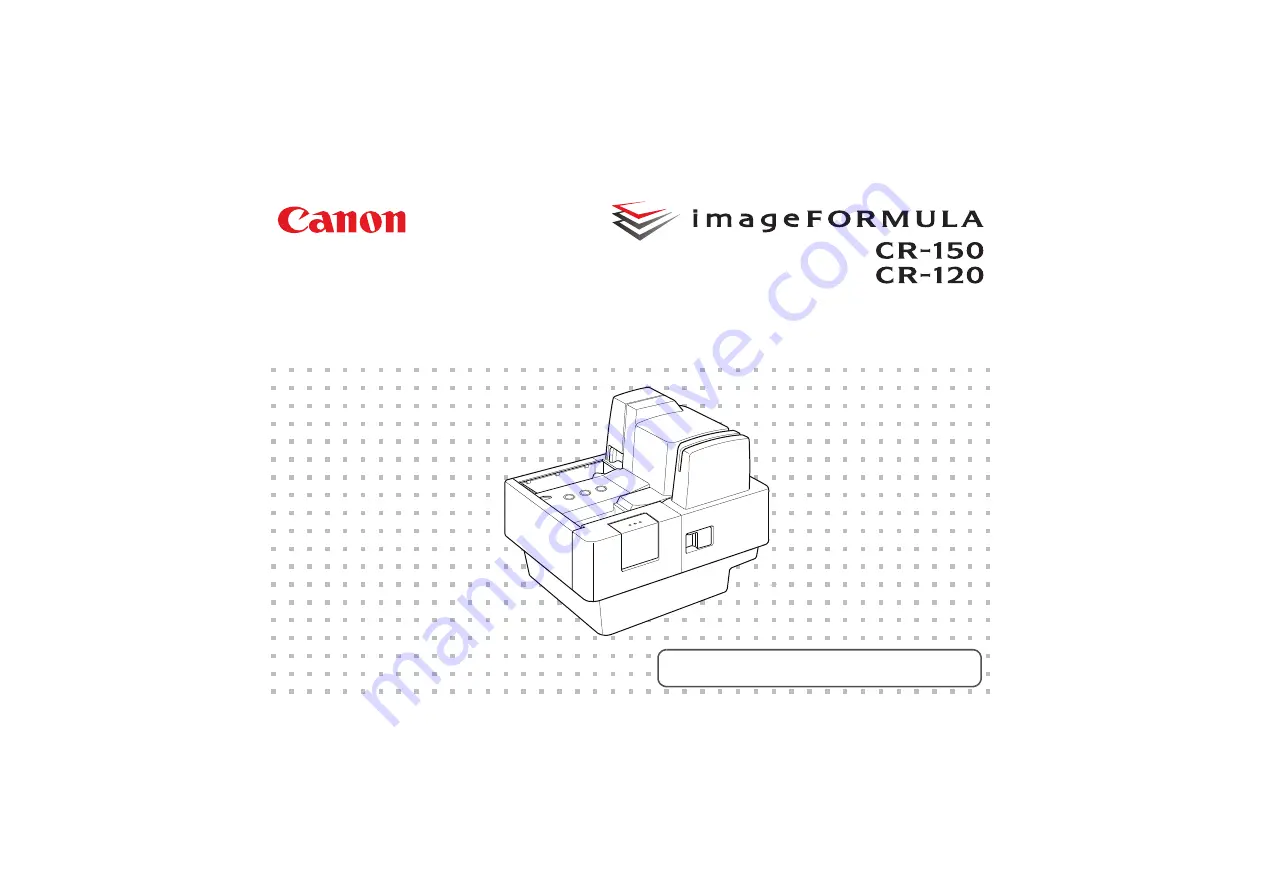
Page 4: ...any items are missing contact your local authorized Canon dealer Packaging What Is in the Box CR 150 CR 120 Disc AC Adapter Warranty Card 2 USB Cable 1 The power cord varies according to the country...
Page 5: ...ower on p 9 E Automatically installing the device driver See p 10 The device driver is installed automatically when Windows recognizes the CR 150 CR 120 IMPORTANT To have the device drivers installed...
Page 6: ...was provided as standard with your computer Use the most recently available USB 2 0 driver provided by Microsoft Contact your local authorized Canon dealer for more detailed information Not all USB in...
Page 7: ...he CR 150 CR 120 Be sure to install the Scanning Utility before connecting the CR 150 CR 120 to the computer Some functions mentioned in this manual may not be operated in some applications Installing...
Page 8: ...scanner and the computer with the USB cable provided or a Hi Speed USB 2 0 cable NOTE Connect the type B plug square to the scanner and connect the type A plug flat to the USB port on the computer Co...
Page 9: ...d with another device If you use an extension cord make sure that the extension cord is rated for the current requirements of the scanner Follow the procedures below to turn the scanner power ON and O...
Page 10: ...ning OFF the Power A Press and hold the Power Button to turn off the power CAUTION For your safety disconnect the power plug from the power outlet if you are not using the scanner for a long period of...
Page 11: ...CR 150 CR 120 refer to the User Manual electronic manual User Manual Electronic Manual This Manual Describes how to use the scanner and includes instructions for configuring the scanner settings as w...
Page 12: ...ion to the CR 150 CR 120 18 Features of the CR 150 CR 120 18 Features 18 Part Names 20 Front View 20 Rear View 22 Exterior Dimensions 23 Remove and attach the Eject Stopper 23 Preparing the Ink Cartri...
Page 13: ...h 47 Cleaning the Scanning Glass and Rollers 49 Cleaning the Magnetic Head 52 Cleaning the Ink Jet Nozzles 53 Cleaning with the Cleaning Cards United States Only 54 Maintenance 57 Replacing the Ink Ca...
Page 14: ...r service representative to have the scanner serviced Handle the scanner with care Avoid shock and vibration to the scanner caused by reckless handling If you suspect the scanner has been accidentally...
Page 15: ...ers Do not open the Maintenance Cover while the scanner is operating Doing so may result in a malfunction or injury Do not touch the pins and contacts on the scanner s connector with your hands Doing...
Page 16: ...n top of the power cord or step on the power cord Never bundle the power cord or wrap the cord around an object such as a table leg Do not tug on the power cord When you remove the power cord grip it...
Page 17: ...ject stopper or the Card Guard The scanner weighs approximately 3 2 kg 7 05 lb WARNING When moving the scanner the warnings below should be observed Turn off the power of the scanner Push the Eject St...
Page 18: ...ite Binary and Grayscale Output Reads MICR Characters A magnetic head is used to scan MICR characters Supports OCR Optical Character Recognition Character images such as E13B OCR A OCR B and check wri...
Page 19: ...bout the Ink Cartridge on p 24 Placing Additional Documents You can place additional documents while the machine is scanning Replaceable rollers and ink disposal tank You can replace the rollers Picku...
Page 20: ...turn off the power Function Button You can assign this button to any function from an application When using the accompanying Scanning Utility for CR 120 CR 150 switches the double feed detection ON O...
Page 21: ...r Unit This unit scans the documents Magnetic Head for MICR Reads MICR characters that have been printed with magnetic ink Ink Cartridge Ink cartridge is not included Purchase the ink cartridge separa...
Page 22: ...a computer See USB Connections on p 8 Power Connector Connect the power cord provided with the scanner to this connector USB Hub Connect a Hi Speed USB 2 0 compatible cable This port is not found on...
Page 23: ...nto the joint portion of the stopper to attach Exterior Dimensions 298 5 mm 11 8 170 mm 6 7 360 4 mm 14 2 with the eject stopper open 189 9 mm 7 5 125 2 mm 4 9 203 6 mm 8 0 238 2 mm 9 4 56 mm 2 2 Remo...
Page 24: ...et the ink cartridge according to the following procedure IMPORTANT To set the ink cartridge turn the scanner OFF before removing the Top Cover After the ink cartridge is set replace the Top Cover and...
Page 25: ...vering the ink jet nozzle IMPORTANT Do not touch the ink jet nozzle or contacts after peeling off the tag and tape E Place the ink cartridge shown in the diagram below CAUTION Do not touch the electri...
Page 26: ...h the ink cartridge in the direction of the arrow until it clicks into place IMPORTANT Make sure that the ink cartridge is securely in place G Close the Nozzle cleaning Unit H Carefully replace the To...
Page 27: ...w to Use the Scanning Utility This section describes the procedure for using the Scanning Utility Read the Help file in Scanning Utility for more information A Click Start and then click All Programs...
Page 28: ...view the explanation D Select Scanner Setting from the File menu The Settings dialog box appears E Set the scan conditions and click OK NOTE For information about the settings for the scan conditions...
Page 29: ...r computer and start Windows IMPORTANT Be sure to log on as the administrator B Download usable software from the Canon Website After executing the downloaded file follow the instructions on the scree...
Page 30: ...is manual Refer to the Windows Vista 8 1 10 Help and Support Center to uninstall the software A Click Start and then click Control Panel B Click Uninstall a program The Programs and Features dialog bo...
Page 31: ...r CR 120 CR 150 If you uninstall the Ranger select the Ranger for CR 120 CR 150 D The Confirm File Deletion dialog box appears If you selected Canon Driver for CR 120 CR 150 the above dialog box appea...
Page 32: ...ents are scanned with wet ink or paste the inside of the scanner may become dirty and it may cause a malfunction If you scan a document written in pencil the letters may not be scanned properly or the...
Page 33: ...type of envelope may cause a feeding error or a paper jam Cards plastic cards You can also scan cards To scan a card use the card slot With embossed cards you can scan both sides The number of cards...
Page 34: ...n Button is off Placing Documents Note the following points when placing documents on the scanner Place the document so that the side to be scanned faces the side shown in the figure below A maximum o...
Page 35: ...o not touch documents that are being fed under any circumstances The documents that are being fed may cut your hand Scan Procedure A Open the Document Feed Eject Tray B Carefully align the edges of th...
Page 36: ...on the leading edge of the document because the documents are ejected onto the printed surface IMPORTANT If you configure scanning conditions that consume a large amount of the computer s memory scann...
Page 37: ...s one at a time according to the following procedure A Orient the front side of the card toward the left and insert the card straight into the card slot B When the scanner detects the card release the...
Page 38: ...scanning a magnetic card use the Magnetic Swipe Reader MSR Compatible Magnetic Swipe Reader MSR 1732C003 Scan the cards one at a time according to the following procedure Place the magnetic stripe of...
Page 39: ...at contain two or more pages together as one document Documents that have a rough surface Duplicate forms that have sticky edges Feed these documents one by one and press the Separation OFF Mode Butto...
Page 40: ...rator privileges B Click the Start button and then click Control Panel Hardware and Sound and Devices and Printers C Right click the CANON CR 150 or CANON CR 120 icon and then click Scan Properties in...
Page 41: ...anel Hardware and Sound and Devices and Printers C Right click the CANON CR 150 or CANON CR 120 icon and then click Scan Properties in the context menu D If the User Account Control dialog box appears...
Page 42: ...correctly See Connecting the Scanner to a Computer on p 8 Cause The CR 150 CR 120 is not recognized by your computer Remedy Restart your computer If your computer has multiple USB ports try using a di...
Page 43: ...jam perform the following to remove the jammed document C Pull the Open Button and pull the Right Maintenance Cover open to the right D Press the Open Button and push the Left Maintenance Cover open t...
Page 44: ...handling documents See Documents on p 32 Documents with rough surfaces may cause a paper feed error Scan one sheet at a time in the separation OFF mode See Separation OFF Mode on p 39 Dirty or worn r...
Page 45: ...e MICR text is on the back of the document Load the side with the MICR characters facing right in the document tray Other Causes Some of the MICR characters are scratched or missing Splattered MICR in...
Page 46: ...tions are adjusted the driver or the application may not be functioning correctly Reinstall the driver or application For details on how to install the driver see Installing the Software on p 7 For de...
Page 47: ...exterior of the scanner to disfigure or discolor Never spray mild detergent or water directly on the scanning glass The spray could penetrate below the glass and contaminate the internal light source...
Page 48: ...h with a firmly wrung cloth moistened slightly with water Then wipe off with a clean dry cloth D Close the Left Maintenance Cover Make sure that it is completely closed until you hear a click E Close...
Page 49: ...ht Maintenance Cover open to the right IMPORTANT If you notice paper dust in the feed path when you open the Maintenance Cover clean it out with a clean dry cloth or cotton swabs C Press the Open Butt...
Page 50: ...ed by the roller in position B Turn the roller in position B to wipe the rollers Rollers in positions J M and N are turned by the roller in position L Turn the roller in position L to wipe the rollers...
Page 51: ...feeds two papers being fed at the same time still occur after cleaning the rollers the rollers may be worn The rollers need to be changed Some rollers are replaceable See Replacing the Rollers on p 6...
Page 52: ...Open Button and pull the Right Maintenance Cover open to the right IMPORTANT If you notice paper dust in the feed path when you open the Maintenance Cover clean it out with a clean dry cloth or cotton...
Page 53: ...er For more information see Replacing the Ink Cartridge on p 57 B Use the Built in Nozzle Cleaning Unit to remove the ink from around the ink jet nozzles Swipe the ink cartridge 2 or 3 times on the Bu...
Page 54: ...k Jet Nozzles on p 53 IMPORTANT This operation is for the Cleaning cards that are available only in the United States Contact your local authorized Canon dealer or service representative for the avail...
Page 55: ...mely dirty you may need to use another cleaning card F Turn OFF the scanner NOTE Allow 1 to 2 minutes for the moisture on the Canon CR Series scanner from the cleaning card to thoroughly dry before sc...
Page 56: ...f you want to continue the Card Path Cleaning press and hold the Function Button long enough again and confirm that the POWER LED and the START LED continues to blink C Insert the cleaning card for Ca...
Page 57: ...e Ink Disposal Tank on p 58 To replace the ink cartridge turn the scanner OFF before removing the Top Cover After the ink cartridge is set replace the Top Cover and then turn the scanner back ON Finis...
Page 58: ...replace the Top Cover Replacing the Ink Disposal Tank When the following conditions appear you have to replace the ink disposal tank according to the following procedure When the ink cartridge is rep...
Page 59: ...sposal tank Doing so may cause a malfunction NOTE Be careful not to get dirty with ink When you discard the ink disposal tank put it in the plastic bag in the box of the ink disposal tank C Attach the...
Page 60: ...se an exchange roller kit separately as shown below Compatible exchange roller kit 1732C001 A Pull the Open Button and pull the Right Maintenance Cover open to the right B Remove the Roller Cover IMPO...
Page 61: ...use of the fixing lever position turn the Feed Roller in clockwise direction by hand E Pinch the Separation Roller at the rim and the fixing lever and then remove it F Pinch the Pickup Roller at the r...
Page 62: ...he notch on the roller axis with the hole on the roller IMPORTANT Push down the roller until it clicks into place I Attach the Feed Roller Align the notch on the roller axis with the hole on the rolle...
Page 63: ...ow the Separation Roller Gap If documents are not fed after the above operation turn the Adjustment Dial counterclockwise 1 click to the direction in which the number increases to widen the Separation...
Page 64: ...ype Color mode Resolutions In the case of a check Black and White Grayscale Scanning 200 x 200 dpi 300 x 300 dpi Output 100 x 100 dpi 120 x 120 dpi 150 x 150 dpi 200 x 200 dpi 240 x 240 dpi 300 x 300...
Page 65: ...on p 60 Ink cartridge This ink cartridge is used by the imprinter See About the Ink Cartridge on p 24 Ink Disposal Tank product code 1732C002 This ink disposal tank is used by the imprinter See Repla...
Page 66: ...66 Option Magnetic Swipe Reader MSR Product code 1732C003 This is the optional item to scan the magnetic card...
Page 67: ...ocuments 32 Document 32 Envelope 33 How to place documents 34 Double Feed Detection 34 E Eject Pocket 21 Eject Stopper 21 Exterior Dimensions 23 F Features of the CR 150 CR 120 18 Feeding Trouble 44 H...
Page 68: ...0 S Scanner Unit 21 Scanning Glass 49 Scanning Utility 7 27 Separation OFF Mode 39 Separation OFF Mode Button 20 39 55 Software How to Use the Software 27 Install 7 Uninstall 30 Specifications 64 T To...
Page 69: ...CANON EUROPA N V BOVENKERKERWEG 59 1185 XB AMSTELVEEN THE NETHERLANDS CANON AUSTRALIA PTY LTD BUILDING A THE PARK ESTATE 5 TALAVERA ROAD MACQUARIE PARK NSW 2113 AUSTRALIA CANON SINGAPORE PTE LTD 1 FU...