User’s Manual
26
Camera Menu
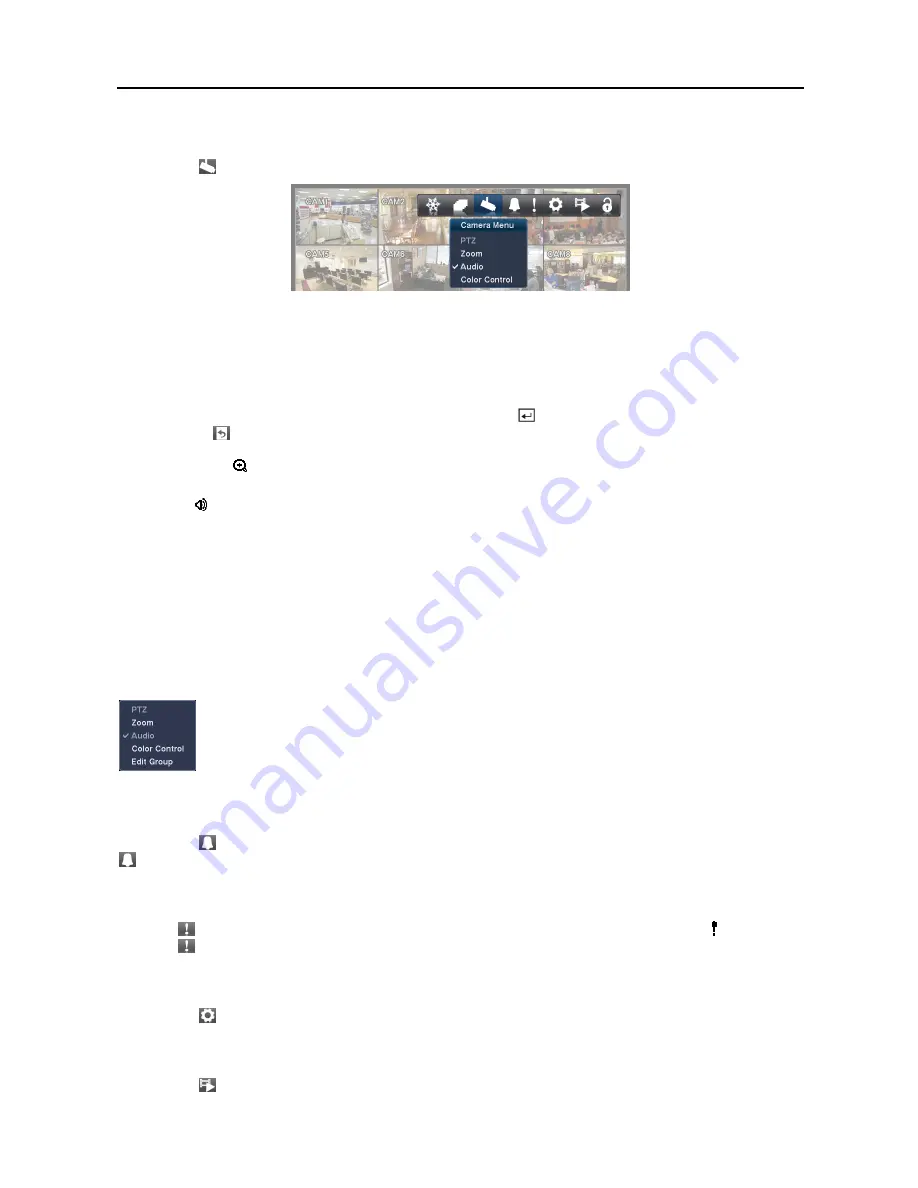
Selecting the (
Camera Menu
) icon displays the following Camera Menu.
PTZ:
Selecting
PTZ
and choosing the camera number allows you to control the selected camera as long as it has
Pan, Tilt and Zoom capabilities. Selecting
PTZ
is the same as pressing the
PTZ
button on the remote control. See
the following
PTZ Mode
section for details.
Zoom:
Selecting
Zoom
and choosing the camera number zooms the current image of the selected camera on the
screen
.
Selecting
Zoom
is the same as pressing the
ZOOM
button on the remote control. For a few seconds after
selecting
Zoom
, a PIP displays. Inside the PIP, a rectangle shows the area that is enlarged. You can move the rectangle
around using the arrow buttons on the remote control. Pressing the
button on the remote control enlarges the area.
Selecting the (
Exit
) icon at the top of the screen by pressing the
MENU
button on the remote control exits the
Zoom mode. You also can exit the Zoom mode by pressing the
ZOOM
button on the remote control. While in the
Zoom mode, the icon displays in bottom-left corner if
Zoom
is selected in the Display setup screen (OSD tab).
Audio:
Selecting
Audio
while in the full-screen mode toggles playing live audio On and Off. While playing live
audio, the icon displays on the camera screen if
Audio
is selected in the Display setup screen (OSD tab).
Color Control:
Selecting
Color Control
and choosing the camera number displays an image adjustment dialog.
Selecting
Color Control
and choosing the camera number is the same as pressing and holding a camera button on
the remote control for a few seconds. You can control brightness, contrast, hue and saturation for each camera.
NOTE: Selecting
Audio
will be enabled on camera screens 1 to 8.
NOTE: It is important that cameras and monitors are correctly installed and adjusted prior to making any image
adjustments using the DVR’s controls.
NOTE: Any image adjustments you make will be applied to both the live video on the monitors and the recorded
video.
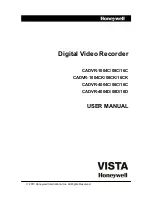
NOTE: The Camera Menu also can be displayed by clicking the right mouse button on each camera screen.
Edit Group:
Supports the active cameo function. Select
Edit Group
and choose a camera that you
want to change display position (e.g., Camera A). Then, click the right mouse button to display the
menu. If you choose another camera in the menu (e.g., Camera B), the screen displays Camera B
instead of Camera A. Clicking the right mouse button and selecting
Exit Group Edit
in the menu
exits the Active Cameo mode. See the following
Active Cameo Mode
section for details.
Alarm
Selecting the (
Alarm
) icon resets the DVR’s outputs including the internal buzzer during an alarm. Selecting the
icon is the same as pressing the
ALARM
button on the remote control.
Panic
Selecting (
Panic
) in the Live Monitoring menu starts panic recording of all cameras, and displays on the screen.
Selecting again stops panic recording. It is the same as pressing the
PANIC
button on the remote control.
Setup
Selecting the (
Setup
) icon enters the Main Setup screen.
Search Mode
Selecting the (
Search Mode
) icon exits the Live Monitoring mode and enters the Search mode.
Summary of Contents for R16DVR3
Page 1: ......
Page 2: ......
Page 6: ...User s Manual iv...
Page 48: ...User s Manual 42 MAP OF SCREENS ADVNACED SETUP...
Page 50: ......
Page 51: ......
Page 52: ......
Page 54: ...User s Manual ii...
Page 56: ...User s Manual 2...
Page 82: ...User s Manual 28...


