Print Quality
Problems
QMS magicolor CX User's Guide
4-18
4
Replace the top cover and print the
Color Balance Adjustment page
again.
5
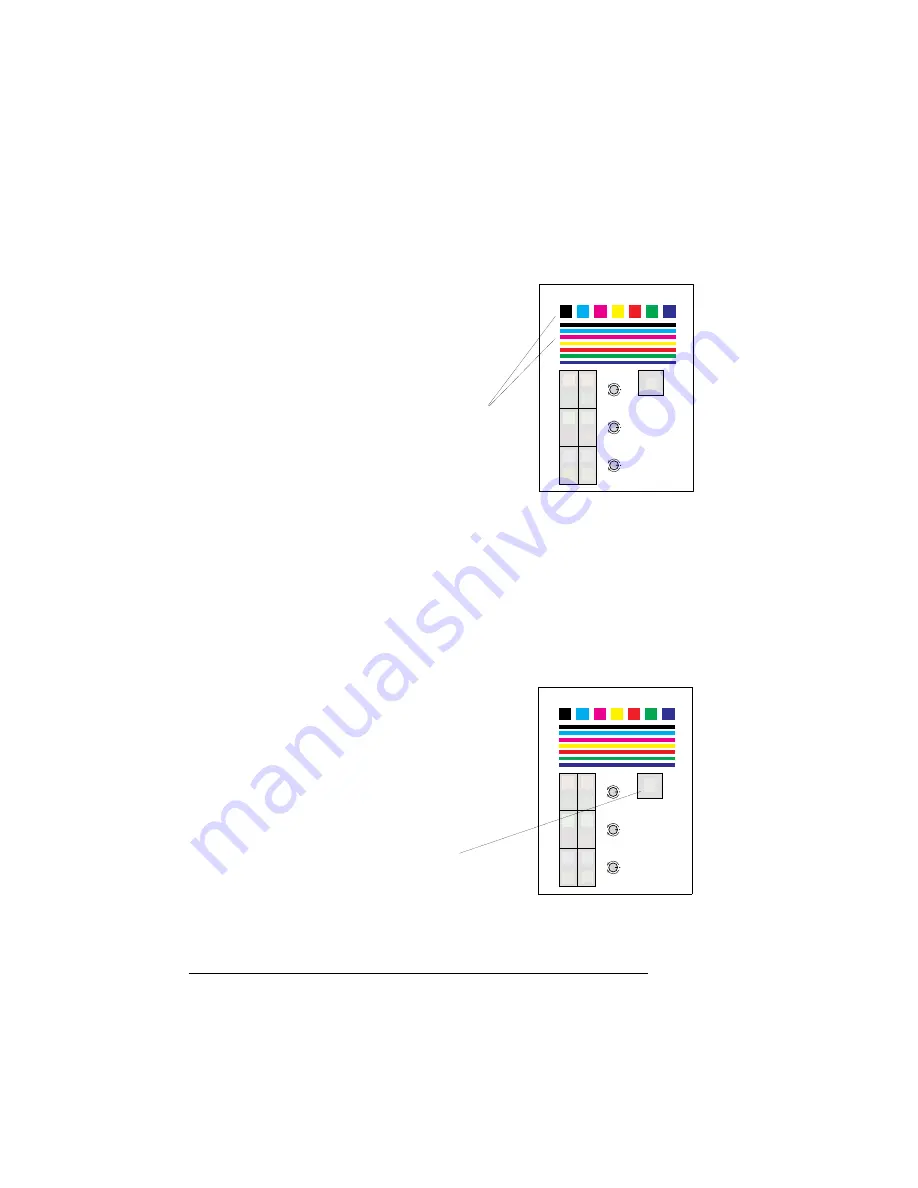
Check the bars and squares at the
top of the Color Balance Adjustment
page for smears or scattering.
6
If you find smears or scattering on the black square or bar,
turn the black print density adjustment dial (marked K on the
printer) slightly to the left (towards the minus sign). Other-
wise, continue on to the next step.
7
If you find smears or scattering on the cyan, magenta, or yel-
low areas at the top of the page, the following steps will
show you how to adjust these dials.
8
Locate the Target square near the
center of the page.
»
Note:
This target square should
normally be a neutral gray color. The
center swatch of the target square
should also be a neutral gray formed
by the combination of cyan, magenta,
yellow, and white.
Color Balance Adjustment Page
Target
90
°
45
°
Copyright 1995, QMS Inc.
+
–
+
–
+
–
C
M
Y
Instructions
1.
If the print density controls are not in the default
position, set the print density controls to the default
position (0
°
).
2.
If the print density controls were changed in step 1,
reprint this Color Balance Adjustment Page.
3.
Check the black squares and bars for excessive
toner density. If there is any feathering at the top of
the bars and squares, turn the black print density
control slightly to the minus direction.
4.
The printer is in balance if the color of the center
swatch within the larger target square closely
match. If the squares do not match, continue to
step 5. Otherwise, you may stop.
5.
Find the swatch to the left that is most neutral or
gray in color.
6.
Adjust the print density control represented by the
swatch by the amount and direction indicated
relative to its current position. For example, if the
top, left swatch is most gray, then adjust the
cyan print density control 90
°
in the minus
direction.
7.
Reprint this Color Balance Adjustment Page.
8.
Repeat steps 4-7.
For further information, please read the User Manual.
Target Square
Check Here
for Scattering
or Smearing
Summary of Contents for Magicolor CX
Page 1: ...QMS magicolor CX User s Guide 1800427 001B...
Page 10: ......
Page 28: ......
Page 76: ......
Page 142: ......
Page 180: ...Clearing Media Jams QMS magicolor CX User s Guide 4 38 3 Open the paper exit unit Rear View...
Page 198: ......


