


Installing the Printer and the intelligent Paper Stacker
1-13
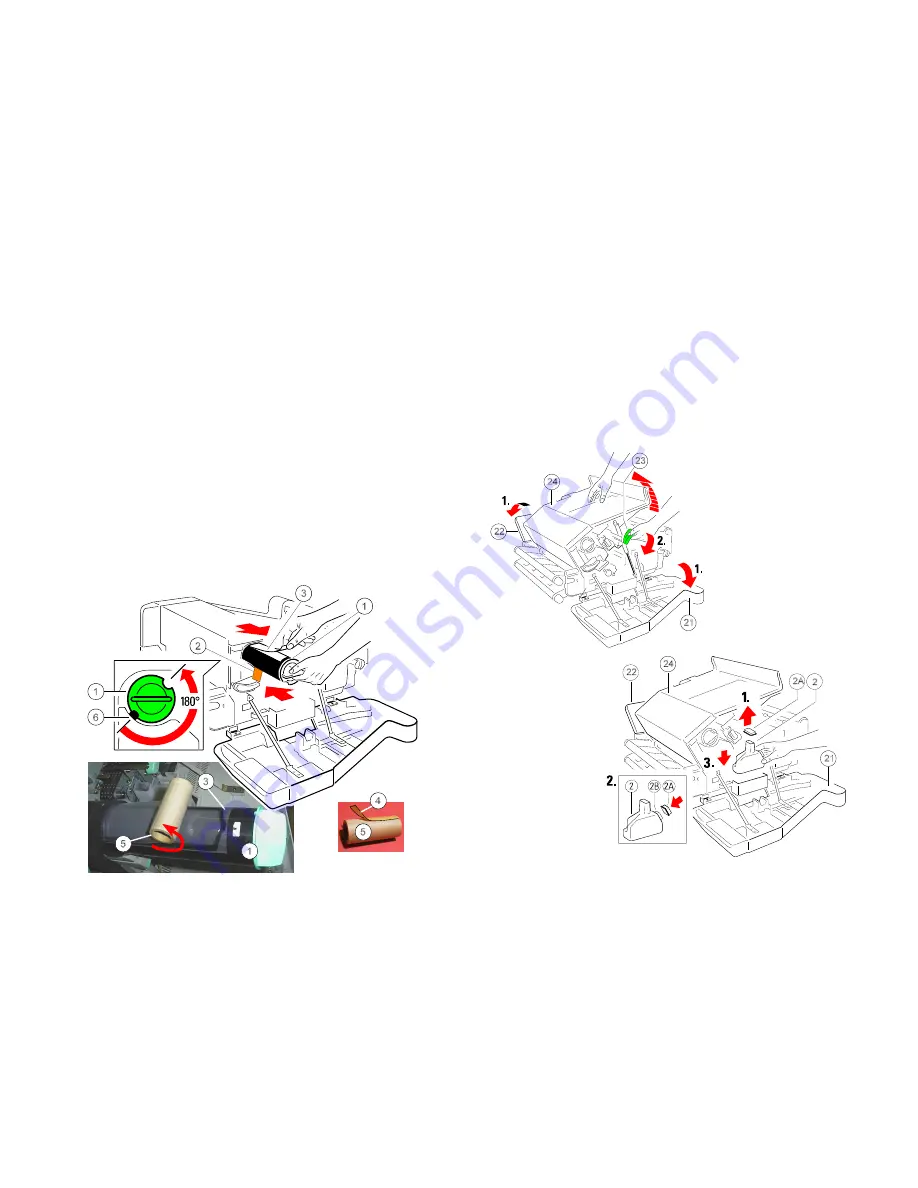
1.5.2 Loading the Toner
There is a Toner Cartridge in the Developer Unit.
S
Pull the Toner Cartridge (1) completely off the developer.
Note:
An orange tape (2) is visible which is fixed to a foam block that closes
the toner entrance into the developer.
S
Remove the foam block (2) from the Developer Unit.
S
Shake the Toner Cartridge several times.
S
Insert the Toner Cartridge (1) approximate 10 cm, illustrated below, with the
attached plastic seal (3) pointing to the top .
S
Remove the stripe (4) from the cardboard roll (5) and fix it at the begin of the
plastic seal tape (3) .
S
Turn the cardboard roll (5) to roll up the plastic seal (3) until the seal is
entirely removed and push the toner cartridge until it is fully inserted.
S
Turn the Toner Cartridge (1) counter clockwise by about 180 degrees until it
is fully engaged.
Note:
The cover of the Toner Cartridge (1) must be locked by the screw (6).
Installing the Printer and the intelligent Paper Stacker
1-14
1.5.3 Inserting the
Waste Toner Bottle
The Waste Toner Bottle is in the Starter Kit package 1
S
Open the rear (22) cover.
S
Press the lever (23) to open the top cover (24), illustrated below.
S
Take the Waste Toner Bottle (2) and put it into the compartment.
Note:
Please make sure that the cap (2A) is placed onto the cap holder (2B)
and not over the filling hole!