NAS System
User’s Manual
279
7.
Back to proNAS
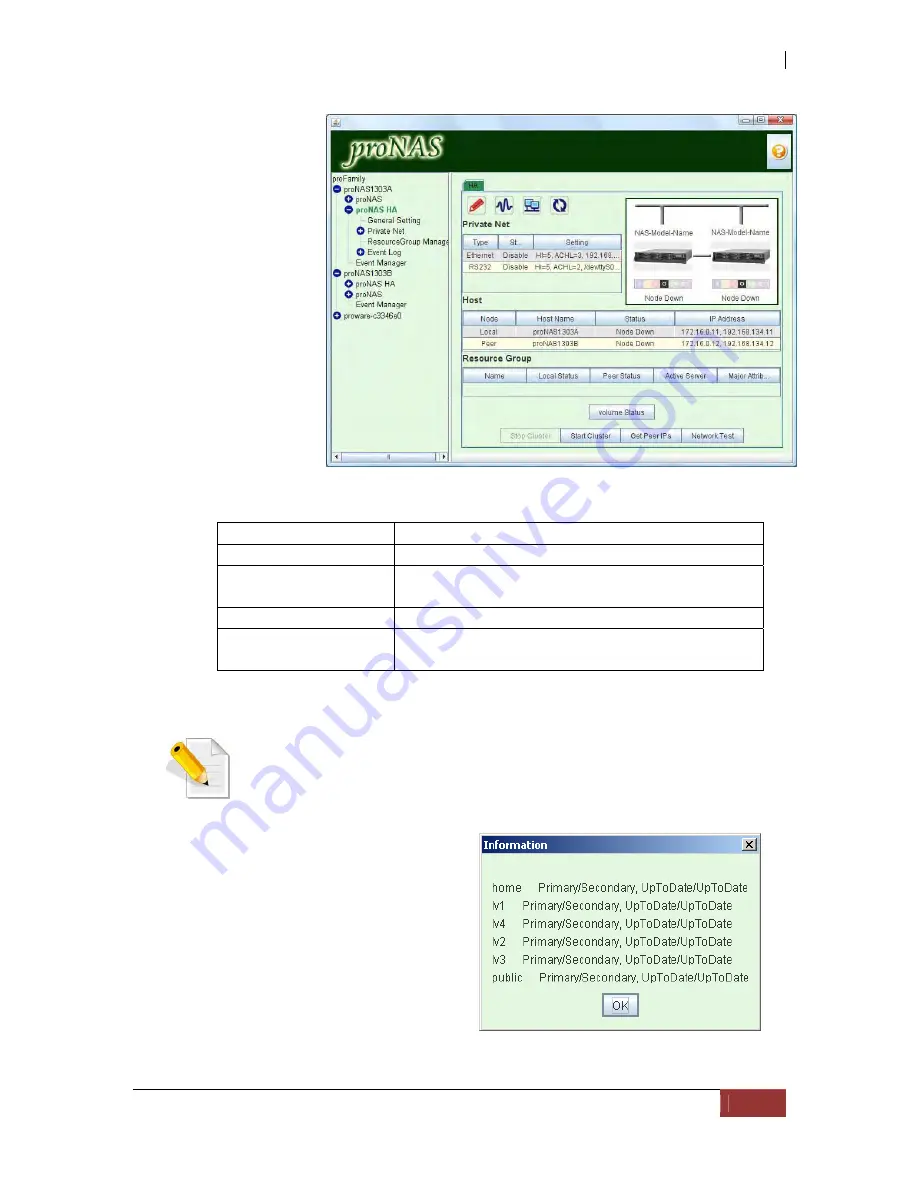
HA node, click
"Get Peer IPs"
button. The IP
addresses of the
peer server will
then be
displayed in the
status info table.
Be sure that it
gets the peer IP
addresses! If it
fails, check
again the
hostname that
you supplied in
step 6.
Buttons:
Stop Cluster
Stop Cluster Operation.
Start Cluster
Start Cluster Operation.
Get peer IPs
Get the IP's of the peer server and display it in
the host peer table.
Network Test
Tool for testing network IP address (e.g ping ip)
Volume Status
Shows the current Replication status of logical
volumes.
NOTE: When HA is already configured and Cluster is in operation,
you can see the current replication status of logical volumes by
clicking “Volume Status”.
Volume Status Example 1: All
logical volume Replications are
up to date.
Summary of Contents for 2126JS6H-SQX
Page 1: ...NAS System User s Manual Revision 1 0...
Page 7: ...NAS System User s Manual 7 PART I Hardware Components and RAID Controller...
Page 38: ...NAS System 38 User s Manual 3 Choose the Make Global HSP option and click Go 4 Click Go...
Page 41: ...NAS System User s Manual 41 PART II proNAS System...
Page 54: ...NAS System 54 User s Manual 4 The selected disk drive will become a Hot Spare drive...
Page 56: ...NAS System 56 User s Manual 4 The selected disk drive will become a free or UN_USED disk drive...
Page 81: ...NAS System User s Manual 81 5 The new Logical Volume will be shown...
Page 83: ...NAS System User s Manual 83 4 Verify the new LV size...
Page 93: ...NAS System User s Manual 93 4 The deleted snapshot will no longer exist in the Snapshot List...
Page 174: ...NAS System 174 User s Manual 10 In Add Network Location click Next 11 Click Next...


