NAS System
User’s Manual
141
Enabling and Disabling an Account
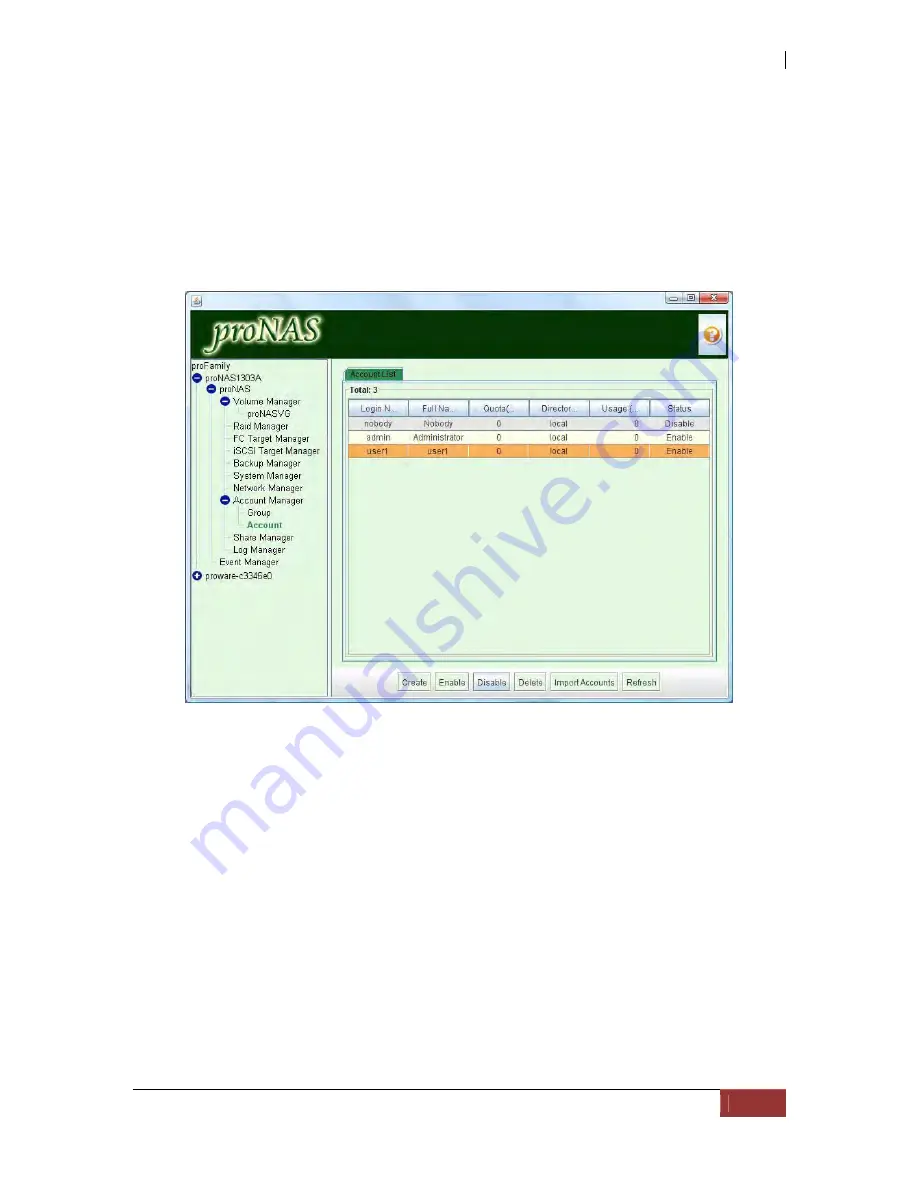
Account Manager allows the administrator to enable or disable a user account. When an
account is disabled, the account cannot be used to login and access proNAS.
To forbid certain user account in accessing proNAS, highlight the account then press
"Disable" button. The account will be shown with “Status” as Disable. If you would like to
re-enable the user account proNAS, press "Enable" button. Disabling account "admin" is
not allowed as well as all ADS/PDC and NIS accounts.
Deleting an Account
If you would like to delete a certain account, highlight the account then press "Delete"
button. The user's home directory will be deleted. If the user owns one of the share, the
owner of that share will be set to "admin". Account "admin" is not allowed to be deleted
as well as ADS/PDC and NIS accounts.
Modifying an Account
If you want to modify an account, double-click on the account. You can only
modify the password and permissions. If the account is an external domain account
(created by ADS/PDC or NIS domain server), the account and password can not be
modified in proNAS Account Manager. In such a case, you can only modify the
permissions.
Summary of Contents for 2126JS6H-SQX
Page 1: ...NAS System User s Manual Revision 1 0...
Page 7: ...NAS System User s Manual 7 PART I Hardware Components and RAID Controller...
Page 38: ...NAS System 38 User s Manual 3 Choose the Make Global HSP option and click Go 4 Click Go...
Page 41: ...NAS System User s Manual 41 PART II proNAS System...
Page 54: ...NAS System 54 User s Manual 4 The selected disk drive will become a Hot Spare drive...
Page 56: ...NAS System 56 User s Manual 4 The selected disk drive will become a free or UN_USED disk drive...
Page 81: ...NAS System User s Manual 81 5 The new Logical Volume will be shown...
Page 83: ...NAS System User s Manual 83 4 Verify the new LV size...
Page 93: ...NAS System User s Manual 93 4 The deleted snapshot will no longer exist in the Snapshot List...
Page 174: ...NAS System 174 User s Manual 10 In Add Network Location click Next 11 Click Next...


