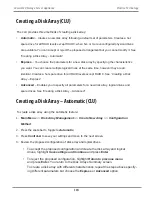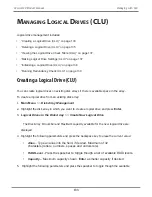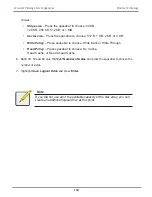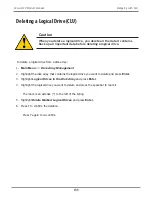
You return to the Disk Arrays Summary screen.
To create a disk array with different characteristics, highlight
Create New Array
and press
Enter
. Repeat the steps above specifying different parameters. Or choose the
Advanced
option.
Creating a Disk Array – Advanced (CLU)
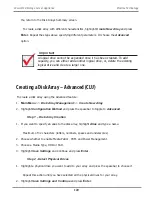
To create a disk array using the Advanced feature:
1.
Main Menu
>>
Disk Array Management
>>
Create New Array
2. Highlight
Configuration Method
and press the spacebar to toggle to
Advanced
.
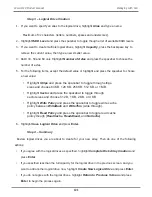
Step 1 – Disk Array Creation
1. If you want to specify an alias to the disk array, highlight
Alias
and type a name.
Maximum of 32 characters (letters, numbers, spaces and underscores).
2.
Choose whether to enable Media Patrol , PDM, and Power Management.
3. Choose a Media Type, HDD or SSD.
4. Highlight
Save Settings
and Continue and press
Enter
.
Step 2 –Select Physical Drives
1. Highlight a physical drive you want to add to your array and press the spacebar to choose it.
Repeat this action until you have selected all the physical drives for your array.
2. Highlight
Save Settings and Continue
and press
Enter
.
Important
A logical drive cannot be expanded once it has been created. To add
capacity, you can either add another logical drive, or, delete the existing
logical drive and create a larger one.
120
Vess A6120 Storage Server Appliance
Promise Technology
Summary of Contents for Vess A Series
Page 14: ...System Hardware Overview System Components 2 Vess A6000 Series NVR Server Promise Technology ...
Page 40: ...28 Vess A6120 Storage Server Appliance Promise Technology ...
Page 47: ...8 8 8 35 System Hardware Assembly Vess A6120 Product Manual ...
Page 123: ...111 Managing with CLU Vess A6120 Product Manual ...
Page 128: ...116 Vess A6120 Storage Server Appliance Promise Technology ...


