E-34
IP Address=*
Subnet Mask=*
Default Gateway=*
Input the IP address (fixed).
Input the subnet mask.
Input the default gateway if necessary.
Contents upon purchase and when network settings are reset
Item
Item name
Setting
Default
IP address
IP Address
Any value
Blank
Subnet mask
Subnet Mask
Any value
Blank
Default gateway
Default Gateway
Any value
Blank
Save the “setting.ini” settings file, overwriting the
previous file.
Save to location: “setup” folder on captureboard (removable disk)
File name: setting.ini
• We recommend making a note of changed settings for future refer-
ence.
Once overwriting is completed, the captureboard
reboots automatically.
Perform the USB disconnection procedure on the computer (see
step 3 on page E-20), then disconnect the USB cable.
Check the connection.
1 Connect the captureboard to the LAN port on a switching hub,
etc.
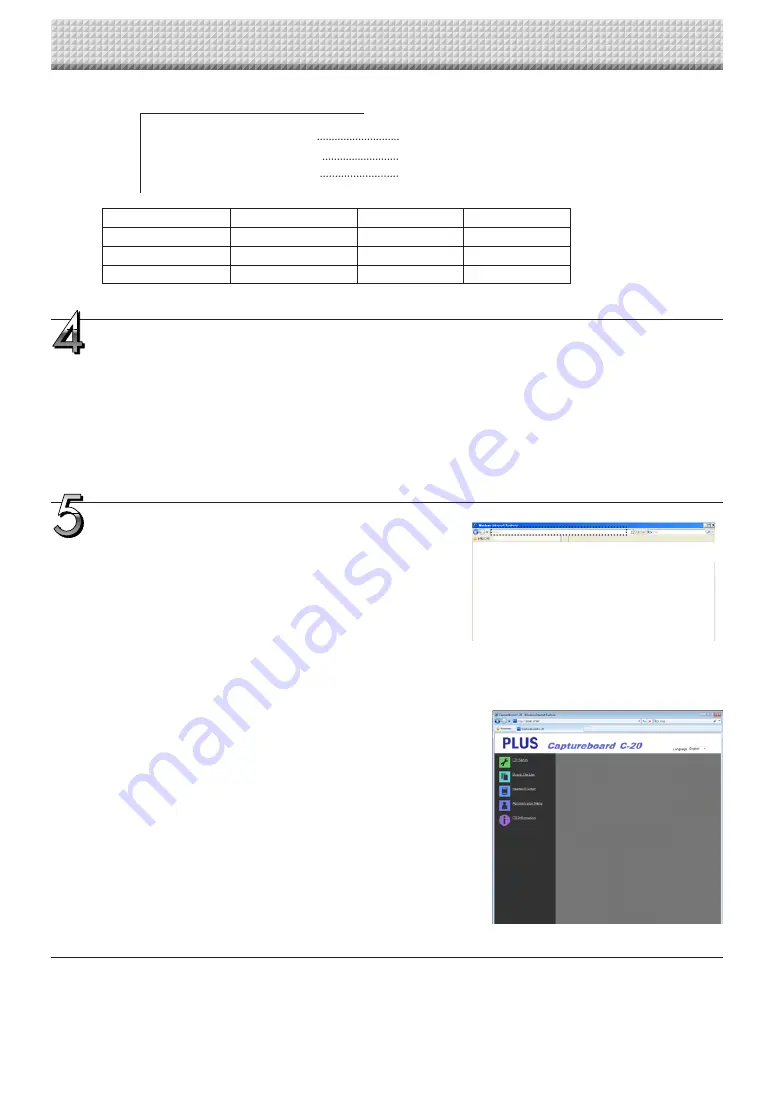
2 Launch a web browser (ex.: Internet Explorer) on a computer con-
nected to network.
3 In the address field, input “http://” followed by the IP address that
was set, then press the [Enter] key.
If the captureboard’s top screen opens, the captureboard has
been correctly connected to network.
If the captureboard’s top screen does not open
This could be due to one of the following:
• Have you made a mistake inputting the IP address that was set?
• Is the captureboard’s LAN terminal properly connected to a LAN
port on the network?
• Is the IP address that was set being used by another device?
• If multiple units of this captureboard are connected, are they con-
nected to the network with the same IP address?
• Is the IP address that was set within the automatic acquisition
range of the DHCP of the router, etc.?
• When using a proxy server, add the captureboard’s IP address to
the “Exceptions” in the proxy’s settings to set so that the proxy is
not used.
CB Setup and Network Setting Procedure
https://www.supplychimp.com/


