


Adding a message or return address
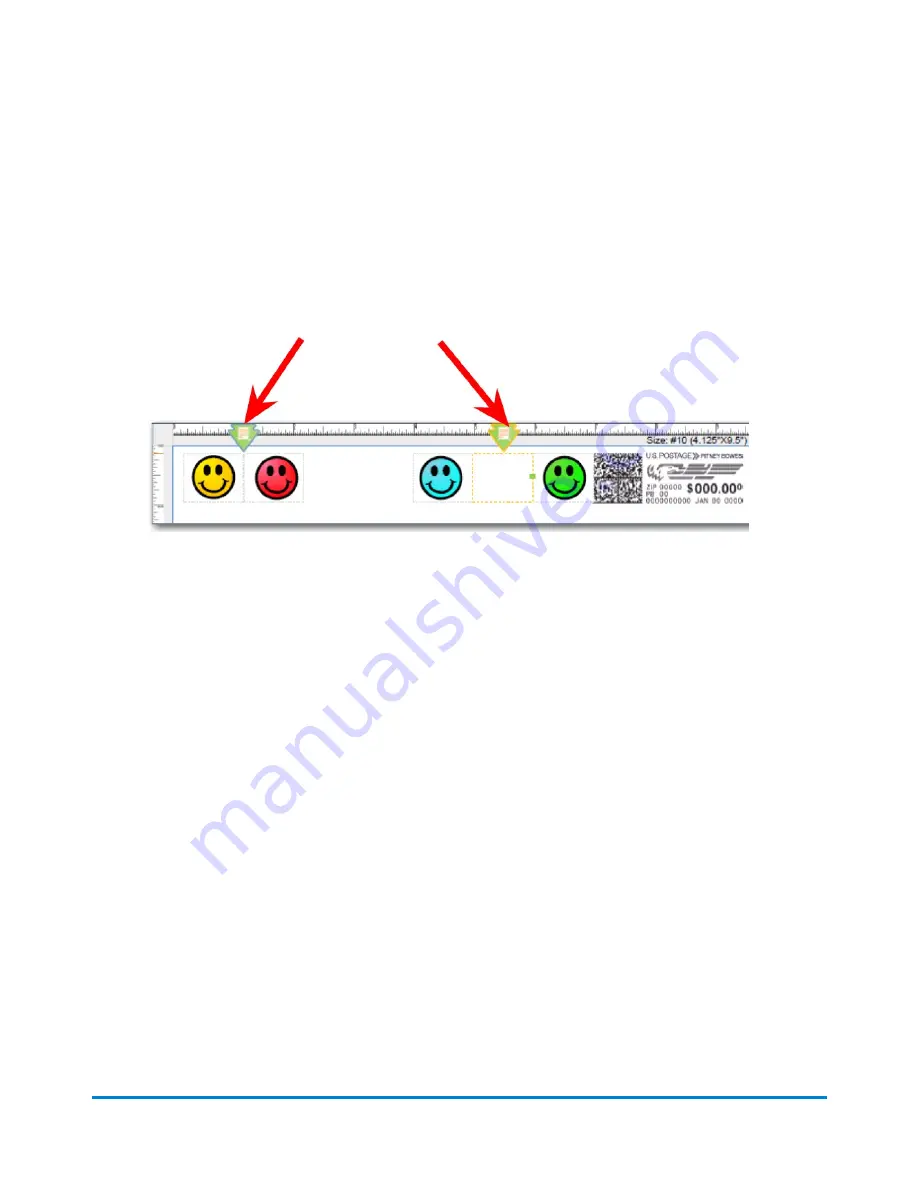
1. As soon as you open the text message screen, text message markers appears at the top of the
envelope. The number of markers depend on the size of the envelope or tape. The circles
indicate the location of the markers.
2. The example shown here corresponds to a # 10 envelope and has two text message markers. If
graphic images are present, the markers are positioned between the graphic markers as shown
here.
3. As with graphic markers, the text markers are left justified or right justified. The markers define
the locations for return addresses or other text messages.
4. The methods for choosing a text message or a return address are the same as for graphic
images. Refer to Adding a graphic.
5. To create a new message, refer to Creating a new message or return address.
Creating a new message or return address
1. Select anywhere within the envelope on the Run Mail screen.You can also select the
Edit
envelope
link.
2. Select the
Text message & Return address
option from the list box on the left of the Edit
envelope screen.
Running mail
Pitney Bowes
User Guide April 2022
82


