Digital Video
The default group No. for each HDD is 1.
8.
Click the
OK
button to confirm the settings.
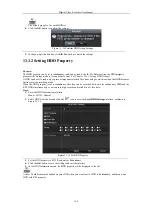
Figure 13. 14
9.
In the pop-up Attention box, click the
13.3.2
Setting HDD Property
Purpose:
The HDD property can be set to redundancy, read
please set the storage mode to Group (refer to step1
A HDD can be set to read-only to prevent important recorded files from being overwritten when
full in overwrite recording mode.
When the HDD property is set to redundancy
R/W HDD simultaneously so as to ensure high
Steps:
1.
Enter the HDD Information interface.
Menu > HDD > General
2.
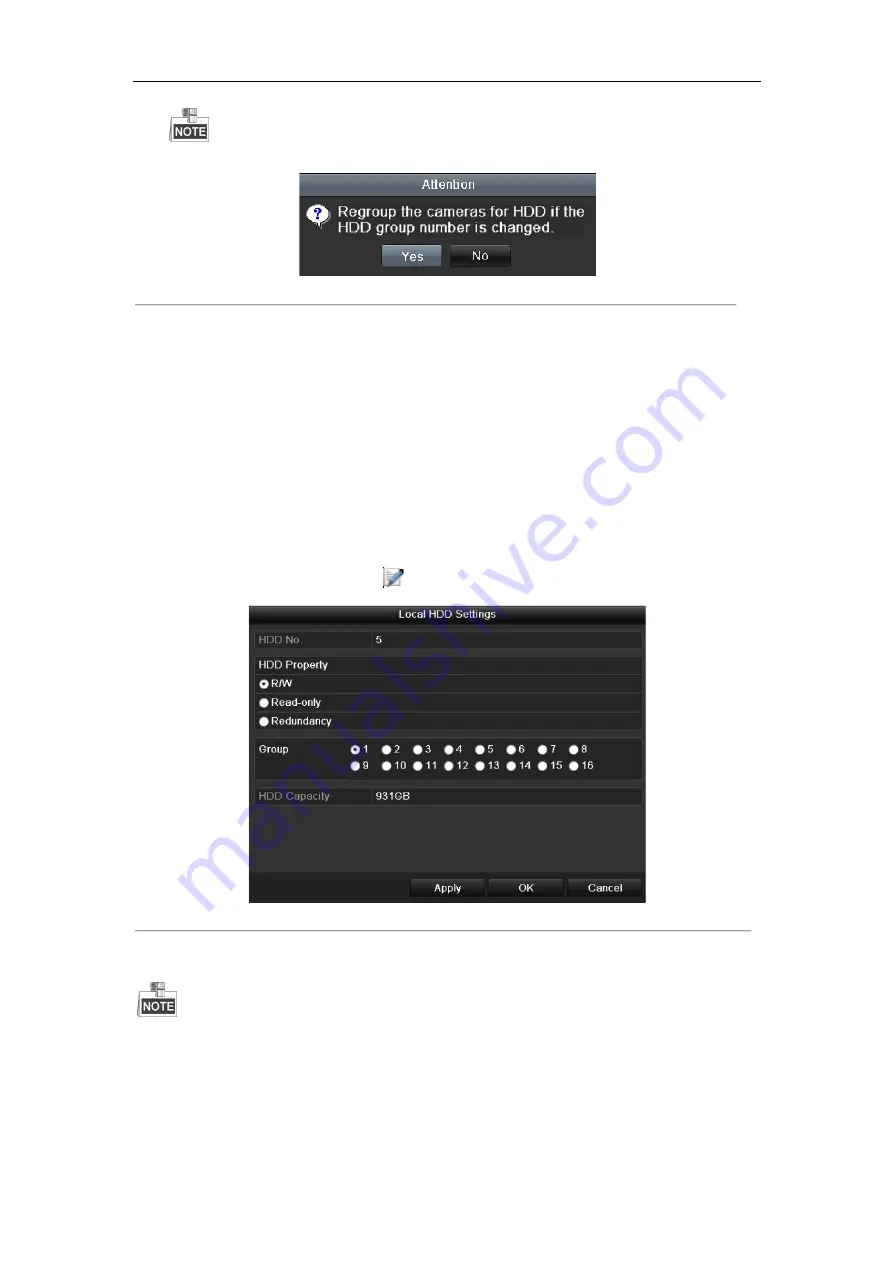
Select HDD from the list and click the
Figure 13. 15.
Figure 13. 15
3.
Set the HDD property to R/W, Read-
4.
Click the
OK
button to save the settings and exit the
5.
In the HDD Information menu, the HDD
At least 2 hard disks must be added on your DVR when you want to set a HDD to Redundancy, and there is one
HDD with R/W property.
Digital Video Recorder User Manual
134
lt group No. for each HDD is 1.
confirm the settings.
Figure 13. 14
Confirm HDD Group Settings
up Attention box, click the
Yes
button to finish the settings.
Property
redundancy, read-only or read/write (R/W). Before setting the HDD property
please set the storage mode to Group (refer to step1-4 of
Chapter 13.3.1 Setting HDD Groups
).
important recorded files from being overwritten when the HDD becomes
redundancy, the video can be recorded both onto the redundancy HDD and the
so as to ensure high security and reliability of video data.
Information interface.
and click the
icon to enter the
Local HDD Settings
interface, as shown in
Figure 13. 15
Set HDD Property
-only or Redundancy.
to save the settings and exit the interface.
In the HDD Information menu, the HDD property will be displayed in the list.
on your DVR when you want to set a HDD to Redundancy, and there is one
property,
the HDD becomes
, the video can be recorded both onto the redundancy HDD and the
erface, as shown in
on your DVR when you want to set a HDD to Redundancy, and there is one
Summary of Contents for DVR-TVI-04
Page 1: ...Digital Video Recorder User Manual ...
Page 13: ...Digital Video Recorder User Manual 12 Chapter 1 Introduction ...
Page 21: ...Digital Video Recorder User Manual 20 Chapter 2 Getting Started ...
Page 32: ...Digital Video Recorder User Manual 31 Chapter 3 Live View ...
Page 40: ...Digital Video Recorder User Manual 39 Chapter 4 PTZ Controls ...
Page 49: ...Digital Video Recorder User Manual 48 Chapter 5 Recording Settings ...
Page 67: ...Digital Video Recorder User Manual 66 Chapter 6 Playback ...
Page 78: ...Digital Video Recorder User Manual 77 Chapter 7 Backup ...
Page 82: ...Digital Video Recorder User Manual 81 Chapter 8 Alarm Settings ...
Page 87: ...Digital Video Recorder User Manual 86 Figure 8 9 Copy Settings of Alarm Input ...
Page 96: ...Digital Video Recorder User Manual 95 Chapter 9 POS Configuration ...
Page 102: ...Digital Video Recorder User Manual 101 Chapter 10 VCAAlarm ...
Page 110: ...Digital Video Recorder User Manual 109 Chapter 11 VCA Search ...
Page 116: ...Digital Video Recorder User Manual 115 Chapter 12 Network Settings ...
Page 130: ...Digital Video Recorder User Manual 129 Chapter 13 HDD Management ...
Page 142: ...Digital Video Recorder User Manual 141 Chapter 14 Camera Settings ...
Page 146: ...Digital Video Recorder User Manual 145 Chapter 15 DVR Management and Maintenance ...
Page 153: ...Digital Video Recorder User Manual 152 Chapter 16 Others ...
Page 161: ...Digital Video Recorder User Manual 160 Chapter 17 Appendix ...

