LED Mode
37
200 Plus Series Console
• To store your changes use
SOFTKEY D "Enter"
.
Note:
If you wish to leave this screen without storing any changes press the
MENU
button. It will return you to the
previous screen.
LED Patch
First you need to allocate each LED fixture in your rig to a preset fader on the console. The
Preset A
set of Faders
are used in LED mode to control LED fixtures. The fader will control the intensity of the fixture and the Flash button
under the fader will be used to select the fixture to allow programming of all the attributes associated with the fixture.
A LED usually has Red, Green and Blue colors but may also have others like Amber, White etc. These can also be
controlled and used.
The first step in patching the fixtures is to select it from the fixture library. To do this you will need to insert the USB
stick with the fixture library on it into the console.
To patch a LED fixture:
1) Select
SOFTKEY A
to enter
LED Patch
.
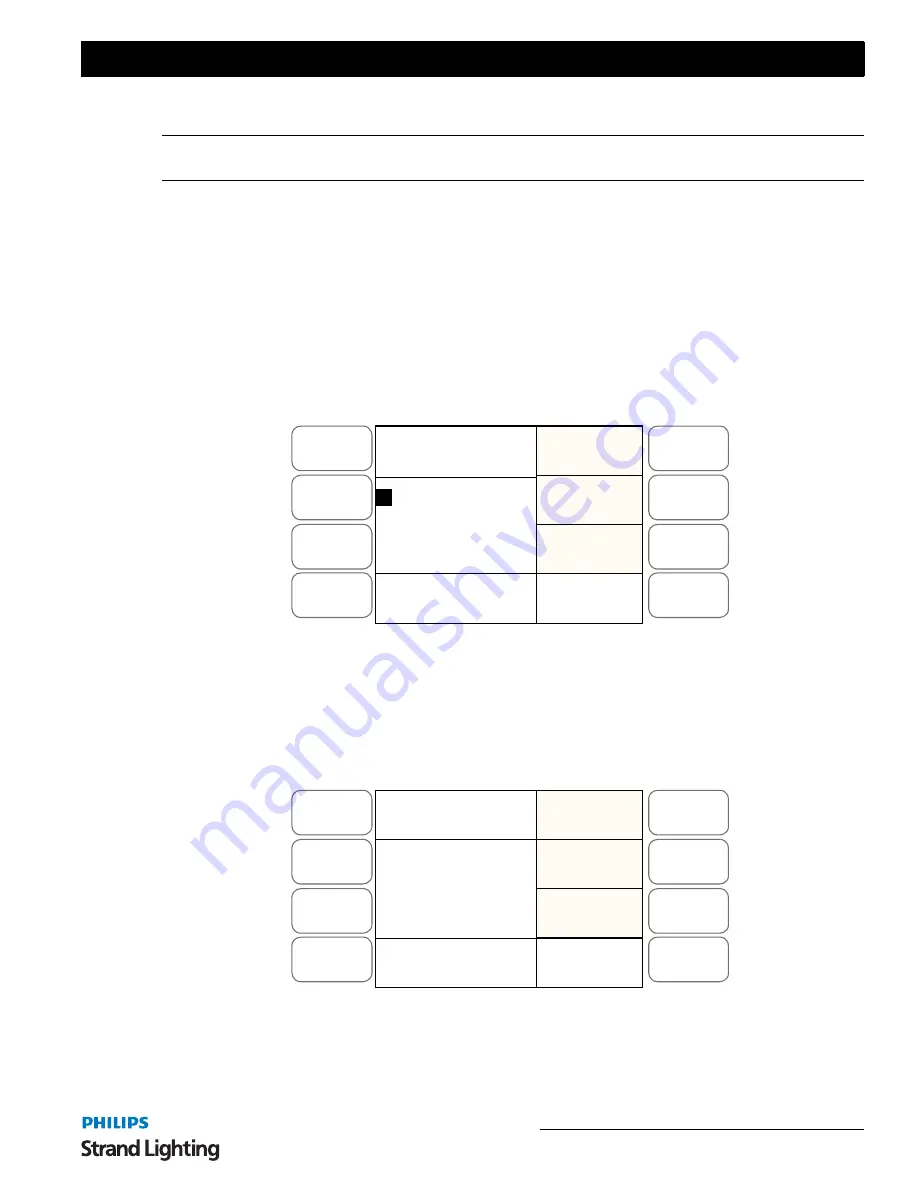
Figure 39: LED Patch - LCD Display
2) The
SOFTKEY A "Back"
and
SOFTKEY B "Next"
are used to navigate the list of Fixtures.
3) The
SOFTKEY C "More"
is used to access the next page of Fixtures.
4)
SOFTKEY D "Enter"
is used to select the Fixture you wish to use.
5) Use
SOFTKEY D "Enter"
to select the fixture that you want. The LCD screen will change to allow you to
set the start address for the fixture you have selected.
Figure 40: LED Fixture Selection - LCD Display
It is possible to change the DMX address using the FX 1 through FX 10 keys. (FX10 is 0).
The
Flash
buttons that have no fixture assigned to them will be flashing. Press a
Flash
button to assign a fixture to it.
Menu
Release
DMX Base
FX
A
B
C
D
Back
Enter
Total: 10
01
: SEL001
02: SEL002
03: SEL003
04: SEL004
Master: xxx
Read 10 Fixture
Next
More
Menu
Release
DMX Base
FX
A
B
C
D
Other
Fix
Exit
Pat.ABanDA
To DMX [019]
Press Bump
Button to Patch
Master: xxx
Fixture Patch


