65
External Display
1
Power off your computer.
(
⇒
Operating Instructions
"Starting Up/Shutting Down")
Do not connect or disconnect devices while the computer is in the standby or
hibernation mode.
2
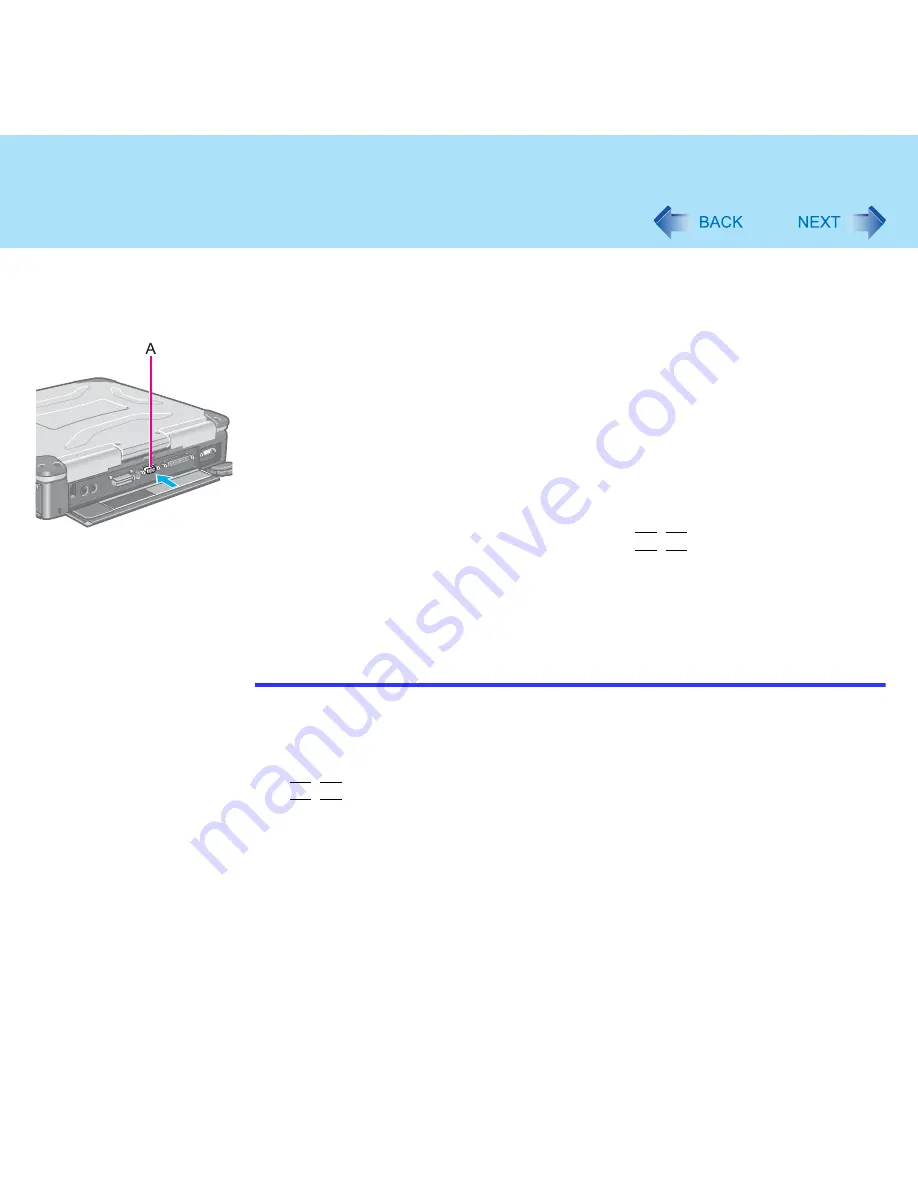
Connect the external display.
Connect the external display to the external display port (A) on your computer.
3
Turn on the external display, then turn on your computer.
After Windows starts up, the screen is displayed on the display destination set in
the following menu.
[start] - [Control Panel] - [Other Control Panel Options] - [Intel(R) Extreme Graphics
2 M] - [Devices]
It is possible to change the setting to display only on the external display or on both
the internal LCD and the external display with
Fn
+
F3
.
4
Set your external display.
Select [start] - [Control Panel] - [Other Control Panel Options] - [Intel(R) Extreme
Graphics 2 M] - [Devices] - [Monitor] and make the settings.
NOTE
The display destination after resuming from hibernation mode or after restarting may
differ from the display destination before entering hibernation mode or before
restarting.
When changing the display destination after Windows has started, do not press any
keys or slide the power switch until the display destination has changed completely.
Fn
+
F3
does not work when [Command Prompt] screen is set to "Full Screen".
When the external display is used alone, set the number of colors, resolution, or
refresh rate to suit the external display. These settings are separate from when the
internal LCD is used alone or with an external display simultaneously.
When the computer is set to display on both the internal LCD and the external display,
DVD-Video, MPEG files and other video files may not be played back smoothly.
Also, carefully read the operating instructions of the external display.
When connecting a monitor that does not conform to the Plug & Play standards:
Either select the correct external display driver using in the following menu. Or use
the driver disk that was supplied with your monitor.


