4
Recording Images
[For assistance, please call: 1-800-272-7033]
81
Screen Display when the Timer is On
When set for timer recording, a notification will appear prior to the start of timer
recording.
•
The following message will be displayed a few minutes before recording begins.
[Recording will begin shortly.]
•
The following message will begin just before recording begins:
[Recording will begin in 5 seconds. The current operation will be canceled.]
•
When recording begins, the current display will automatically end, and the
Monitoring Screen for the camera used for timer recording will appear.
4.4.2
Setup for Continuous Sensor Recording
This feature is not available with HCM series cameras.
When the sensor is activated for cameras set for continuous sensor recording,
recording will begin once the camera lens moves to the sensor position (see
page 59),
Once continuous sensor recording is set, you can begin timer recording, for
example, by using the remote control to turn the timer on before leaving and then
turning it off upon your return, whereupon you can review the recorded images.
The functionality is similar to that of an answering machine, activated by a single
button.
1.
Insert an SD memory card into the BL-WV10A.
•
An SD memory card is not needed if you are not recording to one (see
page 79).
2.
Press [MENU].
•
The menu is displayed.
3.
Select [Recorder] and press [ENTER].
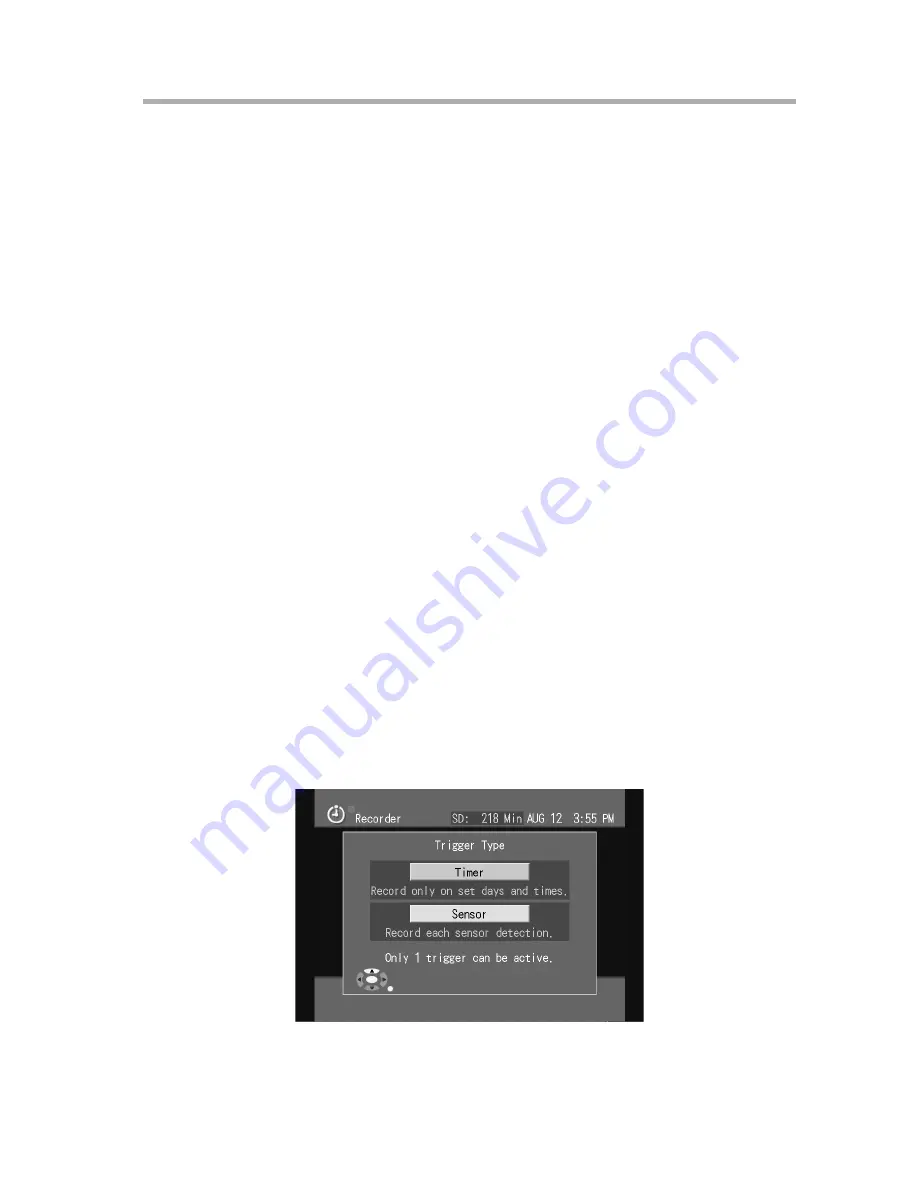
4.
When [Timer] is selected, select [Trigger Type] and press [ENTER].
•
The Trigger Type screen appears.
•
Select [Sensor] and press [ENTER].
Summary of Contents for BL-WV10A
Page 179: ...179 Index...
Page 183: ...For assistance please call 1 800 272 7033 183...


