14
Installing the CX-Designer
Section 2-2
Note
If CX-Designer is already installed, a dialog box to confirm deletion of this ver-
sion will be displayed. Click the OK Button to start deleting this version. To exit
the setup program, click the Cancel Button and then click the Exit Button. Fin-
sGateway and CX-Server will not be uninstalled by this operation.
3.
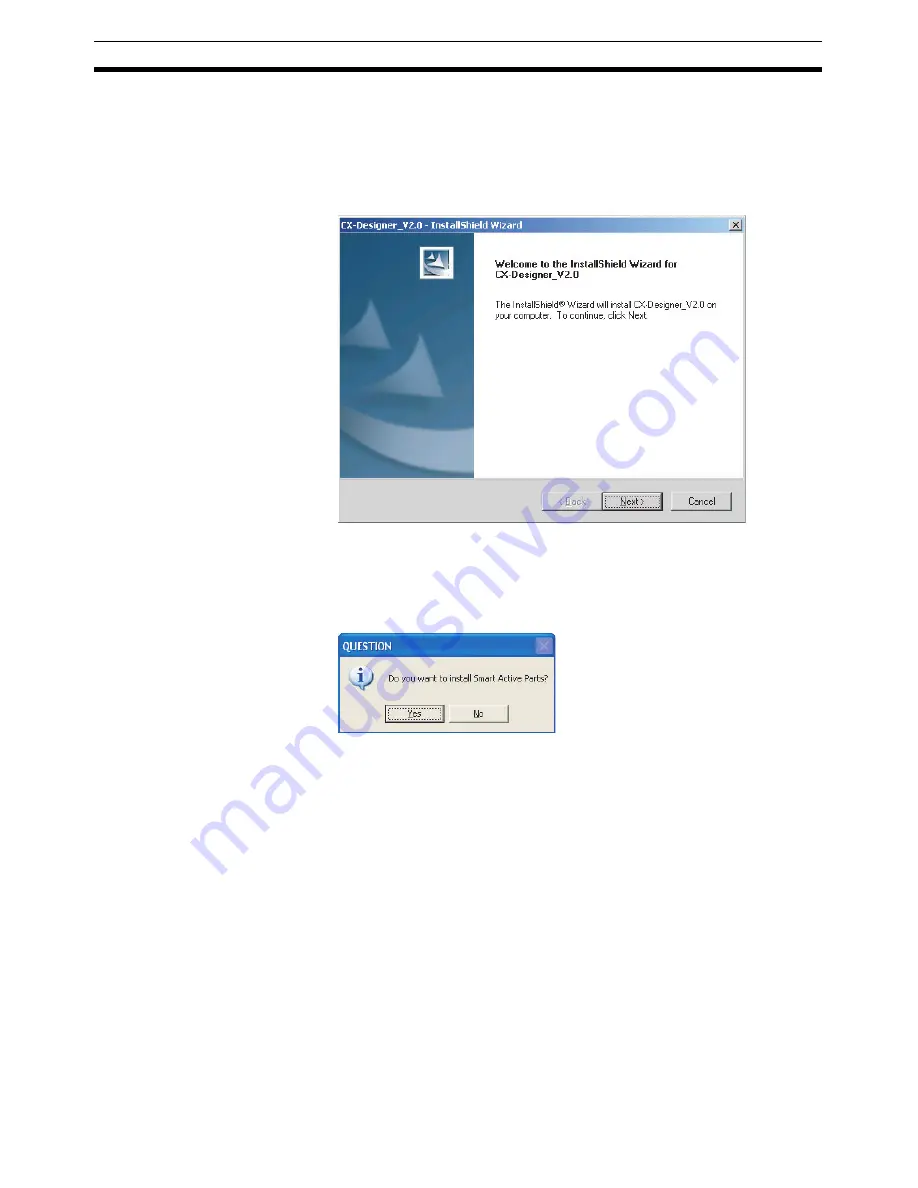
The CX-Designer Setup Wizard will be displayed.
Install the CX-Designer by following the instructions in the Setup Wizard.
4.
During installation, the installation progress is displayed as a percentage.
5.
When CX-Designer installation has been completed, a message to confirm
installation of Smart Active Parts will be displayed. Click the
Yes
Button to
start the installation. If Smart Active Parts installation is not required, click
the
No
Button and proceed to step 10.
Smart Active Parts are libraries containing setting/monitoring screens
(e.g., Position Control Unit setting screens and Temperature Controller
monitoring screens).
Summary of Contents for NS-CXDC1-V3
Page 1: ...USER S MANUAL Cat No V099 E1 04 NS Series CX Designer Ver 3 NS CXDC1 V3...
Page 2: ......
Page 3: ...CX Designer Ver 3 NS CXDC1 V3 User s Manual Revised April 2009...
Page 4: ...iv...
Page 20: ...xx...
Page 32: ...10 Basic Operation Procedures Section 1 2...
Page 62: ...40 User Interface Section 3 3...
Page 106: ...84 Comparison of Functions with NS Designer Appendix A...
Page 112: ...90 Exchanging Data between NS series Products Appendix C...
Page 114: ...92 Revision History...


