Getting Started
11
2
■
The OmniPod Setup Wizard
The first time you turn on the Personal Diabetes Manager, the
Setup Wizard comes on automatically. Although setup is easy
with the Wizard, if you are a first-time user, your healthcare pro-
vider must guide you through the process. Setup takes only a
few minutes and is easy to do:
•
Use the
Up/Down Controller
buttons to increase or
decrease a number or to move up or down a list.
•
Press the
soft key
labeled
Next
,
Select
,
Done
, or
Save
to con-
tinue to the next screen.
•
Press
Back
to return to the previous screen.
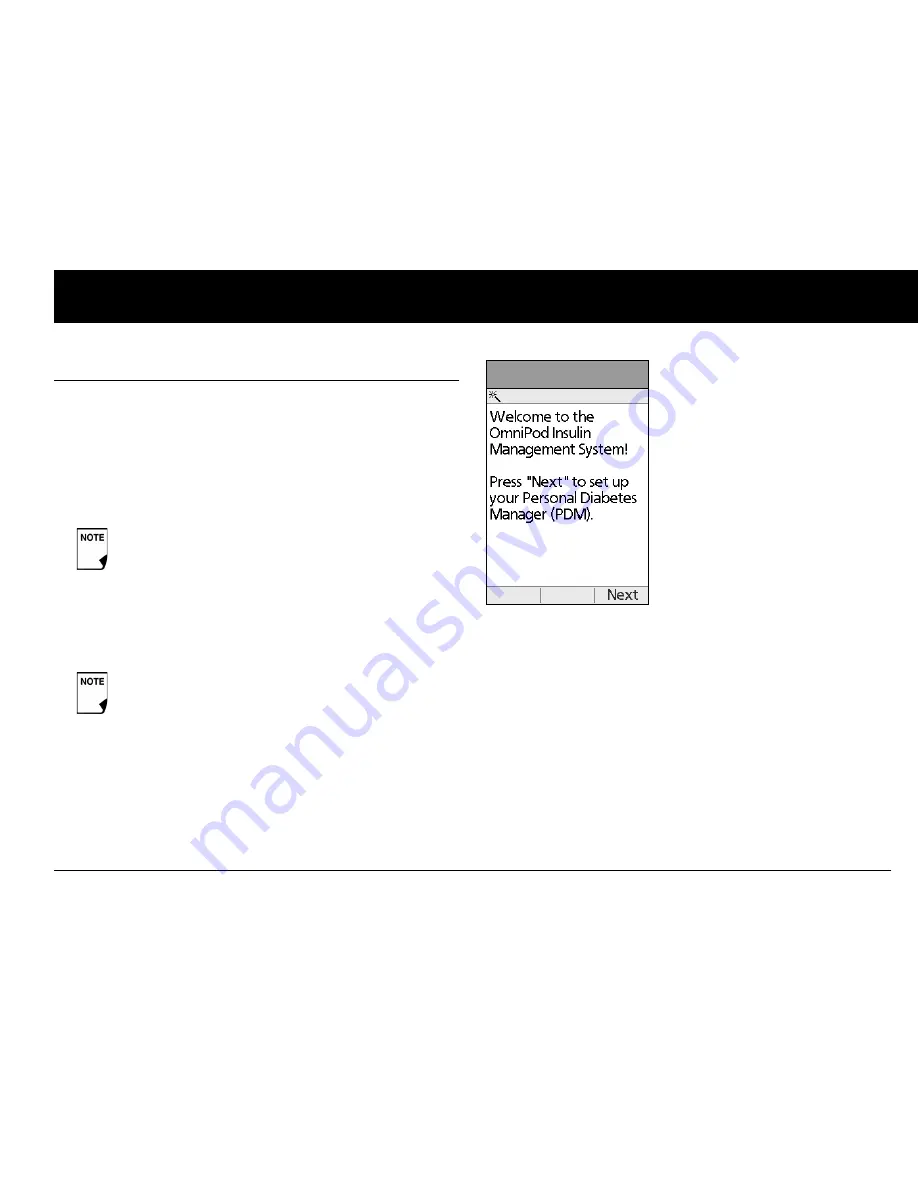
The Wizard’s Welcome screen (Figure 2-3) gets you started. Press
Next
to begin setting up your PDM.
Set date and time
1. Use the
Up/Down Controller
buttons to increase or
decrease the time. (If you prefer a 24-hour clock, press
12/
24hr
.) Then press
Next
.
2. Enter the current year, then press
Next
.
3. Choose the current month, then press
Next
.
4. Enter the current day, then press
Next
.
5. Choose the date format you prefer, then press
Next
.
Initial settings are “---” [blank] for target blood glucose
value, insulin-to-carbohydrate ratio, correction factor,
and duration of insulin action.
You can adjust these settings later as your needs
change or you fine-tune your OmniPod System. See
“OmniPod System Options and Settings” in the
Appendices.
Figure 2-3
Summary of Contents for UST200
Page 1: ...User Guide MyOmniPod com...
Page 3: ...User Guide Model UST200...


