


56
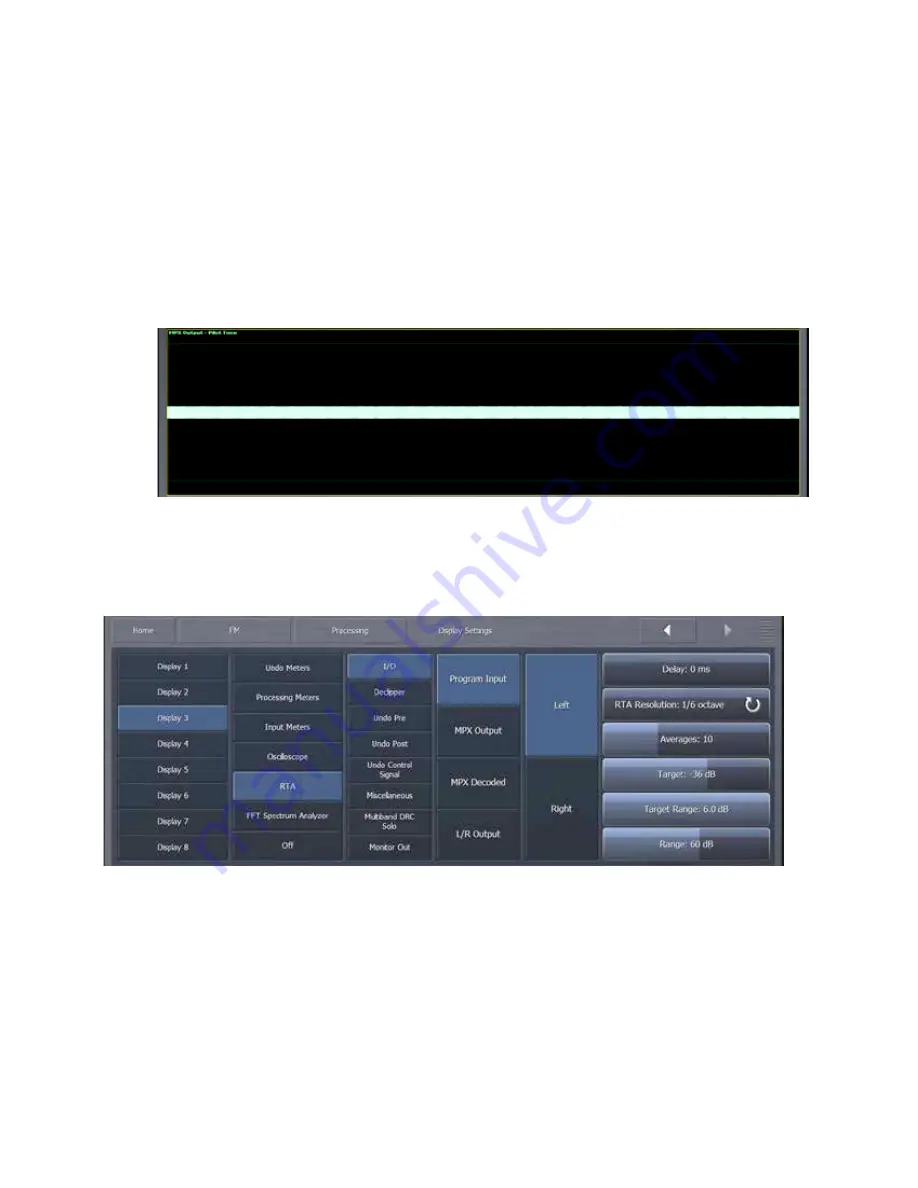
Pilot Protection Monitor
o
Display the MPX Output
o
Set Oversampling to “Off”
o
Set Phosphor Persistence to 40
o
Set Gain to 0
o
Set Lines to 0
o
Set Zoom to 1x
o
Note that what you are seeing here is the actual pilot extracted from the entire MPX
signal.
RTA Menu
The RTA menu allows you to monitor the same sources as those mentioned in the Oscilloscope
menu section. The horizontal scale along the bottom of the RTA screen shows frequencies from 20
to 20,000Hz. The vertical scale along the left side shows the amplitude of the audio in decibels.
The Delay control works the same here as it does previous and subsequent display sections.
The RTA Resolution control lets you choose between a 1/3 and 1/6 octave display.
The Averages control can be used to slow down or speed up the RTA’s display response. A
lower average setting (faster meter response) might be more useful for peak monitoring;
while a higher average setting (slower meter response) might be more useful for calibrating
speakers. Higher averages are also useful for adjusting lower frequencies. The
recommended setting for speaker calibration is 100. Regardless of how the Averages
Summary of Contents for Omnia.9
Page 2: ......
Page 8: ......
Page 103: ...95 Input Output Overview...
Page 104: ...96 MPX Input MPX Output...
Page 105: ...97 MPX Patch Point...
Page 106: ...98 Pre emphasis Patch Point...
Page 107: ...99 Undo...
Page 108: ...100 Input AGC WB AGC1...
Page 109: ...101 WB AGC3 Post Multiband...
Page 110: ...102 WB AGC3 Bass Wideband...
Page 111: ...103 WB AGC3 Bass Only...
Page 112: ...104 Multiband Processing...
Page 113: ...105 Speaker Controller...


