I
NSTALLATION
12
Entering your fax number ...
1.
Press the START key.
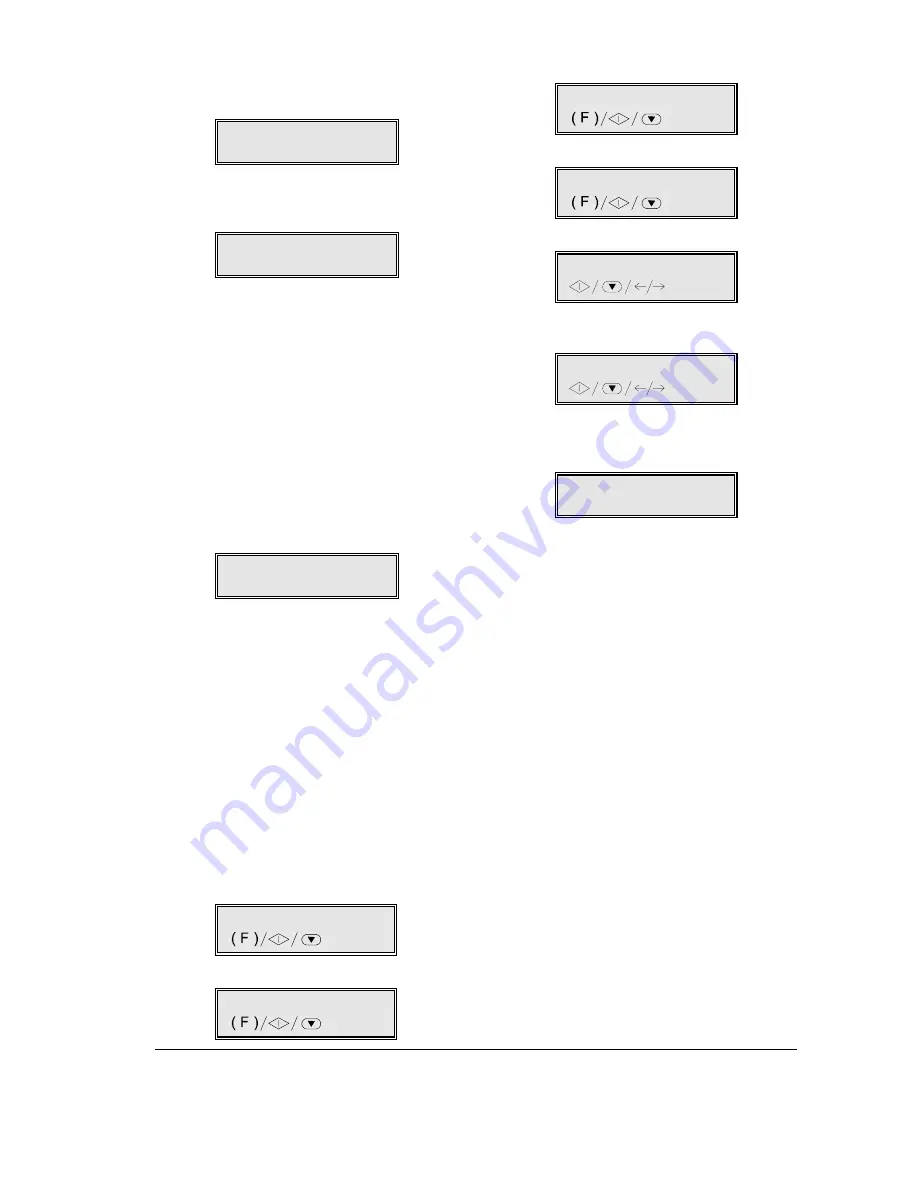
TYPE YOUR NUMBER
_
2.
Enter your fax number (max. 20 digits) by pressing
all the numbers one by one, e.g.: 230026. To enter
a space, press the
TYPE YOUR NUMBER
230026
If you make a mistake, position the cursor over
the incorrect number, and type in the correct num-
ber.
If you want to cancel the number completely,
press CLEAR.
If you wish to enter your international code, press
the * key instead of the initial zeros; the display
shows the . This symbol will be printed
before your fax number on each page transmitted.
3.
Press the START key to confirm the number, and
then the STOP key to restore the machine to the
initial waiting mode.
RX ON FAX 100%
30-09-99 15:40
Name and fax number position ...
The information at the top of each page to be trans-
mitted (name, fax number, date, time, and number of
pages) can be shown either outside the text area, just
below the upper edge of the page, or inside the text
area, slightly lower down.
Your machine has been set to transmit this information
within the text area.
Changing the position ...
1.
Press the FUNCTION key.
1.MEMORY TX
/1-9
2.
Press 8 on the numeric key pad.
8.SET-UP
/1-9
3.
Press the START key.
DATE AND TIME
4.
Press the FUNCTION key.
VARIOUS SETTINGS
5.
Press the START key until the display shows:
HEADING INSIDE
6.
Press the
parameter.
HEADING OUTSIDE
7.
Press the START key to confirm the setting, and then
the STOP key to restore the machine to its initial
waiting mode.
RX ON FAX 100%
30-09-99 15:40
The machine is set to operate as a fax machine on the
public telephone network in your country. If you wish
to connect it to a private line, see the specific sec-
tion dealing with this operation.
This machine can function autonomously as a fax
machine, telephone or copier. See the specific sec-
tions (Facsimile, Telephone or Copier ) in this man-
ual to see what functions are available to you.
If you wish to use this machine to access the Internet,
you must first connect it to a Provider (see the section
entitled “The Internet”).
If you wish to use this machine as a printer or scanner,
you must first connect it to a PC and install the soft-
ware provided. To do so, continue following the in-
structions in this section.
Summary of Contents for JET-LAB 600@
Page 1: ...237204C 01 User s manual...
Page 3: ...BLANK PAGE...
Page 11: ...BLANK PAGE...
Page 15: ...BLANK PAGE...
Page 16: ...INSTALLATION...
Page 17: ......
Page 30: ...PAPER AND OTHER PRINT MEDIA...
Page 31: ......
Page 35: ...BLANK PAGE...
Page 36: ...FACSIMILE...
Page 37: ......
Page 82: ...TELEPHONE...
Page 83: ......
Page 88: ...THE INTERNET...
Page 89: ......
Page 96: ...PHOTOCOPIER...
Page 97: ......
Page 101: ...BLANK PAGE...
Page 102: ...PRINTER...
Page 103: ......
Page 106: ...SCANNER...
Page 107: ......
Page 109: ...BLANK PAGE...
Page 110: ...PC COLOUR FAX APPLICATION...
Page 111: ......
Page 113: ...BLANK PAGE...
Page 114: ...MAINTENANCE...
Page 115: ......
Page 130: ...Test Sheet No 1...


