I
NSTALLATION
7
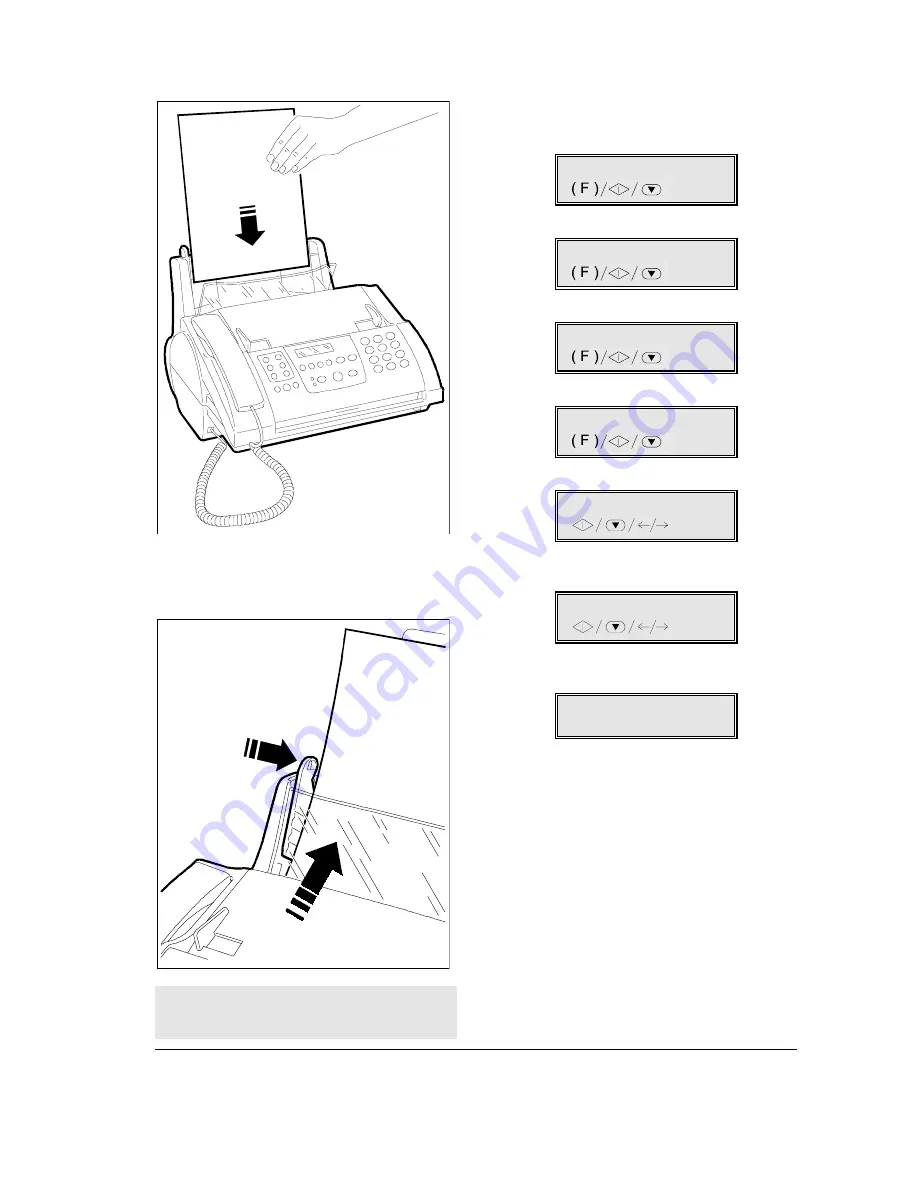
3.
Holding the sheets by their top edge, drop them
into the ASF without folding or forcing them.
4.
Align the paper against the right side of the ASF,
closing the paper guide against the left edge of the
paper and then close the ASF cover.
If you add more paper to the ASF be sure to insert
the new sheets under and not over the ones already
loaded.
After loading the paper, to ensure the correct func-
tioning of the machine, you should also check that
the paper format set on the machine coincides with
the format you have loaded.
1.
Press the FUNCTION key until the display shows:
1.MEMORY TX
/1-9
2.
Press 8 on the numeric key pad.
8.SETUP
/1-9
3.
Press the START key.
DATE AND TIME
4.
Press the FUNCTION key until the display shows:
PRINT SETTINGS
5.
Press the START key.
FORMAT:A4
6.
Press the
paper format you intend to use, e.g. «Letter».
FORMAT:LETTER
7.
Press the START key to confirm the setting, then
press the STOP key.
CHECK PRINT HEAD
PRESS RESUME
Summary of Contents for JET-LAB 600@
Page 1: ...237204C 01 User s manual...
Page 3: ...BLANK PAGE...
Page 11: ...BLANK PAGE...
Page 15: ...BLANK PAGE...
Page 16: ...INSTALLATION...
Page 17: ......
Page 30: ...PAPER AND OTHER PRINT MEDIA...
Page 31: ......
Page 35: ...BLANK PAGE...
Page 36: ...FACSIMILE...
Page 37: ......
Page 82: ...TELEPHONE...
Page 83: ......
Page 88: ...THE INTERNET...
Page 89: ......
Page 96: ...PHOTOCOPIER...
Page 97: ......
Page 101: ...BLANK PAGE...
Page 102: ...PRINTER...
Page 103: ......
Page 106: ...SCANNER...
Page 107: ......
Page 109: ...BLANK PAGE...
Page 110: ...PC COLOUR FAX APPLICATION...
Page 111: ......
Page 113: ...BLANK PAGE...
Page 114: ...MAINTENANCE...
Page 115: ......
Page 130: ...Test Sheet No 1...


