


ES 1220n Postscript Emulation Driver • 42
4.
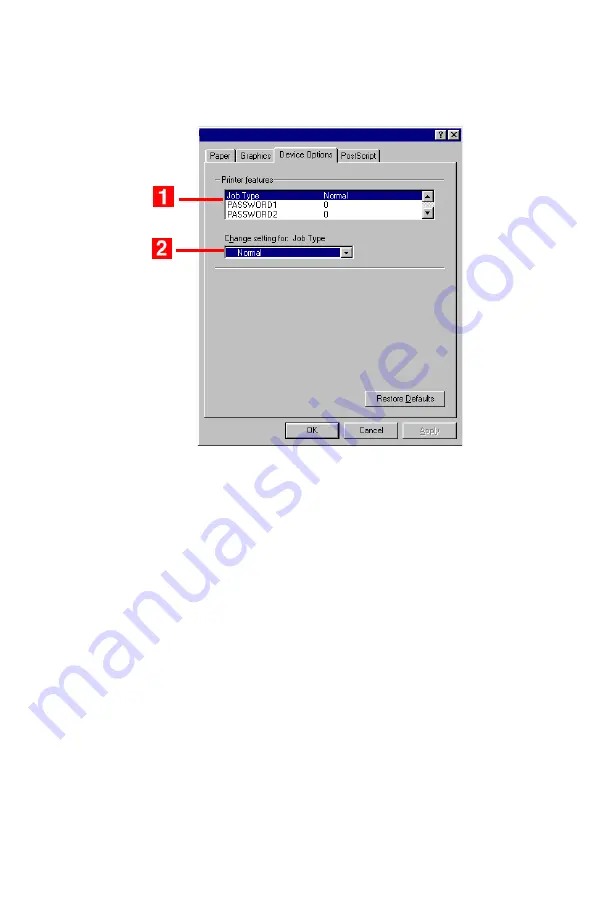
Click the
Device Options
tab. In the
Printer features
list (
1
),
click
Job Type
, then select
Store to HDD
under
Change
settings
(
2
).
5. Enter your 4-digit password (0000 to 9999):
In the
Printer
features
list, click
PASSWORD1
, then select the value of your
choice for that digit under
Change setting
. Repeat the process
for each digit of the password, making note of the number you
entered.
6.
For collated printing, scroll down under
Printer features
and
change the setting for
Collate
to
Yes
.
7.
Click
OK
.
8.
Click
OK
.
The document is processed to a print file and stored on the
printer’s hard disk drive
.
9.
Go to the printer and print out the document using the front panel
(see below).
Summary of Contents for ES1220n
Page 1: ...59356001 User s Guide Windows...
Page 23: ...ES 1220n Loading Paper 23 1 Open the MP Tray...
Page 225: ...ES 1220n Replacing Consumables 225 9 Close and latch the top cover...
Page 244: ...ES 1220n Replacing Consumables 244 8 Close and latch the top cover...
Page 252: ...ES 1220n Clearing Paper Jams 252 5 Close the rear exit 6 Close the top cover...
Page 260: ...ES 1220n Clearing Paper Jams 260 3 Close the front cover...
Page 262: ...ES 1220n Clearing Paper Jams 262 2 Remove any jammed sheets...
Page 269: ...ES 1220n Clearing Paper Jams 269 2 Remove any jammed sheets 3 Close the front cover...


