9
Basic Job Settings
9-4
VarioLink 9522
Procedure
1
Position the original.
–
For details on positioning the original, see page 8-8.
2
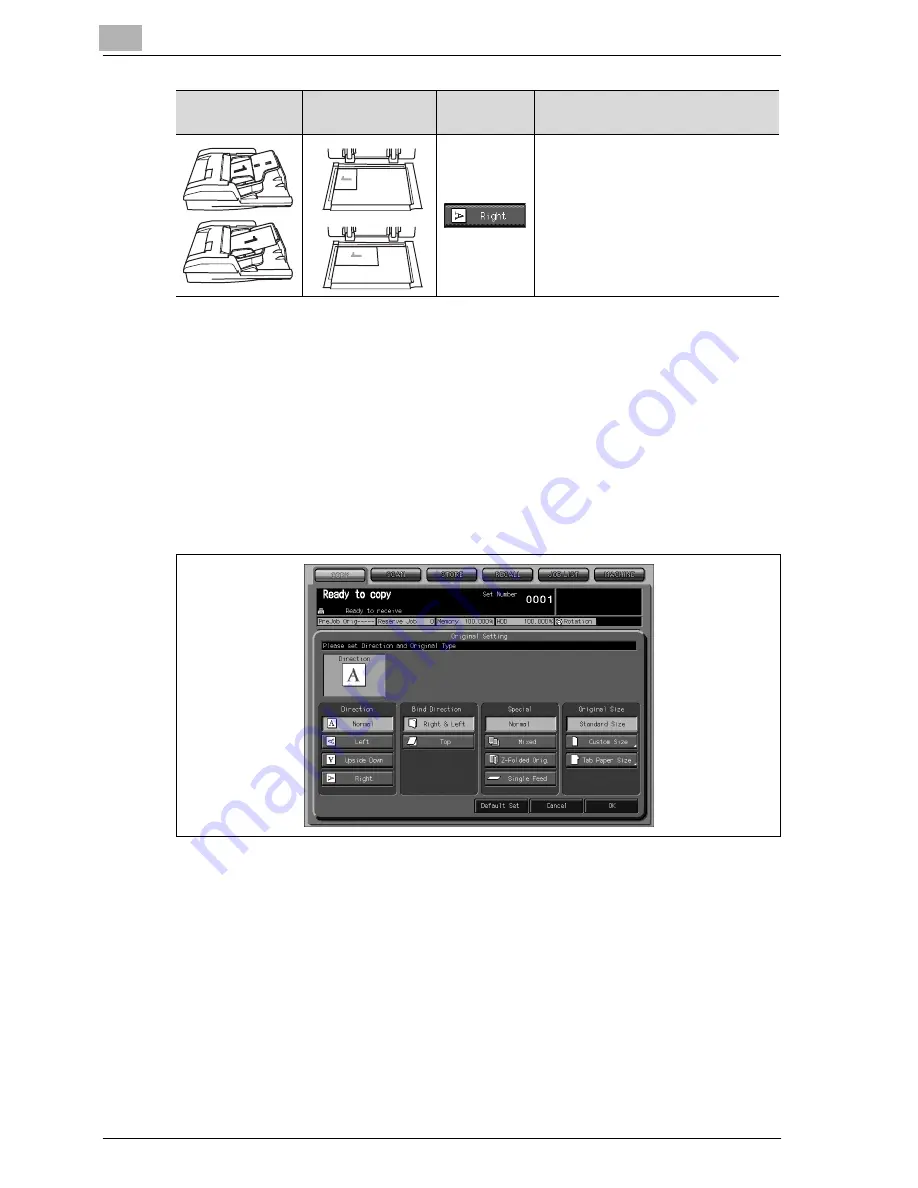
Touch [Original Setting] on the Copy Screen.
The Original Setting Screen will be displayed.
3
Touch the desired original direction key to highlight it.
4
Touch [OK] to complete the setting and return to the Copy Screen.
–
Touch [Default Set] to restore the initial setting, or touch [Cancel] to
resume the previous setting.
Select for the original positioned in
the ADF with the top toward the right
side of the machine.
Or, select for the original positioned
on the original glass with the top to-
ward the left side of the machine.
Using ADF
Using original
glass
Key
Description
Summary of Contents for VarioLink 9522
Page 1: ...Printing for Professionals Oc VarioLink 9522 Copy Operations User s Guide...
Page 2: ......
Page 3: ...VarioLink 9522 Copier User s Guide...
Page 4: ......
Page 24: ......
Page 25: ...1 Precautions for Installation and Use...
Page 26: ......
Page 46: ......
Page 47: ...2 Preparation for Use...
Page 48: ......
Page 68: ...2 Preparation for Use 2 22 VarioLink 9522 Multi Punch GP 501 1 2 3 4 5 6 7 8 9 10 11 12 13 14...
Page 83: ...3 Paper and Original Information...
Page 84: ......
Page 101: ...4 Supplies Handling...
Page 102: ......
Page 139: ...5 Troubleshooting...
Page 140: ......
Page 206: ......
Page 207: ...6 Maintenance...
Page 208: ......
Page 215: ...7 Specifications...
Page 216: ......
Page 225: ...8 Before Making Copies...
Page 226: ......
Page 247: ...9 Basic Job Settings...
Page 248: ......
Page 321: ...10 Application Functions...
Page 322: ......
Page 434: ......
Page 435: ...11 Output Setting...
Page 436: ......
Page 485: ...12 Job Management...
Page 486: ......
Page 496: ......
Page 497: ...13 Advanced Information...
Page 498: ......
Page 524: ......
Page 525: ...14 Index...
Page 526: ......
Page 532: ...Printing for Professionals Beyond the Ordinary...


