CS240/CS231
13-61
Utility mode
13
13.10
Gradation adjustment
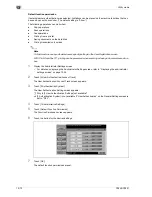
The gradation levels can be adjusted if there are changes in the color gradations of the print image.
The following color gradation adjustments can be performed.
-
Copy:
The adjustment is made with stress on increasing the number of images stored in the memory.
-
Printer (Gradation): The adjustment is made with stress on the gradations in images.
-
Printer (Resolution): The adjustment is made with stress on the reproducibility of text and lines.
The procedure for adjusting the gradation levels of the copy is described below.
0
Before performing the gradation adjustment, be sure to restart the machine.
0
After replacing an imaging unit, be sure to adjust the gradation levels.
0
When the machine is turned off, then on again with the main power switch, wait at least 10 seconds to
turn the machine on after turning it off. The machine may not operate correctly if it is turned on
immediately after being turned off.
0
The test pattern is printed on plain paper from a paper tray loaded with one of the following sizes (listed
in order of priority): A3
w
, 11
e
17
w
, A4
v
or 8-1/2
e
11
v
. Paper in the bypass tray cannot be selected.
1
Display the Administrator Settings screen.
–
For details on displaying the Administrator Settings screen, refer to "Displaying the administrator
settings screen" on page 13-35.
2
Touch [1 System Settings].
The System Settings screen appears.
3
Touch [7 Expert Adjustment].
The Expert Adjustment screen appears.
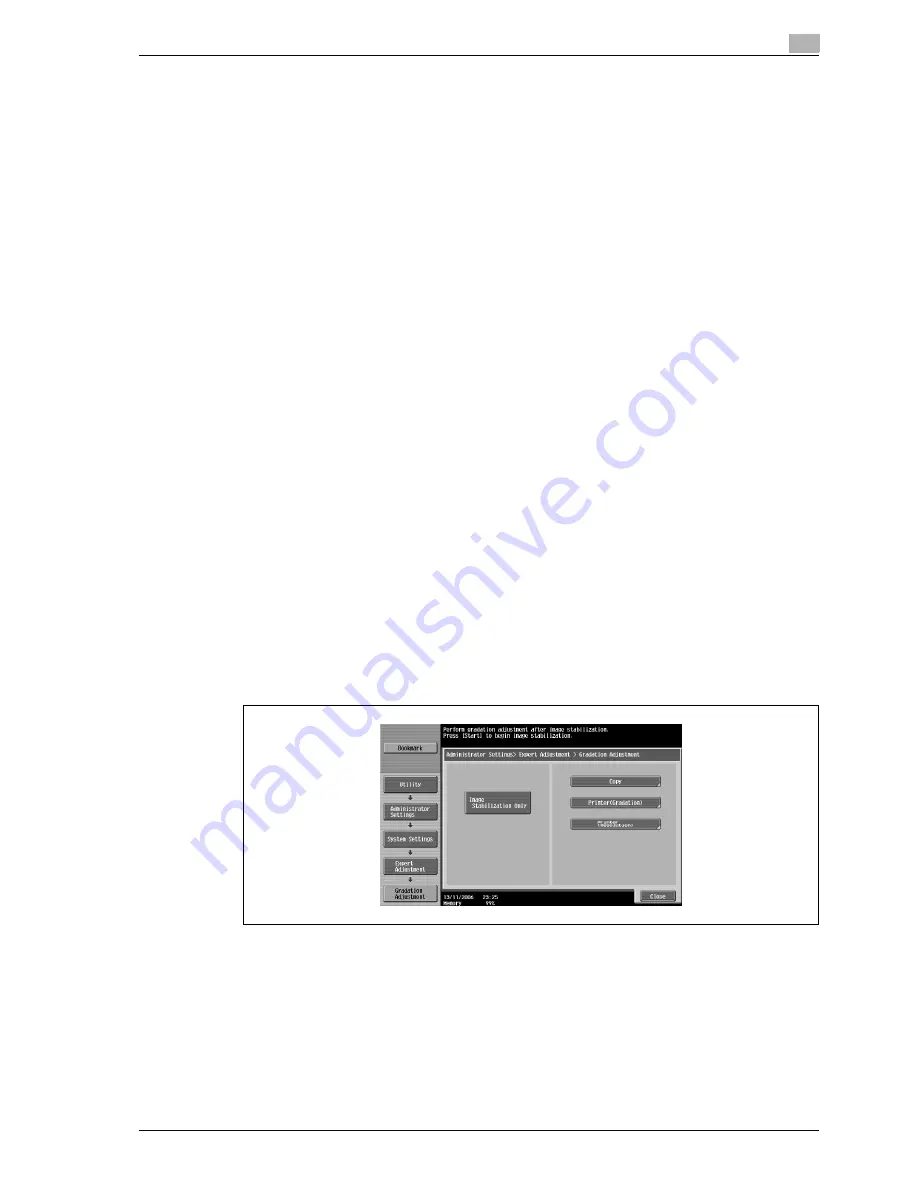
4
Touch [8 Gradation Adjustment].
The Gradation Adjustment screen appears.
5
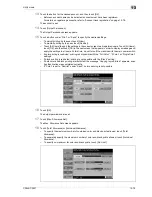
Press the [Start] key.
–
The gradation levels cannot be adjusted if an image stabilization operation is not performed.
The image stabilization operation begins.
6
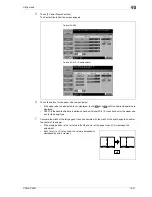
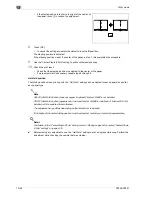
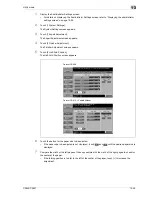
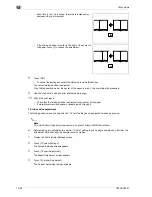
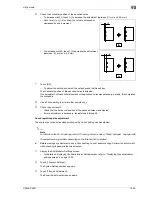
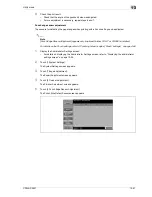
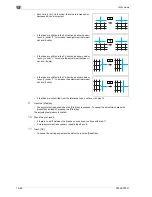
Touch the button for the mode to be adjusted.
Summary of Contents for CS231
Page 1: ...Océ CS240 CS231 Copy Operations ...
Page 2: ......
Page 12: ...Contents 10 CS240 CS231 ...
Page 13: ...1 Introduction ...
Page 14: ......
Page 28: ...1 Introduction 1 16 CS240 CS231 ...
Page 29: ...2 Installation and operation precautions ...
Page 30: ......
Page 46: ...2 Installation and operation precautions 2 18 CS240 CS231 ...
Page 47: ...3 Before making copies ...
Page 48: ......
Page 99: ...4 Basic copy operations ...
Page 100: ......
Page 181: ...5 Additional copy operations ...
Page 182: ......
Page 184: ...5 Additional copy operations 5 4 CS240 CS231 ...
Page 210: ...5 Additional copy operations 5 30 CS240 CS231 ...
Page 211: ...6 Troubleshooting ...
Page 212: ......
Page 288: ...6 Troubleshooting 6 78 CS240 CS231 ...
Page 289: ...7 Specifications ...
Page 290: ......
Page 299: ...8 Copy paper original documents ...
Page 300: ......
Page 323: ...9 Application functions ...
Page 324: ......
Page 332: ...9 Application functions 9 10 CS240 CS231 Y G B R M C ...
Page 428: ...9 Application functions 9 106 CS240 CS231 ...
Page 429: ...10 Replacing toner cartridges and staples and emptying punch scrap box ...
Page 430: ......
Page 467: ...11 Care of the machine ...
Page 468: ......
Page 476: ...11 Care of the machine 11 10 CS240 CS231 ...
Page 477: ...12 Managing jobs ...
Page 478: ......
Page 493: ...13 Utility mode ...
Page 494: ......
Page 579: ...14 Appendix ...
Page 580: ......
Page 588: ...14 Appendix 14 10 CS240 CS231 ...
Page 589: ...15 Index ...
Page 590: ......
Page 594: ...15 Index 15 6 CS240 CS231 ...

