CS240/CS231
13-43
Utility mode
13
6
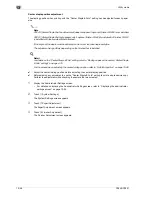
Touch the button for the paper type to be set.
7
Press the [Start] key.
–
Only paper loaded into the bypass tray can be used.
A test pattern is printed.
8
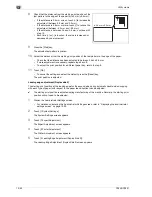
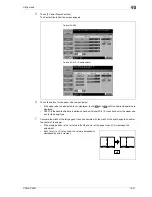
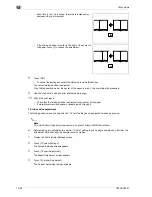
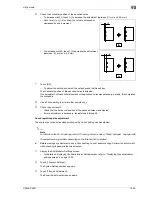
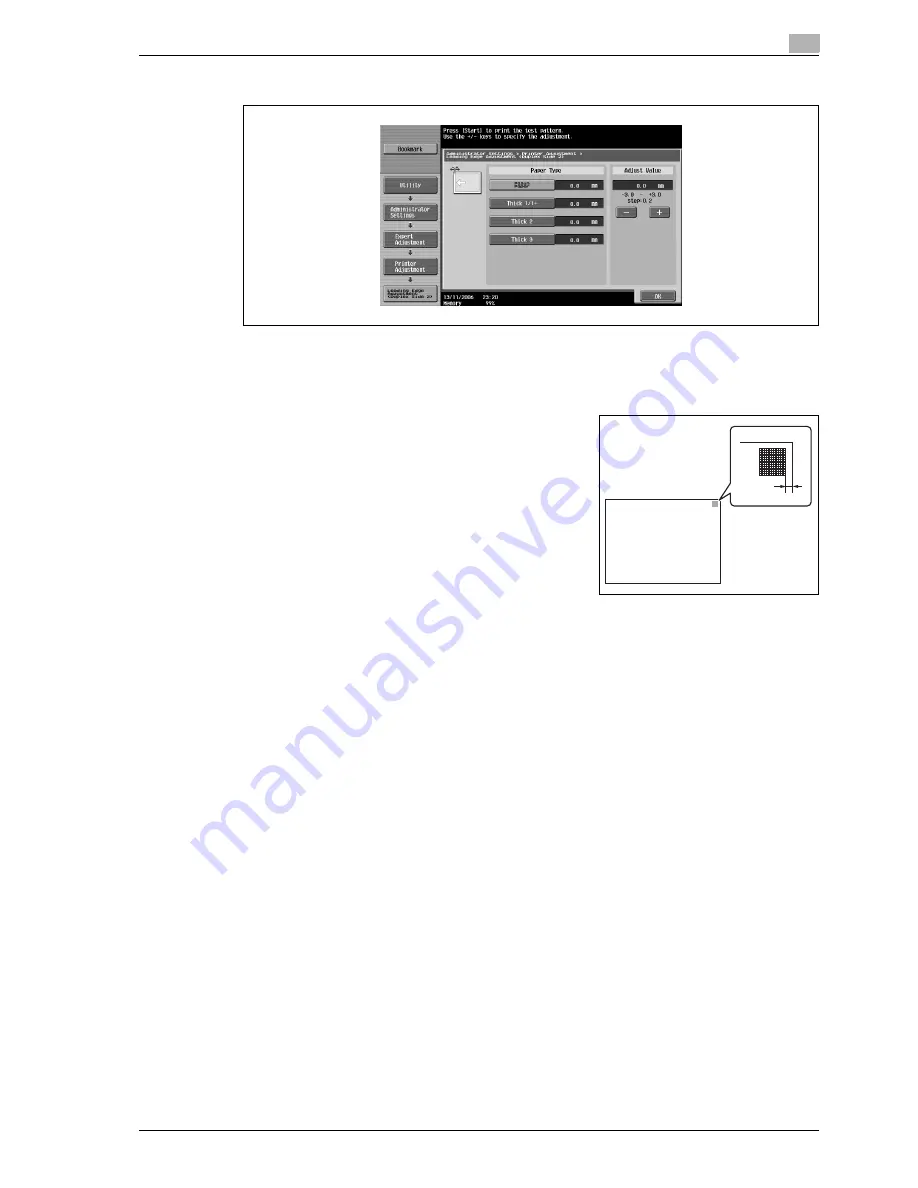
Check that the distance from the starting print position of the
test pattern to the edge of the paper (c) is 4.2 mm.
–
If the distance is less than 4.2 mm, touch [+] to increase the
adjustment (between 0.2 mm and 3.0 mm).
–
If the distance is more than 4.2 mm, touch [-] to reduce the
adjustment (between -0.2 mm and -3.0 mm).
–
Each time [+] or [-] is touched, the value is increased or
decreased by one increment.
9
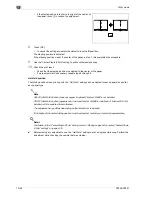
Press the [Start] key.
The adjusted test pattern is printed.
10
Check the distance from the starting print position of the test pattern to the edge of the paper.
–
Check that the distance has been adjusted to 4.2 mm.
–
If more adjustment is necessary, repeat steps 8 and 9.
–
To adjust the print position for a different paper type, return to step 6.
11
Touch [OK].
The print position is adjusted.
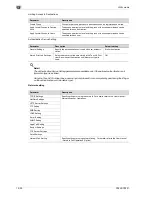
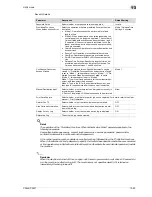
Centering (Duplex 2nd side)
The starting print position at the left edge of the paper for the second side during automatic double-sided
copying for each paper tray can be adjusted.
0
The starting print position is adjusted during manufacturing of the machine. Normally, the starting print
position will not need to be adjusted.
0
Only A4
v
paper can be used to adjust the bypass tray.
1
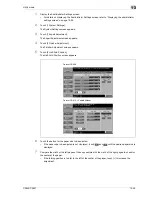
Display the Administrator Settings screen.
–
For details on displaying the Administrator Settings screen, refer to "Displaying the administrator
settings screen" on page 13-35.
2
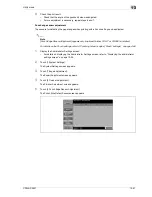
Touch [1 System Settings].
The System Settings screen appears.
3
Touch [7 Expert Adjustment].
The Expert Adjustment screen appears.
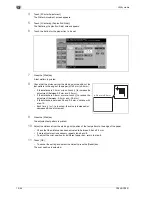
c
c: 3.0 mm ± 0.5 mm
Summary of Contents for CS231
Page 1: ...Océ CS240 CS231 Copy Operations ...
Page 2: ......
Page 12: ...Contents 10 CS240 CS231 ...
Page 13: ...1 Introduction ...
Page 14: ......
Page 28: ...1 Introduction 1 16 CS240 CS231 ...
Page 29: ...2 Installation and operation precautions ...
Page 30: ......
Page 46: ...2 Installation and operation precautions 2 18 CS240 CS231 ...
Page 47: ...3 Before making copies ...
Page 48: ......
Page 99: ...4 Basic copy operations ...
Page 100: ......
Page 181: ...5 Additional copy operations ...
Page 182: ......
Page 184: ...5 Additional copy operations 5 4 CS240 CS231 ...
Page 210: ...5 Additional copy operations 5 30 CS240 CS231 ...
Page 211: ...6 Troubleshooting ...
Page 212: ......
Page 288: ...6 Troubleshooting 6 78 CS240 CS231 ...
Page 289: ...7 Specifications ...
Page 290: ......
Page 299: ...8 Copy paper original documents ...
Page 300: ......
Page 323: ...9 Application functions ...
Page 324: ......
Page 332: ...9 Application functions 9 10 CS240 CS231 Y G B R M C ...
Page 428: ...9 Application functions 9 106 CS240 CS231 ...
Page 429: ...10 Replacing toner cartridges and staples and emptying punch scrap box ...
Page 430: ......
Page 467: ...11 Care of the machine ...
Page 468: ......
Page 476: ...11 Care of the machine 11 10 CS240 CS231 ...
Page 477: ...12 Managing jobs ...
Page 478: ......
Page 493: ...13 Utility mode ...
Page 494: ......
Page 579: ...14 Appendix ...
Page 580: ......
Page 588: ...14 Appendix 14 10 CS240 CS231 ...
Page 589: ...15 Index ...
Page 590: ......
Page 594: ...15 Index 15 6 CS240 CS231 ...


