Chapter 12
80
Contrast
12
Adjust the contrast to help an image look
sharper and more vivid.
To
temporarily
change the contrast setting,
follow the steps below:
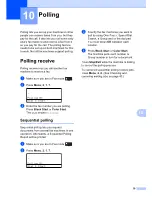
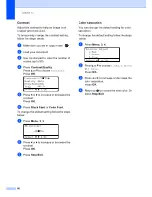
a
Make sure you are in Copy mode
.
b
Load your document.
c
Use the dial pad to enter the number of
copies (up to 99).
d
Press
Contrast/Quality
.
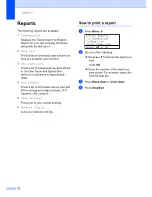
Press
a
or
b
to choose
Contrast
.
Press
OK
.
Contrast:-
nnonn
+
c
Quality :Auto
Enlg/Red:100%
Tray
:MP>T1
Select
d c
& OK
e
Press
d
or
c
to increase or decrease the
contrast.
Press
OK
.
f
Press
Black Start
or
Color Start
.
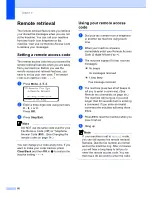
To change the
default
setting follow the steps
below:
a
Press
Menu
,
3
,
3
.
33.Contrast
-
nnonn
+
Select
d c
& OK
b
Press
d
or
c
to increase or decrease the
contrast.
Press
OK
.
c
Press
Stop/Exit
.
Color saturation
12
You can change the default setting for color
saturation.
To change the
default
setting follow the steps
below:
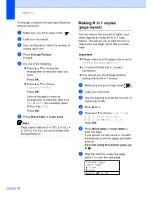
a
Press
Menu
,
3
,
4
.
34.Color Adjust
1.Red
2.Green
3.Blue
Select
ab
or OK
b
Press
a
or
b
to choose
1.Red
,
2.Green
or
3.Blue
.
Press
OK
.
c
Press
d
or
c
to increase or decrease the
color saturation.
Press
OK
.
d
Return to
b
to choose the next color. Or
press
Stop/Exit
.
Summary of Contents for cx2100
Page 1: ...Printing for Professionals Oc cx2100 User s Guide...
Page 84: ...Section III Copy III Making copies 74...
Page 93: ...Chapter 12 82...
Page 101: ...Chapter 14 90...
Page 102: ...Section V Software V Software and network features 92...

