Setting Up 2–39
NOTE: This program performs some time-consum-
ing test operations. Before continuing, make sure
the printer is ready. The power switch should be
turned on, and the hopper should have paper in it.
Press
OK
to continue with the print tests,
Cancel
to
exit to the program's main menu.
17.
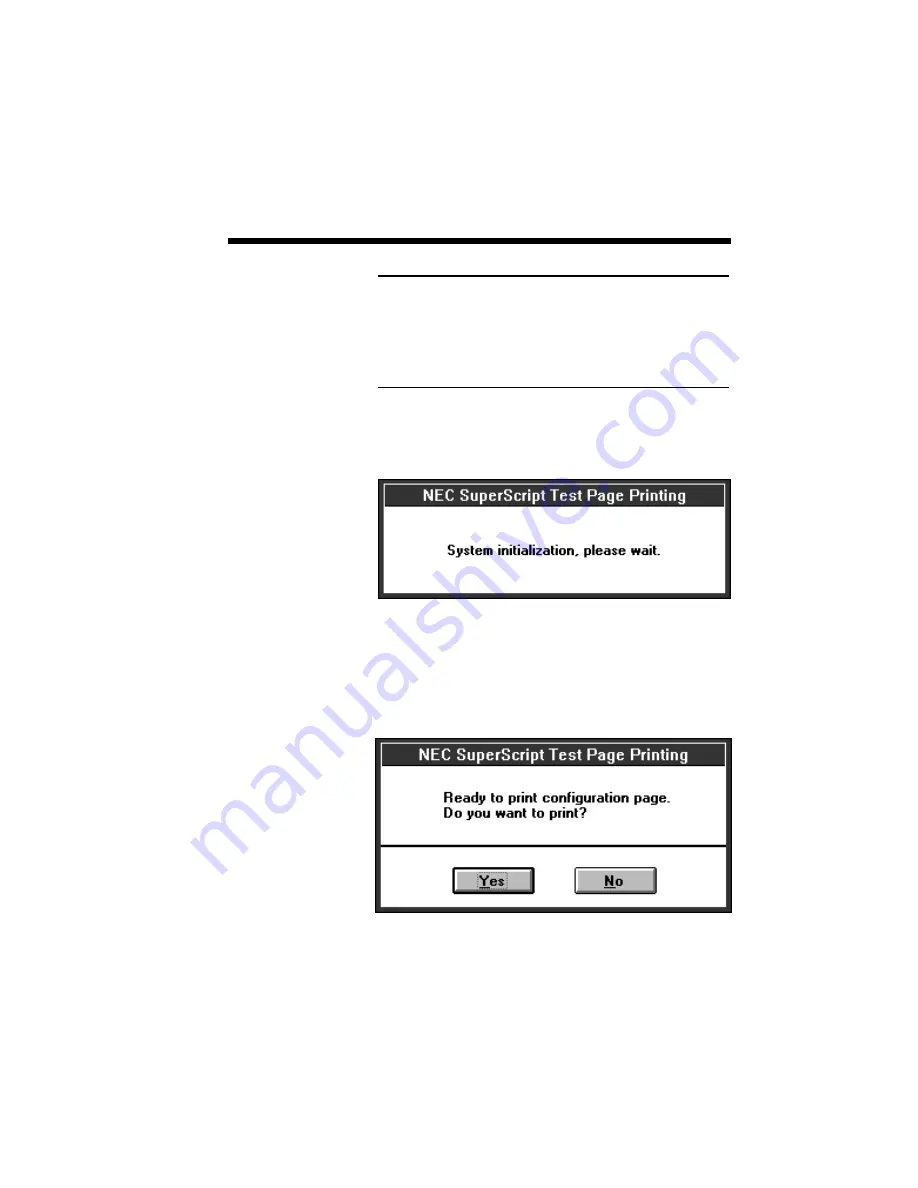
Before printing starts, you will see the following
message as SuperScript sets up the tests.
18.
The Test Utility will now prompt you to print the
configuration page that shows information about
your PC and printer. Save a copy of the most
recent configuration page. You may find it
useful if you ever need to call Customer Support.
Summary of Contents for SuperScript 610plus
Page 1: ...Silentwriter SuperScript 610plus User s Guide ...
Page 8: ...vi Contents ...
Page 10: ...viii ...
Page 11: ...Introduction 1 1 1 1 Introduction ...
Page 20: ...1 10 Introduction ...
Page 21: ...Setting Up 2 1 2 2 Setting Up ...
Page 26: ...2 6 Setting Up ...
Page 60: ...2 40 Setting Up ...
Page 64: ...2 44 Setting Up ...
Page 65: ...Printing with Your SuperScript 610plus 3 1 3 3 Printing with Your SuperScript 610plus ...
Page 95: ...NEC SuperScript Print Manager 4 1 4 4 NEC SuperScript Print Manager ...
Page 104: ...4 10 NEC SuperScript Print Manager ...
Page 105: ...Print Status Window 5 1 5 5 Print Status Window ...
Page 117: ...Selecting Paper and Media 6 1 6 6 Selecting Paper and Media ...
Page 133: ...Using Fonts 7 1 7 7 Using Fonts ...
Page 137: ...Using Fonts 7 5 20 Additional TrueType Fonts ...
Page 138: ...7 6 Using Fonts ...
Page 139: ...Choosing Print Options 8 1 8 8 Choosing Print Options ...
Page 155: ...Maintaining Your Printer 9 1 9 9 Maintaining Your Printer ...
Page 181: ...Troubleshooting 10 1 1 10 0 Troubleshooting ...
Page 190: ...10 10 Troubleshooting ...
Page 220: ...10 40 Troubleshooting ...
Page 221: ...Getting Service and Support 11 1 1 11 1 Getting Service and Support For U S only ...
Page 230: ...11 10 Getting Service and Support ...
Page 250: ...A 20 Character Sets and Code Sequence Commands for HP LaserJet IIP ...
Page 251: ...Optimizing Printer Performance B 1 B B Optimizing Printer Per formance ...
Page 255: ...Specifications C 1 C C Specifications ...
Page 259: ...Interface Cable Specifications D 1 D D Interface Cable Specifications ...
Page 264: ...D 6 Interface Cable Specifications ...
Page 267: ...Installing the Memory Expansion Module F 1 F F Installing the Memory Expansion Module ...
Page 282: ...Glossary 10 ...


