


8-6 Troubleshooting
Hard Disk Drive LED
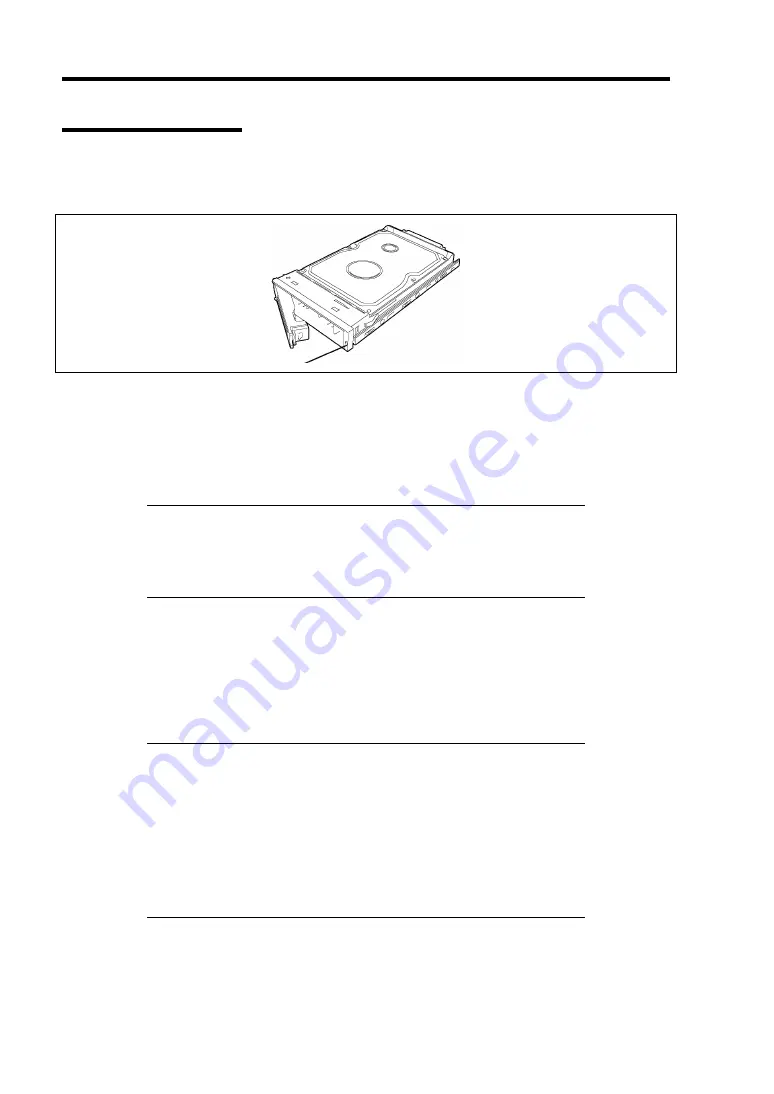
The hard disk drive bay can contain three hard disk drives. Each hot-plug hard disk drive has a
DISK LED on its front panel.
The DISK LED indicates the drive status as follows.
Blinking green
Indicates that the hard disk drive is accessed.
Lighting amber
Indicates that the installed hard disk drive is defected.
NOTE:
While hard disk drives are in the RAID configuration (RAID1),
a single failed hard disk drive does not affect the operation of the server.
However, it is recommended to replace the failed hard disk drive and
auto-rebuild (reconfigure) the hard disk drives as soon as possible. (You
can hot-swap such a failed hard disk drive.)
Alternate blinking amber or green
Indicates that the hard disk drive is being rebuilt (this status is not a failure). If the
defected hard disk drive is replaced with a new one in the RAID configuration, the data is
automatically rebuilt (auto rebuild function).
The LED goes off when the rebuild is terminated normally. The LED goes on amber if the
rebuild fails.
IMPORTANT:
Powering off the server aborts rebuilding. In such a
case, restart the server, hot-swap the failed hard disk drive, and restart
rebuilding. Observe the following notes to use the auto-rebuild feature.
Do not power off the server. (If the server is powered off before
rebuilding hard disk drives, the auto-rebuild feature will not start.)
When you removed a hard disk drive, wait at least 90 seconds
before installing the hard disk drive back again.
Do not replace another hard disk drive while rebuilding is in
progress.
DISK LED
Summary of Contents for N8100-1429F
Page 16: ...x This page is intentionally left blank...
Page 34: ...1 18 Notes on Using Your Server This page is intentionally left blank...
Page 172: ...5 36 Installing the Operating System with Express Setup This page is intentionally left blank...
Page 194: ...6 22 Installing and Using Utilities This page is intentionally left blank...
Page 206: ...7 12 Maintenance This page is intentionally left blank...
Page 284: ...9 36 Upgrading Your Server This page is intentionally left blank...
Page 286: ...A 2 Specifications This page is intentionally left blank...
Page 294: ...C 2 IRQ This page is intentionally left blank...
Page 348: ...F 2 Using a Client Computer Which Has a CD Drive This page is intentionally left blank...
Page 352: ...G 4 Product Configuration Record Table This page is intentionally left blank...


