9-16 Upgrading Your Server
2.5-inch SAS Hard Disk Drive
1.
See the section "Preparing for Installation and Removal" described earlier to prepare.
2.
Unlock the front bezel with the security key, and remove the front bezel.
3.
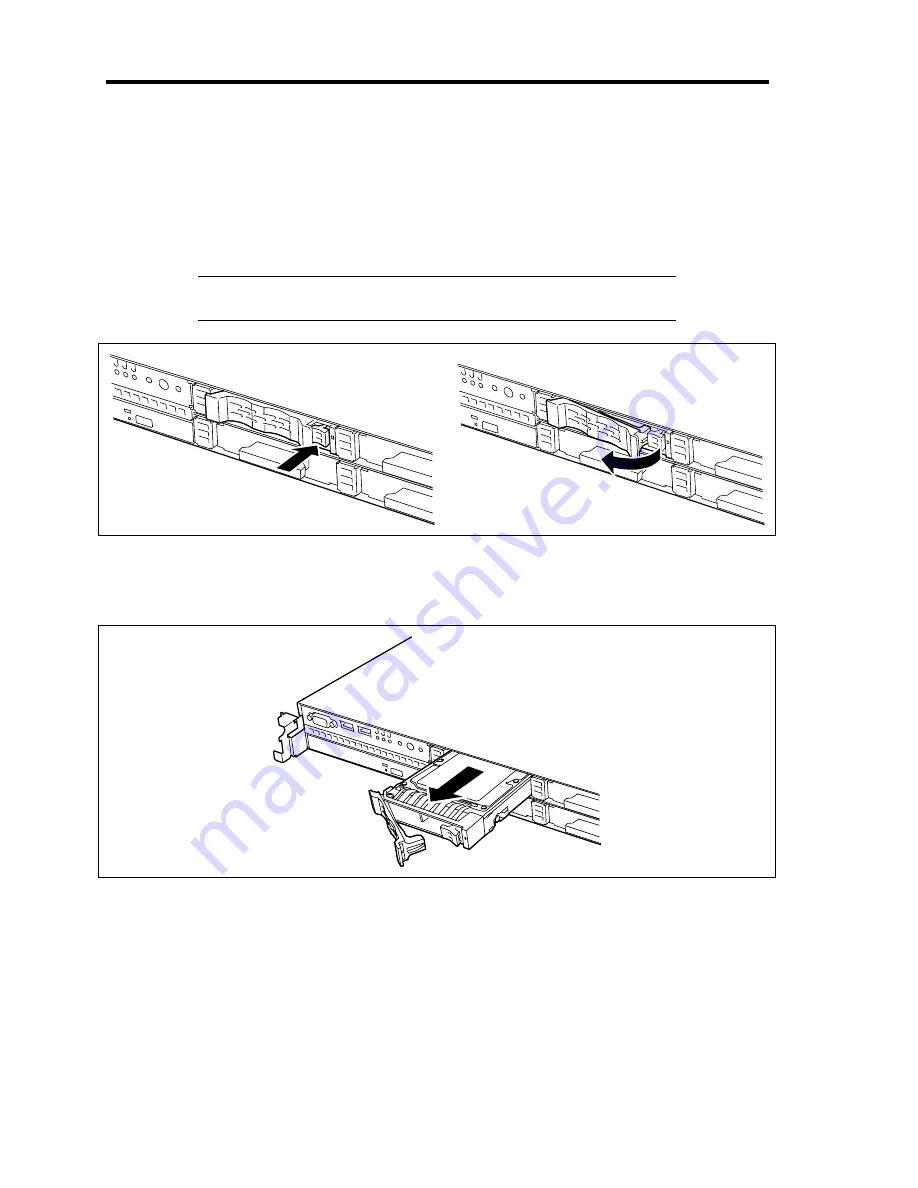
Push the lever to unlock, and open the handle.
IMPORTANT:
Do not press the POWER switch during the
installation or removal of the hard disk drive if your server is running.
4.
Firmly hold the handle and hard disk drive, and pull out the hard disk drive.
5.
If using the server with the hard disk drive removed, install the dummy block in the
vacant slot to ensure the cooling efficiency.
6.
Install the front bezel you removed in step 2.
Summary of Contents for N8100- 1241F
Page 68: ...2 36 General Description This page is intentionally left blank...
Page 194: ...6 26 Installing and Using Utilities This page is intentionally left blank...
Page 206: ...7 12 Maintenance This page is intentionally left blank...
Page 296: ...9 56 Upgrading Your Server This page is intentionally left blank...
Page 308: ...C 2 IRQ This page is intentionally left blank...
Page 354: ...E 24 Installing Windows Server 2003 This page is intentionally left blank...
Page 358: ...F 4 Product Configuration Record Table This page is intentionally left blank...


