MultiScree
∂
Channel
Creating Multiple Screens
It is possible to create many screens at once by choosing a number of different
graphics at once in the Graphic Selector. For example, you may have loaded
many graphics from a digital camera, and wish to add them all to a sequence at
one time.
To create multiple screens, first create one screen as described on
page 27,
Inserting a New Screen.
This screen will be used as the basis for all the new
screens. Select the background colour, transition and other settings that you want
to use for all the new screens, according to the procedure given in the previous
section. Any text, scroller, sound or clock set at this point will be used on all
screens.
Next, open the Graphic Selector as described on
page 34, Adding a Graphic
to a Screen
. Select the category you want the graphics to come from. You may
only add graphics from one category at a time.
Rather than selecting only one graphic, select all the graphics you wish to add.
To select multiple graphics, press and hold down
Ctrl
on the keyboard whilst you
click each graphic you wish to add. All selected graphics should be highlighted
with a red border.
You may also use the
Shift
key to select a contiguous range of graphics. This is
useful if all the graphics you wish to add have similar names, and are therefore
next to each other in the graphic selector. Click the first graphic in the range.
Then, holding down the
Shift
Key, click the last graphic in the range. All
selected graphics should be highlighted with a red border.
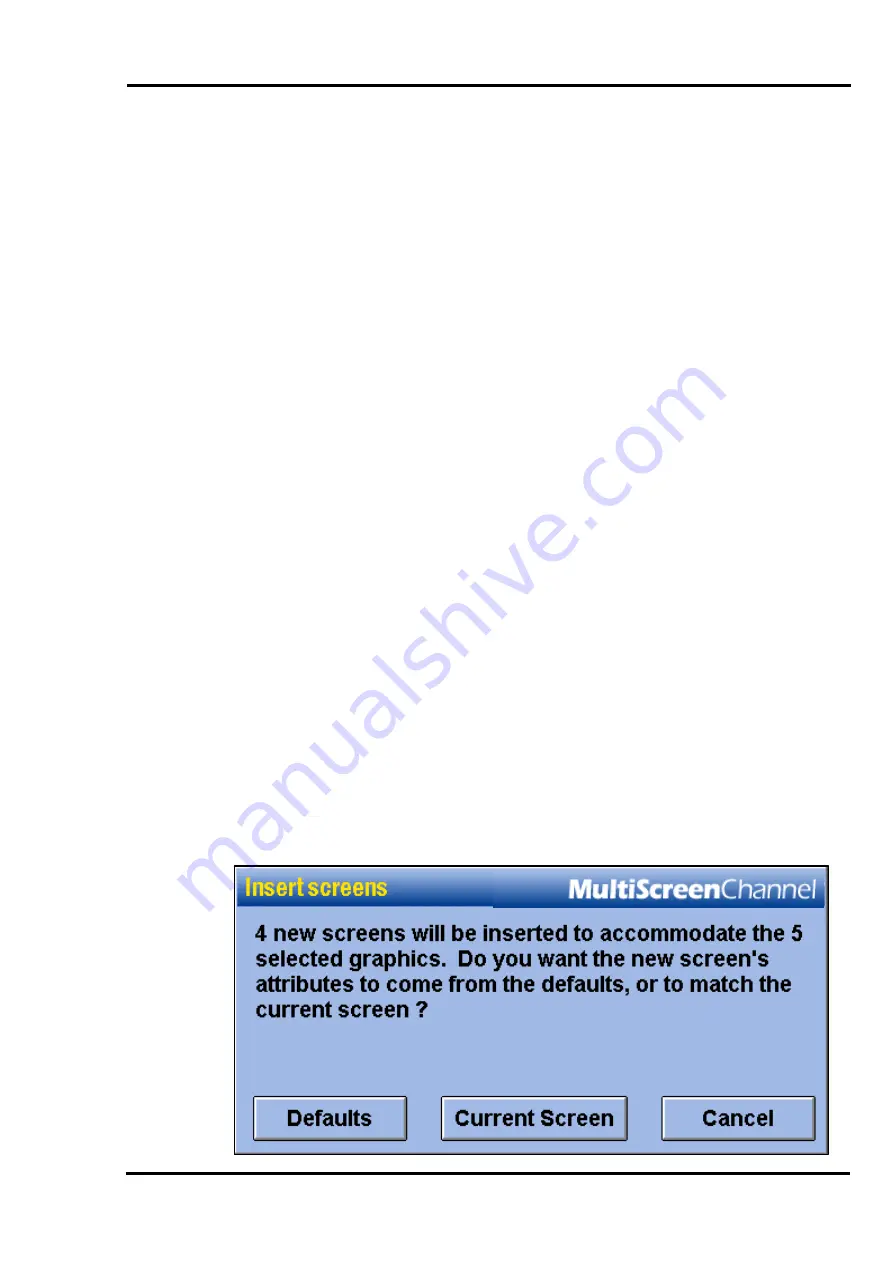
When you have selected all the graphics you wish to use, click
Select
. The
following dialog will be displayed:
59


