EN-47
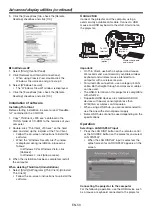
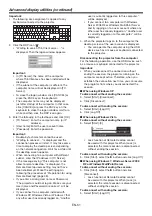
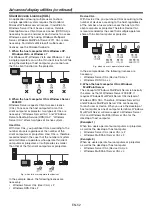
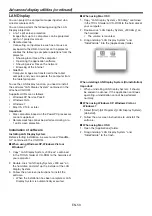
5.
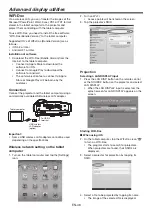
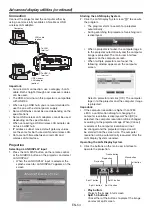
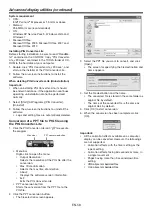
Operate the image by touching the tablet screen.
• Flick the screen to move to the previous or next
page.
• Pinch the screen for zooming in or out.
• Tap the screen to display the status bar and the
thumbnails of the pages. (See below.)
Thumbnails
Status
bar
• Tap [../Documents] to return to the fi le selection
screen.
• Tap [Play] or [Stop] to start or stop the
projection.
• Tap a thumbnail to select the page to be
projected.
When using Android
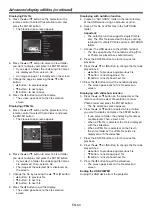
2. On the tablet computer, tap the WiFi-Doc icon “
”
to turn on WiFi-Doc.
• The program starts to search for projectors.
When projectors are found, their SSID’s are
displayed.
3. Select a projector for projection by tapping its
SSID.
4. Select a fi le to be projected by tapping its name.
• The image of the selected fi le is displayed.
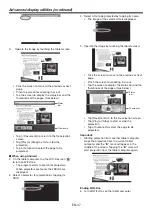
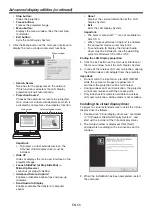
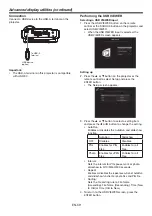
5. Operate the image by touching the tablet screen.
• Flick the screen to move to the previous or next
page.
• Pinch the screen for zooming in or out.
• Tap the screen to display the status bar and the
thumbnails of the pages. (See below.)
Thumbnails
Status
bar
• Tap [Back] to return to the fi le selection screen.
• Tap [Play] or [Stop] to start or stop the
projection.
• Tap a thumbnail to select the page to be
projected.
Important:
• Starting projection from another tablet computer
stops the projection from the current tablet
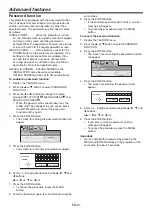
computer and the “
” mark will appear in the
middle of the screen. Tapping the “
” mark will
start projection from the tablet computer again.
Ending WiFi-Doc
6. Turn off WiFi-Doc on the tablet computer.
Advanced display utilities (continued)

