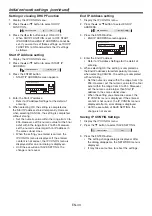
EN-44
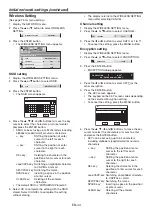
Wireless Setting
(See page 26 for menu setting.)
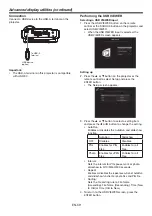
1. Display the NETWORK menu.
2. Press the
or
button to select WIRELESS
SETTING.
WIRELESS SETTING
ENTER
3. Press the ENTER button.
• The WIRELESS SETTING menu appears.
NETWORK
WIRELESS SETTING
opt.
SSID
SAVE SETTINGS
AUTO
OFF
OK
CHANNEL
ENCRYPTION
SSID
CH.
MITSUBISHI Proje...
SSID setting
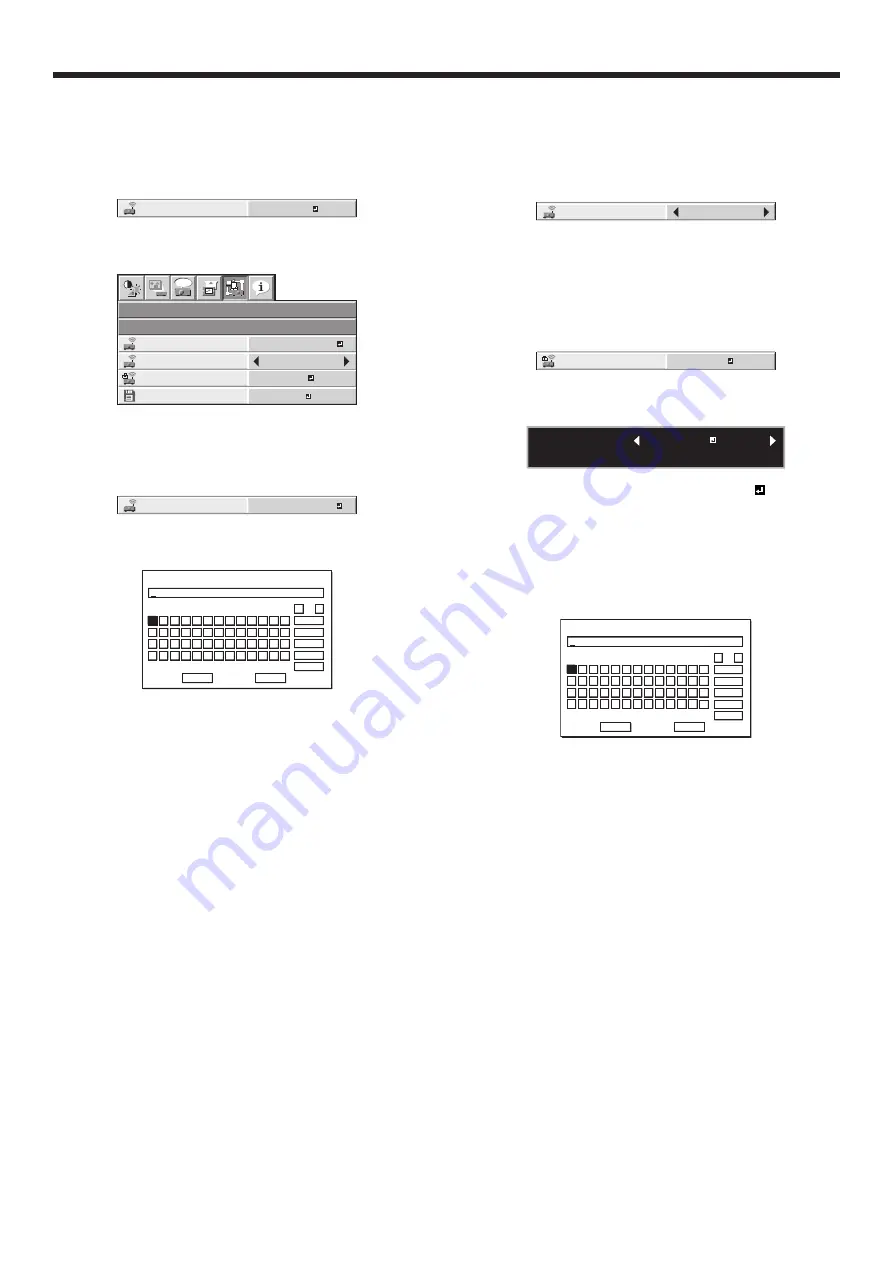
1. Display the WIRELESS SETTING menu.
2. Press the
or
button to select SSID.
SSID
MITSUBISHI Proje...
SSID
3. Press the ENTER button.
• The SSID screen appears.
SSID
1 2 3 4 5 6 7 8 9 0 1 2 3 4 5
5 6 7 8 9 0 1 2 3 4 5
5 6 7 8
OK
CANCEL
B
C
D
E
F
G
H
I
J
K
L
M
N
O
P
Q
R
S
T
U
V
W
X
Y
Z
0
1
2
3
4
5
6
7
8
9
:
A
&
!
”
#
’
(
$
%
)
*
+
,
-
.
/
caps
NEXT
SPACE
CLEAR
DEL
←
→
4. Press the
,
,
, and
buttons to move the key
cursor to select the characters or marks to enter,
and press the ENTER button.
• SSID can be set using up to 32 characters including
alphabets (capital/small) or numeric characters.
key:
Shifting the position of enter
cursor to the left for each
character.
key:
Shifting the position of enter
cursor to the right for each
character.
DEL key:
Deleting the character in the
position of enter cursor for each
character.
caps/CAPS key: Switching an alphabet character
to CAPITAL or small.
NEXT/PREV key: Switching the marks.
SPACE key:
Inserting a space in the position
of enter cursor.
CLEAR key:
Deleting all the entered
characters.
• The default SSID is “MITSUBISHI Projector”.
5. Select OK to complete the setting with the SSID
stored. Select CANCEL to complete the setting
without storing.
Initial network settings (continued)
• The display returns to the WIRELESS SETTING
menu after selecting CANCEL.
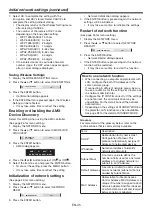
Channel setting
1. Display the WIRELESS SETTING menu.
2. Press the
or
button to select CHANNEL.
AUTO
CHANNEL
CH.
3. Press the
or
button to select AUTO or 1 to 11.
• To cancel the setting, press the MENU button.
Encryption setting
1. Display the WIRELESS SETTING menu.
2. Press the
or
button to select ENCRYPTION.
OFF
ENCRYPTION
3. Press the ENTER button.
• ENCRYPTION dialog appears.
CANCEL : MENU
ENCRYPTION :
OK : ENTER
OFF
4. Press the
or
button to select OFF or the
other encryption.
5. Press the ENTER button.
• The KEY screen appears.
• The keypad on the KEY screen varies depending
on the selected Encryption setting.
• To cancel the setting, press the MENU button.
KEY
1 2 3 4 5 6 7 8 9 0 1 2 3 4 5
5 6 7 8 9 0 1 2 3 4 5
5 6 7 8
OK
CANCEL
B
C
D
E
F
G
H
I
J
K
L
M
N
O
P
Q
R
S
T
U
V
W
X
Y
Z
0
1
2
3
4
5
6
7
8
9
:
A
&
!
”
#
’
(
$
%
)
*
+
,
-
.
/
caps
NEXT
SPACE
CLEAR
DEL
←
→
6. Press the
,
,
, and
buttons to move the key
cursor to select the characters or marks to enter,
and press the ENTER button.
• KEY can be set using up to 64 characters
including alphabets (capital/small) or numeric
characters.
key:
Shifting the position of enter
cursor to the left for each
character.
key:
Shifting the position of enter
cursor to the right for each
character.
DEL key:
Deleting the character in the
position of enter cursor for each
character.
caps/CAPS key: Switching an alphabet character
to CAPITAL or small.
NEXT/PREV key: Switching the marks.
SPACE key:
Inserting a space in the position
of enter cursor.
CLEAR key:
Deleting all the entered
characters.

