Chapter 5
40
The graphical user interface
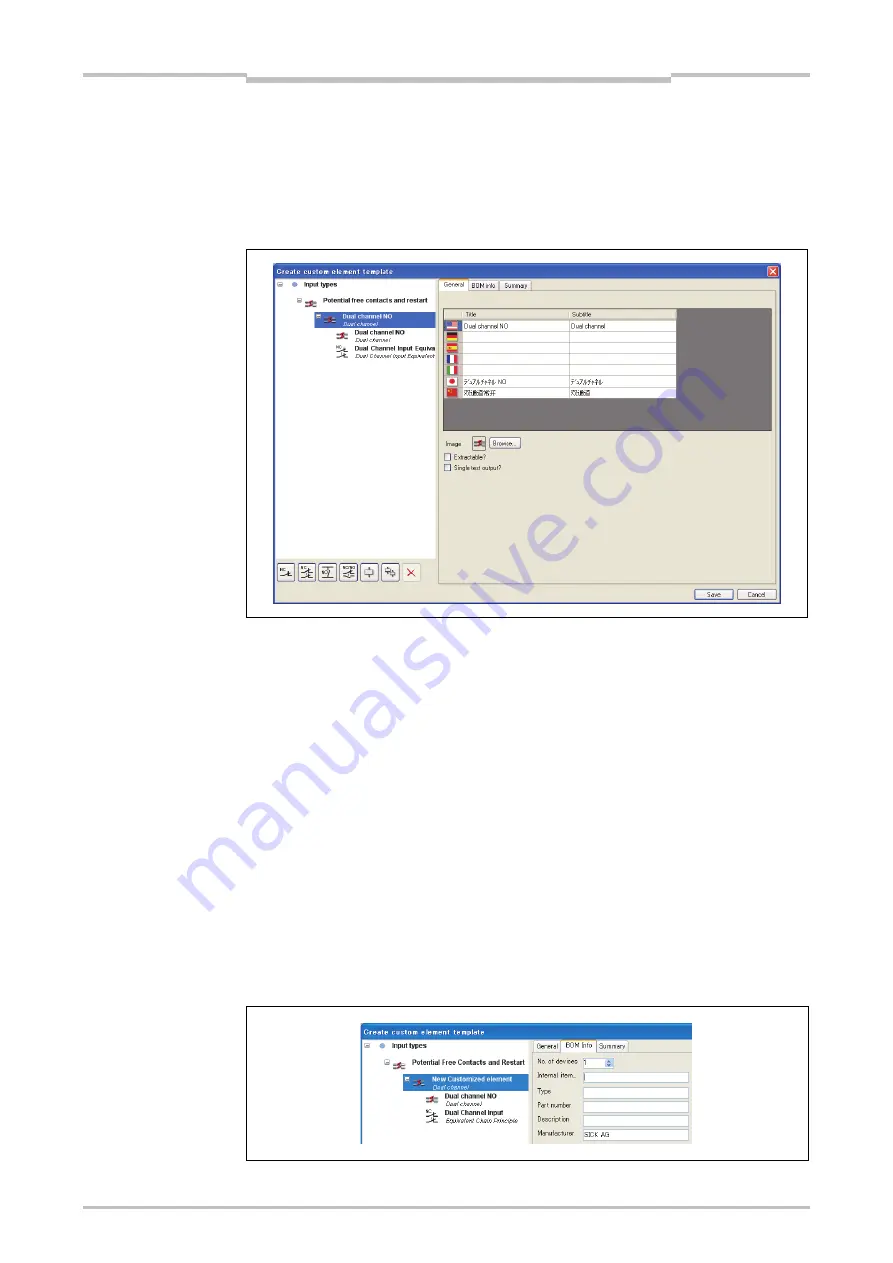
How to configure a customized element:
Select the new customized element in the element tree and use the sub-element
buttons under the element tree to add additional inputs or outputs. You can choose
between single-channel and various dual-channel input and output types. If you add
sub-elements, these will appear in the element tree one level below the customized
element.
Select the new element in the element tree and enter a new name for it in the
General
file card. It is not possible to save an element with a name that is already
used by another element. However, it is not necessary to enter the new element
name in all languages shown. You only have to change the element name in the
language that is currently set in the Setting and Monitoring Tool on your PC.
Use the
Browse...
button at the bottom of the screen to assign a custom image to
any element or sub-element.
If an element contains two or more sub-elements, the
Extractable?
option is
available. Elements based on a template that has been configured with this option
active can be expanded or “split” into their sub-elements which can then be treated
as individual elements (see Section 5.5.5).
If the option
Single test output
is activated, all sub-elements of the element must
be connected to the same test output. Examples for this are the tested user mode
switches which must use either inputs I1/I3/I5/I7 if test output X1 is used or inputs
I2/I4/I6/I8 with test output X2.
Enter the desired BOM (“bill of material”) information in the
BOM info
file card for
the used elements and sub-elements. This information will be used in the Setting
and Monitoring Tool report in the material list.
Figure 15:
Add or delete sub-elements
for a customized element
Figure 16:
Entering the BOM info for a
customized element
Summary of Contents for SW1DNN-WS0ADR-B
Page 2: ......
Page 288: ...Chapter 15 285 Annex ...
Page 289: ...Chapter 15 286 Annex ...
Page 290: ...Chapter 15 287 Annex ...
Page 291: ...Chapter 15 288 Annex ...
Page 292: ...Chapter 15 289 Annex ...
Page 293: ...Chapter 15 290 Annex ...
Page 294: ...Chapter 15 291 Annex ...
Page 295: ...Chapter 15 292 Annex ...
Page 296: ...Chapter 15 293 Annex ...
Page 297: ...Chapter 15 294 Annex ...
Page 298: ...Chapter 15 295 Annex 15 1 2 Example application Wood scanner ...
Page 299: ...Chapter 15 296 Annex ...
Page 300: ...Chapter 15 297 Annex ...
Page 301: ...Chapter 15 298 Annex ...
Page 302: ...Chapter 15 299 Annex ...
Page 303: ...Chapter 15 300 Annex ...
Page 304: ...Chapter 15 301 Annex ...
Page 305: ...Chapter 15 302 Annex ...
Page 306: ...Chapter 15 303 Annex ...
Page 307: ...Chapter 15 304 Annex 15 1 3 Example application Ramp down detection ...
Page 308: ...Chapter 15 305 Annex ...
Page 309: ...Chapter 15 306 Annex ...
Page 310: ...Chapter 15 307 Annex ...
Page 311: ...Chapter 15 308 Annex ...
Page 312: ...Chapter 15 309 Annex ...
Page 313: ...Chapter 15 310 Annex ...
Page 314: ...Chapter 15 311 Annex ...
Page 321: ......


