68
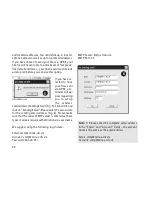
Camera Name
You can give the camera a name that will appear
in the upper right corner of each recorded image or
video.
Note:
Only the following symbols are permitted
in the name of your camera: A-Z, 0-9, /, _ , - , #.
Please do not use blank spaces. “Camera 1” for ex-
ample is not permitted. “Camera_1” is permitted.
GPS
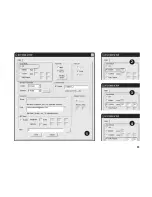
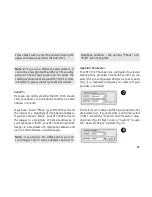
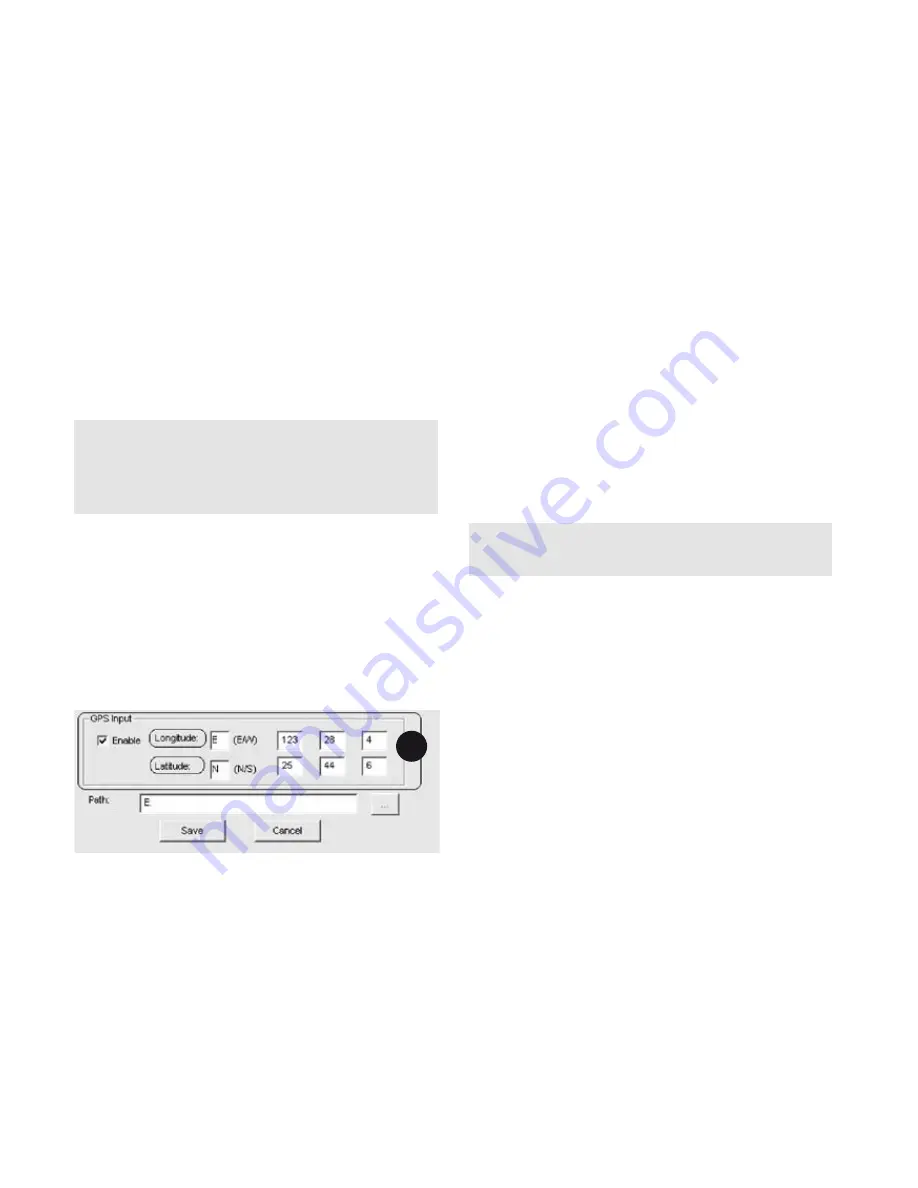
Here you can enter the GPS coordinates of the current
location of your DTC 1000 [Fig. 12]. The coordinates
can be determined by using a hand held GPS device
or mobile device with a GPS function or app. The
coordinates will be included in the meta-data of
each image and video, which can then be read when
evaluating the files using the appropriate software
(not included in the scope of delivery).
Path
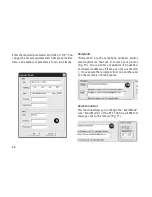
When you have finished entering the desired data,
click on “Save”. A file named “GSM.bin” will be cre-
ated. Save the file directly to the SD card. Click on
the “…” button to define the path to your SD card
and click on “Save”.
Note:
Please make sure the camera is turned off
before inserting or removing the card.
Insert the SD card into the DTC 1000 and push the
main switch (12) to “SET”. You will see “Transfer
Successful” in the display (8) for a few seconds. Your
DTC 1000 has accepted the GSM/GPS settings.
Testing the Mobile Phone Network
1. Push the main switch (12) to “SET”.
2. The DTC 1000 is now in the Manual Release mode.
If a SIM card has been inserted, the camera will be-
gin searching for available mobile phone networks.
If the “Send Mode” has been switched to “Off”,
during the “GSM Setup” procedure, the camera
will not search for a network. If “Instant” or “Cus-
12

