57
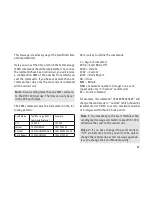
Time Stamp
Here you can activate or deactivate the timestamp
for your photos or videos. Go to the main menu and
select “Camera Setting” and then push OK (11). Us-
ing the UP/DOWN arrow buttons (11), select “Time
Stamp” and then verify with OK (11). Make your
selection using the UP/DOWN arrow buttons (11)
and push OK (11). You will automatically enter the
“Camera Setting” menu. You can make further set-
tings or push the LEFT arrow button (11) to enter the
previous menu.
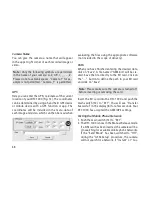
Set Date/Time
Here you can set the date and time that will appear
in the timestamp. Go to the main menu and select
“Camera Setting” and then push OK (11). Using the
UP/DOWN arrow buttons (11), select “Set Date/
Time” and then verify with OK (11). In the sub-menu,
you can make the following three settings:
Date Format
Choose your desired date format and then push OK
(11). You will automatically enter the “Camera Set-
ting” menu. You can make further settings or push
the LEFT arrow button (11) to enter the previous
menu.
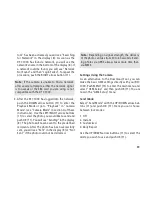
Time Format
Choose your desired time format of 12 or 24 hours
and then push OK (11). You will automatically enter
the “Camera Setting” menu. You can make further
settings or push the LEFT arrow button (11) to enter
the previous menu.
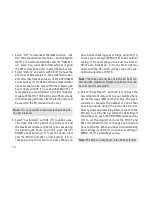
Set Date/Time
In the top row, you can set Day/Month/Year and in
the bottom row the hour/minutes (and AM/PM if
setting for the 12 hour mode).
Push the UP/DOWN arrow buttons (11) to choose
the desired unit and the RIGHT and LEFT arrow but-
tons (11) to change positions from Day to Month etc.
When you have finished making your settings, push
OK (11) to save your setting. You will automatically
enter the “Set Date / Time” menu. You can make
further settings or push the LEFT arrow button (11)
to enter the previous menu.
Note:
It is suggested to enter the exact time and
date as this will automatically adjust the moon
phase calendar, which is displayed in the times-
tamp of your photo or video.

