- 5.7 -
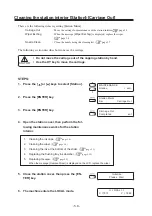
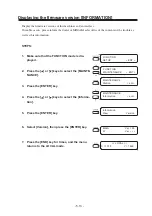
When medium thickness is changed [Print Adjust]
6.
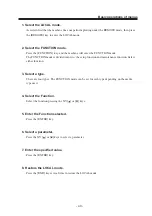
Press the [ENTER] key.
7.
Repeat STEPS 5 and 6 to correct the dot posi-
tions on Patterns 2 to 7.
Select the correct dot positions on each of the patterns.
Enter the dot position correction value on Patterns 1 to 7 and
then terminate dot position correction.
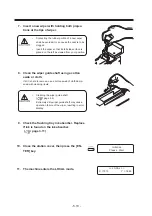
8.
Press the [END] key to complete [Print Adjust].
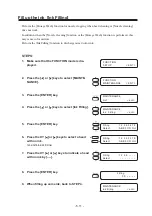
9.
Press the [END] key twice, and the menu
returns to the LOCAL mode.
Print Adjust
Pattern2
= 0.0
MAINTENANCE
Print Adjust
< ent >
<< LOCAL >>
X =1010
Y = 1860
Print Adjust
Pattern3
= 0.0
Print Adjust
Pattern4
= 0.0
Print Adjust
Pattern5
= 0.0
Print Adjust
Pattern6
= 0.0
Print Adjust
Pattern7
= 0.0
Print Adjust
Pattern
: ent
Summary of Contents for DM3-1810S
Page 2: ......
Page 20: ... xvi ...
Page 34: ... 1 14 ...
Page 76: ... 3 20 ...
Page 112: ... 6 10 ...
Page 131: ... A 19 TYPE Refresh Level3 TYPE mm inch mm X Level0 Level3 X inch Function flowchart ...
Page 141: ... A 29 MAIN Ver1 00 I F Ver Function flowchart ...
Page 144: ...D201258 1 10 30032007 ...
Page 145: ......
Page 146: ...PrintedinJapan MIMAKI ENGINEERING Co Ltd FW 5 10 NH ...

