Chapter 3 Cutting Data with Register Marks
95
3
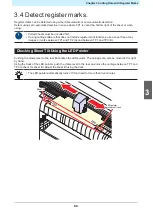
Once the register marks have been detected, set using the scale compensation setting screen.
• The following example shows the procedure for four-point detection.
(1) Set using
if the detected register mark distances differ from the measured values.
(2) Press the [ENTER/HOLD] key to proceed to the next scale compensation setting.
• If [DIST.REVI.] is set to [OFF], the screen for setting scale compensation does not appear.
• If [MARK DETECT] is set to [2ptA], the screen for entering distance B does not appear.
• If [MARK DETECT] is set to [2ptB], the screen for entering distance A does not appear.
• If [MARK DETECT] is set to [1pt], the scale compensation screen does not appear. Proceed to
Step 4, and set the origin.
4
Press the [ENTER/HOLD] key after setting.
• Set the origin.
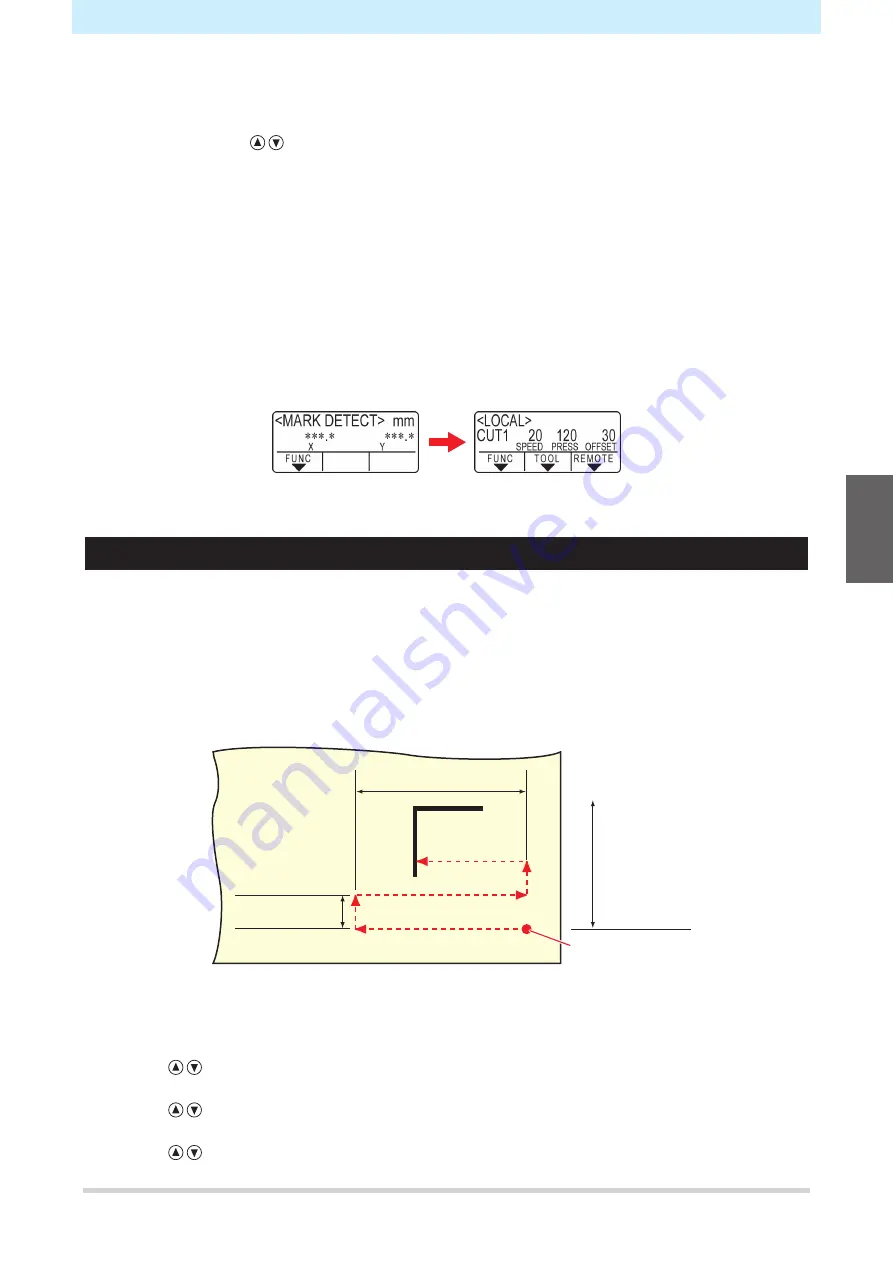
• The available cutting area is displayed before switching to local mode.
Detecting Register Marks Automatically After Sheet Detection
Set the automatic register mark search function after sheet detection.
Register marks will be searched for automatically after sheet detection provided both register mark detection
and registration mark searching are enabled.
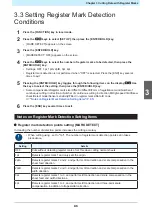
Bidirectional scans are made over the preset scanning width from the origin after sheet detection at a
spacing corresponding to half the register mark size. Register mark detection is then performed when lines,
points, or printed objects are discovered.
Once the vertical and horizontal lines of a register mark have been detected, this is recognized as a register
mark, and the origin is set.
Scanning width
1/2 of register mark
size
Origin position
after sheet
detection
Search range
1
Press the [FUNCTION] key in local mode.
2
Use
to select [SET UP], then press the [ENTER/HOLD] key.
3
Use
to select [SEARCH MARK], then press the [ENTER/HOLD] key.
4
Use
to select [ON], then press the [ENTER/HOLD] key.
3
Summary of Contents for CG-100AR
Page 39: ...Chapter 1 Before Using This Machine 39 2 Shut down the computer connected to the machine 1 ...
Page 76: ...Chapter 2 Cutting 76 ...
Page 98: ...Chapter 3 Cutting Data with Register Marks 98 ...
Page 131: ...Chapter 4 Helpful Tips 131 4 Press the END key several times to exit 4 ...
Page 132: ...Chapter 4 Helpful Tips 132 ...
Page 133: ...Chapter 5 Settings This chapter Describes the individual settings FUNCTION 134 SET UP 135 ...
Page 150: ...Chapter 6 Maintenance 150 ...
Page 158: ...Chapter 7 Options 158 ...
Page 178: ...Chapter 9 Appendix 178 ...
Page 182: ...MEMO ...


