Chapter 1 Before Using This Machine
34
l
Network Connection Precautions
Make sure the network is set up as follows: Cutting will not be possible if the network is not set up correctly.
• Use a Category 5 or higher LAN cable.
• The host computer must be located on the same network as this machine. This product cannot be
connected via a router.
• Use a 100BASE-TX compatible computer or switching hub. Cutting requires 1000BASE-TX support.
l
Checking the LAN connection
1
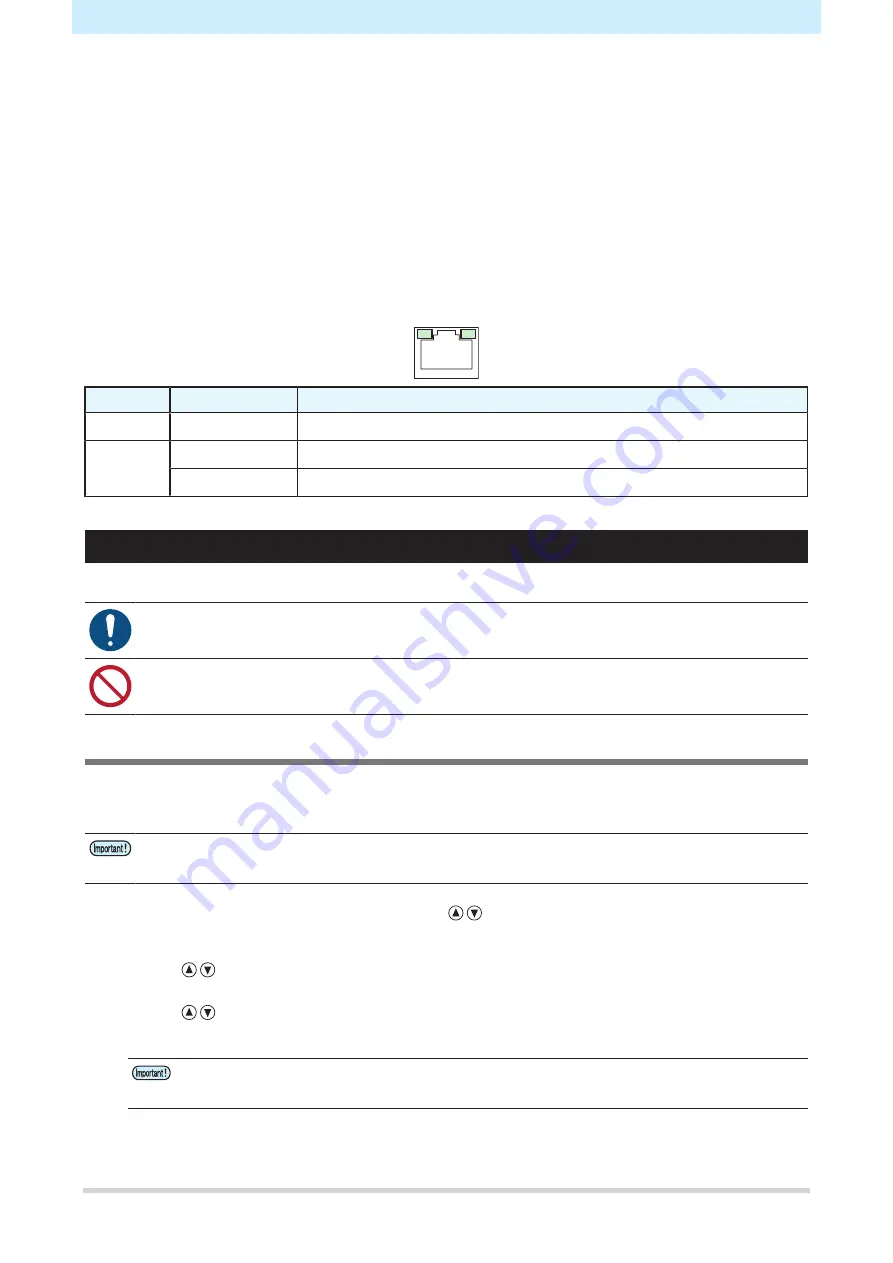
Check the lamp on the LAN connector.
• The LAN connector lamp illuminates when this machine is running.
Color
Status
Outline
Green
Flashing
Data is being sent or received.
Orange
Illuminated
Linked up (connected).
Off
Link down (not connected)
Using an RS-232C Cable
Connect a host computer to this machine using an RS-232C cable.
• Turn off power to both this machine and the host computer before connecting the cable.
• Do not unplug the cable while data is being transferred.
Setting the Computer Connection Conditions
Set the communication conditions for the RS-232C interface.
The communication condition settings differ according to the command (AUTO, MGL-
Ⅰ
c1, MGL-
Ⅱ
c) set using
command switching.
• If the step size has been altered, be sure to raise the pinch rollers using the clamp lever and
reload the sheet.
1
Press the [FUNCTION] in local mode, press
to select [SET UP], then press the [ENTER/
HOLD] key.
2
Press
to select [INTERFACE], then press the [ENTER/HOLD] key.
3
Press
to select [BAUD RATE], then press the [ENTER/HOLD] key.
• Settings: 1200, 2400, 4800, 9600, 19200, 38400 (bps)
• The recommended setting is 38400.
• Set the host computer transfer speed to suit the CG-AR.
Summary of Contents for CG-100AR
Page 39: ...Chapter 1 Before Using This Machine 39 2 Shut down the computer connected to the machine 1 ...
Page 76: ...Chapter 2 Cutting 76 ...
Page 98: ...Chapter 3 Cutting Data with Register Marks 98 ...
Page 131: ...Chapter 4 Helpful Tips 131 4 Press the END key several times to exit 4 ...
Page 132: ...Chapter 4 Helpful Tips 132 ...
Page 133: ...Chapter 5 Settings This chapter Describes the individual settings FUNCTION 134 SET UP 135 ...
Page 150: ...Chapter 6 Maintenance 150 ...
Page 158: ...Chapter 7 Options 158 ...
Page 178: ...Chapter 9 Appendix 178 ...
Page 182: ...MEMO ...


