8
D. Auto Exposure Correction
This feature allows you to perform the exposure correction automatically for the current scan job.
E. Exposure Correction
This feature allows you to manually set the exposure correction
value for the current scan job. By dragging the slider or entering a
value in its edit box, you can change the exposure correction value
from Under (2.0) to Over (4) in 0.1-step increments.
F. Color Temperature
This features shows the default color temperature for the selected
film type. By dragging the slider, you can change the color
temperature from Warmer (4000) to Cooler (8500) at 100K per step.
Once the slider is in place and following an interval of a few
seconds, changes in the Color Temperature are immediately
reflected in the Preview window.
G. Color Cast Picker
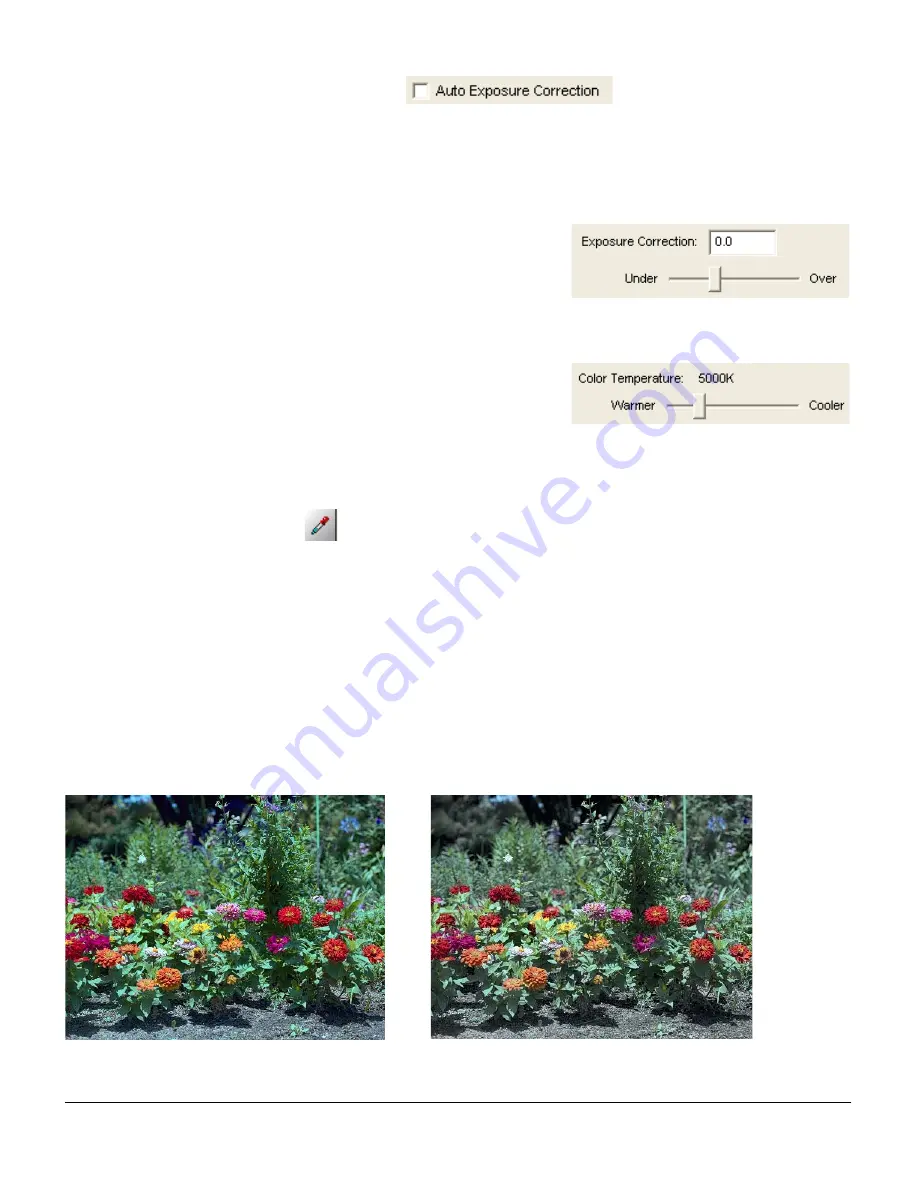
The Color Cast Picker is used to eliminate color casts in the neutral area of an image without altering the
lightness and saturation of the image.
1.
Click the Color Cast Picker in the Negative Scan Settings window.
2.
Move the cursor to the preview image in the Preview window; the cursor becomes a Color Picker tool.
3.
Pick the color cast in the preview image to be removed.
Once a color is selected, the “Auto Color Cast” check box in the Negative Scan Settings window is
unchecked automatically. By default, the Color Cast Picker is not selected, but clicking on the Picker will
enable the picker. Only a selected or enabled Picker can pick up a color value.
Before
After


