


MaxPac Dual/Triple-Screen 8230 XRA2/3-Series User Operation and Maintenance Guide
35
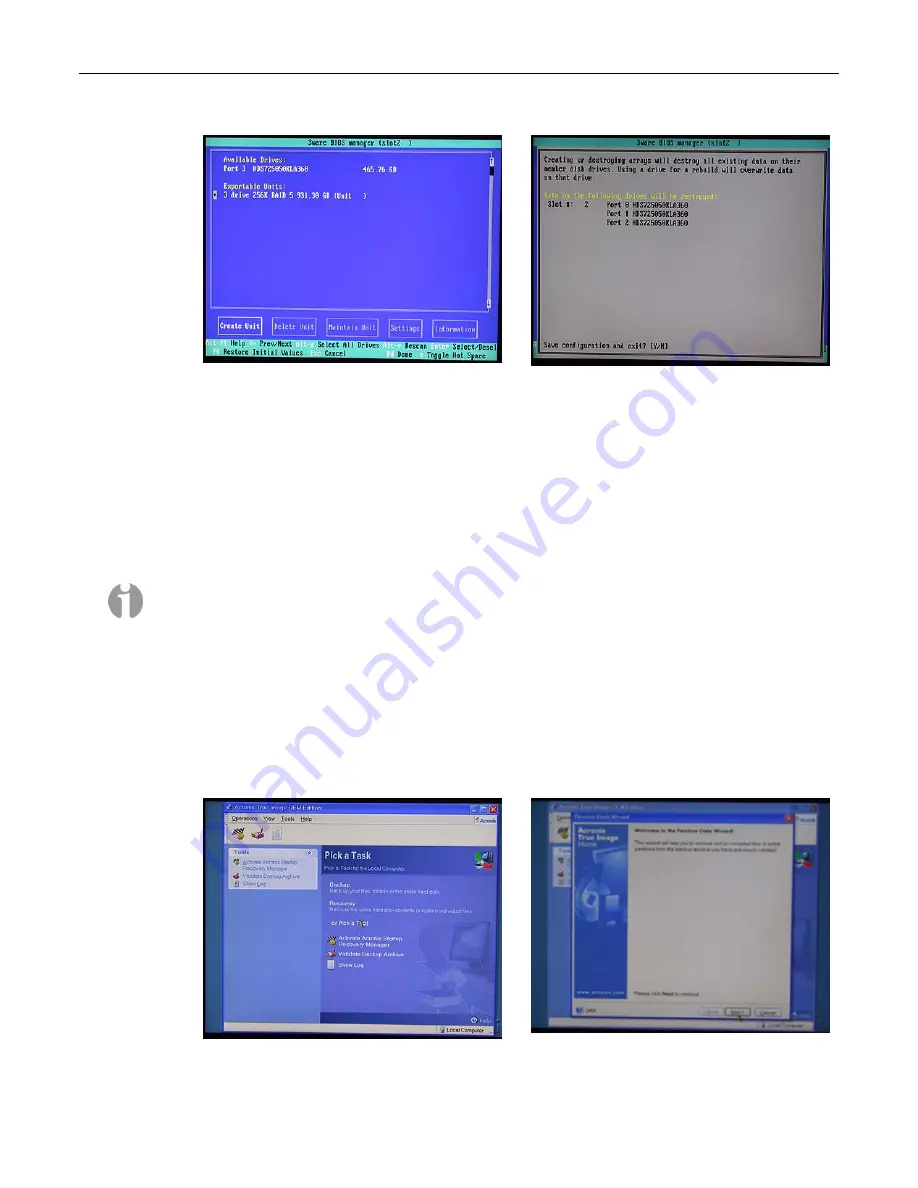
Figure 2-55
Figure 2-56
18) Press the <F8> key to request that your array be committed and to exit the 3ware BIOS
setup utility.
19) You will be presented with a warning screen as shown in Figure 2-56. Before you do anything
else, ensure that the bootable recovery DVD supplied in the accessory pack is in the system's
CD/DVD drive. In the case of a multiple DVD image, ensure Disk #1 is in the drive. Then press
the
Y
(yes) key in order to establish your array, exit the 3ware BIOS setup utility, and
automatically reboot the machine.
Note:
If you are using an image CD/DVD you've created yourself as discussed in
Appendix A
,
and if that CD/DVD (or the first CD/DVD in a set) has the Acronis
Bootable Rescue Media
software on it, then simply insert this disk in the drive and proceed to point 20 below.
Alternatively, if your CD/DVD does not have the Acronis
Bootable Rescue Media
software on it,
then first insert the bootable recovery DVD supplied by MaxVision in the drive and reboot as
discussed in point 20 below. However, before proceeding to point 21, remove the bootable
recovery DVD supplied by MaxVision from the drive and replace it with the first disk from your
own image.
20) The system will automatically reboot itself from the recovery disk in the DVD drive. Following
the Acronis splash, you will be presented with the
Pick a Task
page in the Acronis True Image
application (Figure 2-57).
Figure 2-57
Figure 2-58
Summary of Contents for 8230 XRA2 series
Page 6: ......


