2-6
MAX 3000 Installation and Basic Configuration Guide
Setting Up and Testing the MAX Hardware
Inserting expansion cards
2
When the system tray is pushed securely into the cover, use the Phillips screwdriver to
tighten the screws that hold the system tray to the cover.
Connecting the MAX to a terminal
Use the console (null-modem) cable provided in your package to connect your VT100
terminal, or workstation with VT100 terminal-emulation software, to the Control port, which
is labeled on the back of the unit.
If you ordered MAX expansion cards separately, continue with the next section. If all of your
expansion cards are preinstalled, skip to “Connecting to the LAN” on page 2-8.
Inserting expansion cards
!
Caution:
When installing any expansion card, be sure to follow proper procedures (such as
using a grounding mat and a wrist strap) to prevent buildup of static electricity.
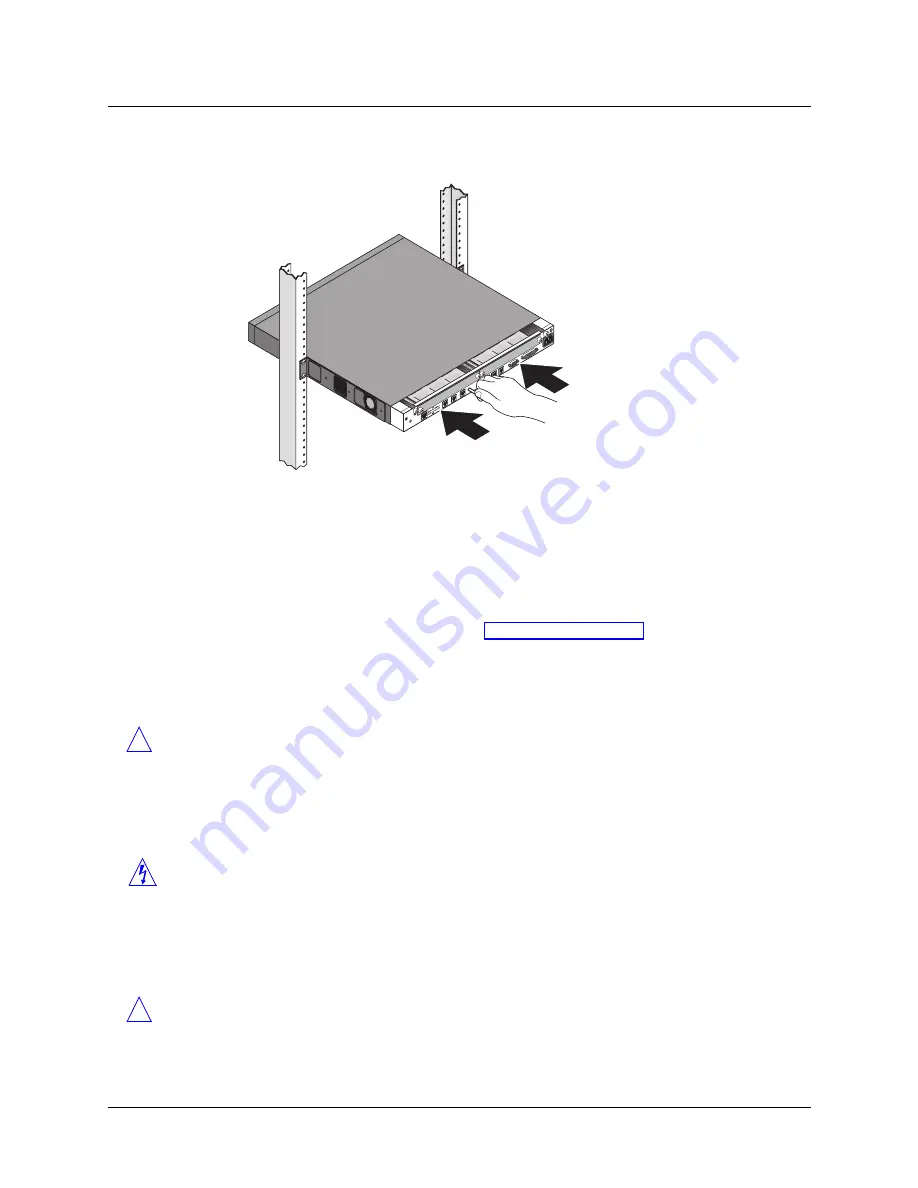
If your MAX package includes expansion cards that are not already installed in your MAX,
insert the cards now. Perform the following steps:
1
Make sure the MAX power is off and the power cord is unplugged.
Warning:
Failure to turn off the MAX power and unplug the power cord could result in
bodily injury.
2
Hold the expansion card with the panel end facing you and its label facing down. Insert the
card’s connector end into a back panel slot. Do not handle the expansion cards from both
ends.
!
Caution:
You must insert any expansion card with its label facing down. You can
damage a MAX unit by incorrectly installing an expansion card.


