60
AUTOMATIC
When this unit is first turned on, the automatic feature is enabled. This is
indicated by the word “AUTO” at the top of the screen. The automatic
feature adjusts the sensitivity and range so the bottom signal is displayed
in the lower half of the screen at all times.
To turn automatic off, first press the MENU key,
then select “SONAR SETUP”. Now select “SO-
NAR AUTO MODE”. Press the left arrow key to
switch to the manual mode. Press the EXIT key
to return to the sonar screen. To turn Automatic
on, repeat the above steps to get the auto menu,
then press the right arrow key.
SONAR OPTIONS
Sensitivity
The sensitivity controls the ability of the unit to pick up echoes. A low
sensitivity level excludes much of the bottom information, fish signals,
and other target information. High sensitivity levels enables you to see
this detail, but it can also clutter the screen with many undesired signals.
Typically, the best sensitivity level shows a good solid bottom signal with
Grayline and some surface clutter.
The sensitivity is adjusted to keep a solid bottom signal displayed, plus a
little more when the unit is in the automatic mode. This gives it the capa-
bility to show fish and other detail.
However, situations occur where it becomes necessary to increase or
decrease the sensitivity. This typically happens when you wish to see
more detail, so an increase in sensitivity is indicated. The procedure to
adjust it is the same whether the unit is in the automatic or manual mode.
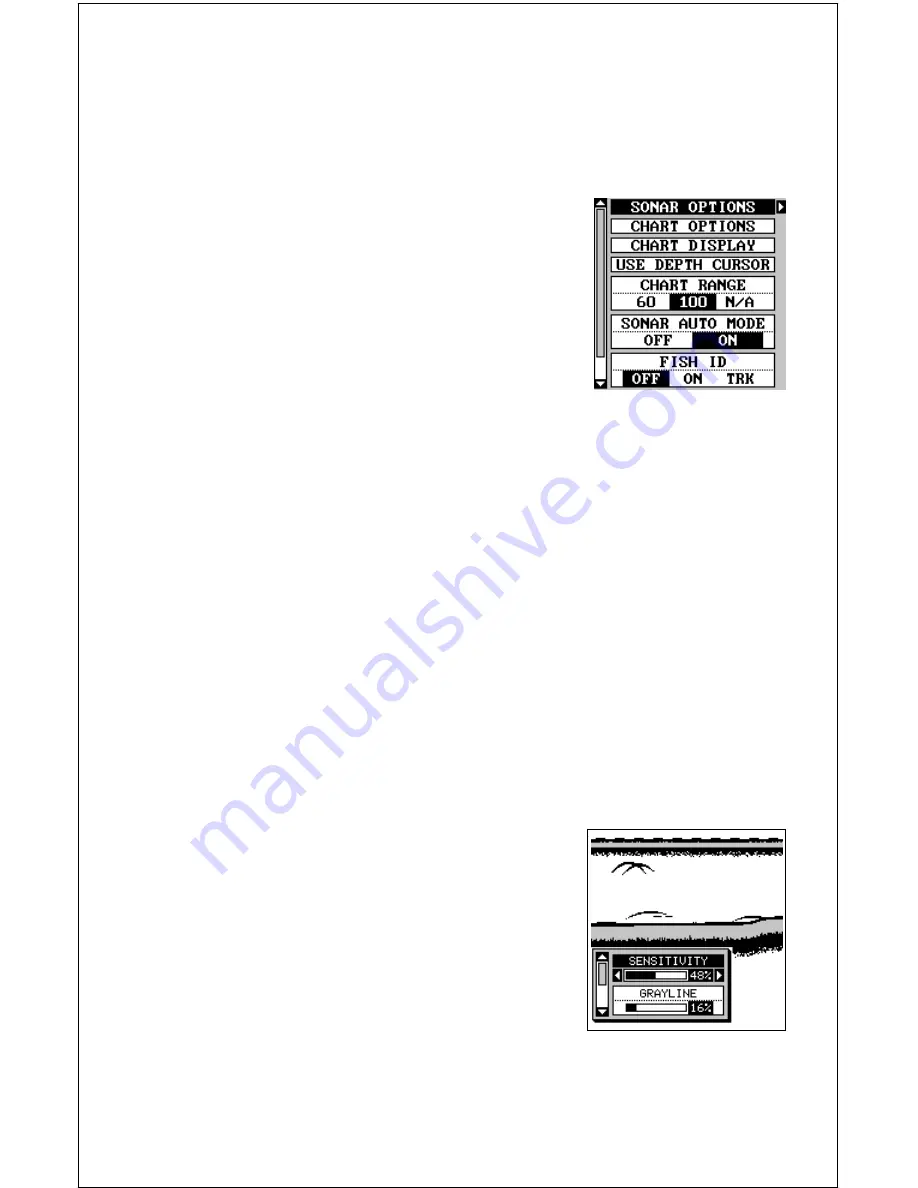
To adjust the sensitivity, press the MENU key,
then select “SONAR OPTIONS”. The screen at
right appears. There are four options on this
menu, with two showing. They are: sensitivity,
grayline, surface clarity, and ASP. Use the up or
down arrow keys to switch between options. The
sensitivity menu has left and right arrows, plus a
horizontal bar graph. The graph gives a visual
indication of the sensitivity level. The number to
the right of the bar graph shows the percentage of sensitivity in use.
To increase the sensitivity level, press the right arrow key. As you press
Summary of Contents for GlobalMap 1600
Page 1: ...INSTALLATION AND OPERATION INSTRUCTIONS LMS 160 and GlobalMap 1600 TM...
Page 6: ...Notes...
Page 90: ...84 Notes...


