26
plot trail in a specific memory location, choose “SAVE TRAIL” from the
“TRAIL OPTIONS” menu. A new screen appears. Highlight the desired
number that you wish to save the current trail under, (i.e. “Trail 1 or Trail 2)
and press the right arrow key. Your current trail is saved. Press the EXIT
key to erase this menu.
Update Options
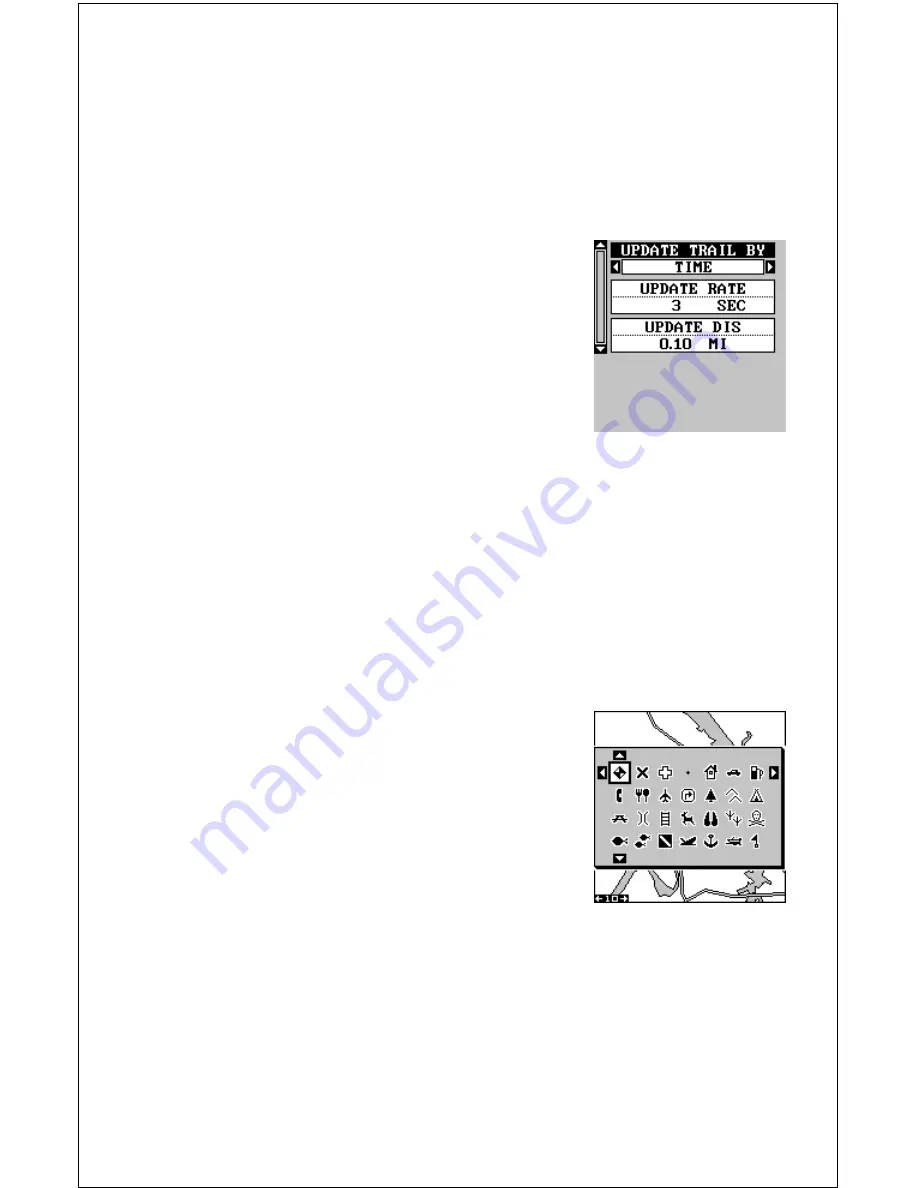
By default, the plotter places a dot on the screen
every 3 seconds to create the plot trail. You can
change this time from once per second to once
every thirty minutes. The plot trail can also be
updated by distance instead of by time. The dis-
tance update rate can be set from 0.01 to once
every 10 miles.
From the trail options menu, choose “UPDATE
OPTIONS”. Select “UPDATE TRAIL BY” to change the update from time
to distance. To change the rate or distance, simply select either the “UP-
DATE RATE” or ‘UPDATE DIS” menus as appropriate, use the left or right
arrow keys to adjust it, then press the EXIT key to erase the menu.
ICONS
The plotter has 28 symbols or “icons” available that can be placed any-
where on the screen. They can be used to mark fishing or hunting loca-
tions, landmarks, boat ramps, and virtually any point of interest. An icon
can be placed at your present position or at the cursor’s location.
To place an icon at your present position, simply
press the ENT key while the mapping screen is
on. The screen shown at right appears. Use the
arrow keys to highlight the desired icon. Now
press the ENT key again. The mapping screen
reappears with the icon showing at the position
you were at when the ENT key was pressed. On
the screens shown at the top of the next page,
the shipwreck icon was placed.
To place an icon at the cursor’s position, first use the arrow keys to move
the cursor to the location that you wish to place the icon. Next, press the
ENT key. Now select the icon using the arrow keys. While it’s selected,
press the ENT key. The map reappears with the icon placed at the cursor
crosshairs. Press the EXIT key to erase the cursor.
Summary of Contents for GlobalMap 1600
Page 1: ...INSTALLATION AND OPERATION INSTRUCTIONS LMS 160 and GlobalMap 1600 TM...
Page 6: ...Notes...
Page 90: ...84 Notes...


