80
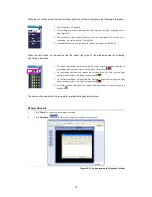
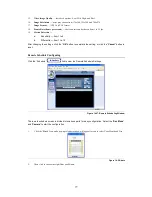
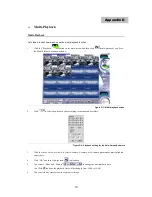
Figure 14-34b: Normal User Change Password Window
Remote System Setup
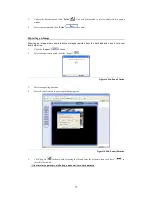
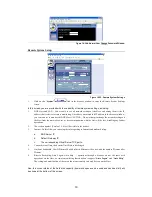
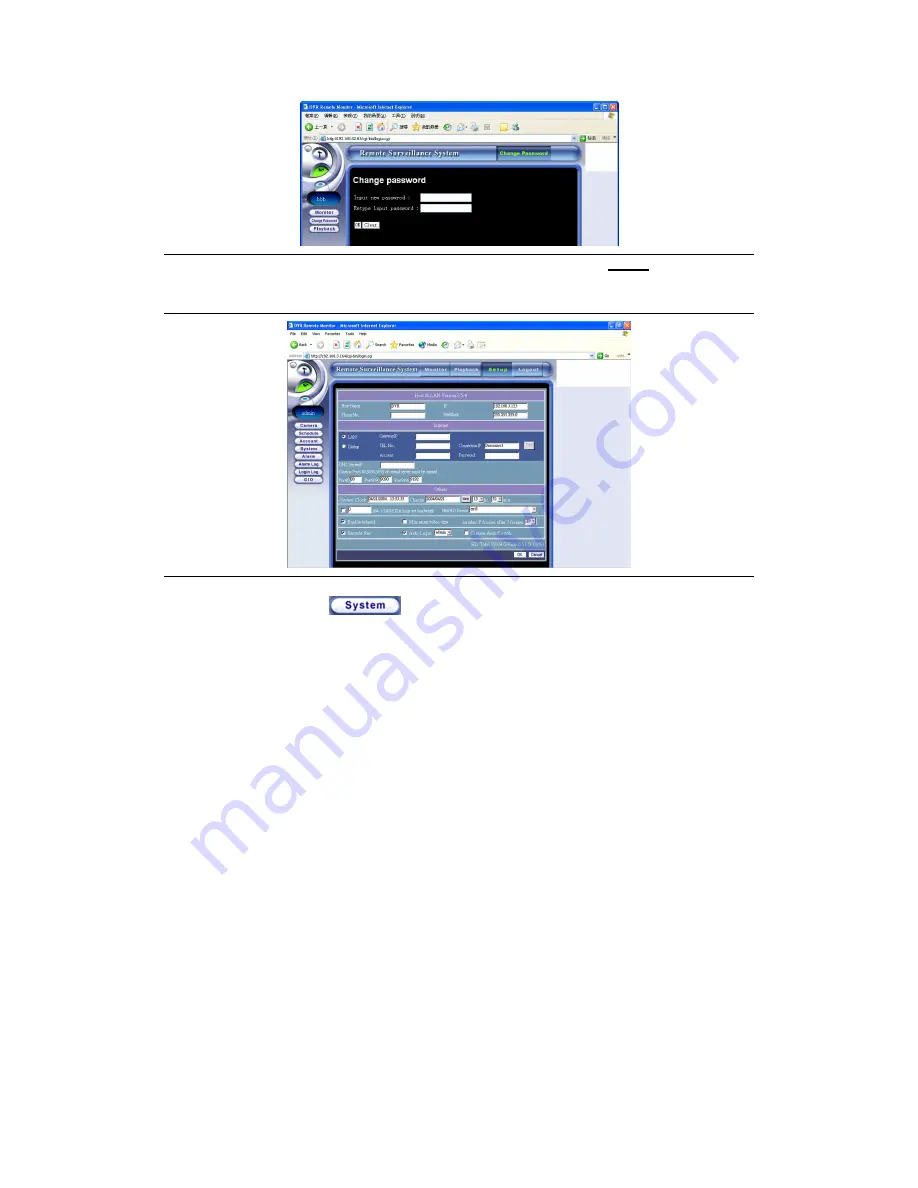
Figure 14-35: Remote System Settings
1.
Click on the “
System
”
link in the browser window to enter the Remote System Settings
screen.
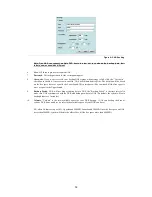
In this screen, you are provided with the capability of remote system settings, including:
1.
DVR Host and LAN - You are able to see all network settings of the Host, and among them is the IP
address that’s relative to remote monitoring. Once have you entered this IP address in the browser window,
you can connect to monitor the DVR Host. CAUTION: Do not attempt to change the network settings on
the Host from the remote browser, or else communication with the Host will be lost, disabling any further
operations.
2.
The version number (Version 3.5.4) will be visible in the header.
3.
Internet - In this field, you can setup the info regarding to Internet and modem dial-up:
a.
DNS Server IP
b.
Default Gateway IP
c.
The corresponding Virtual Server TCP ports.
4.
Current System Time, the System Time/Date to be changed.
5.
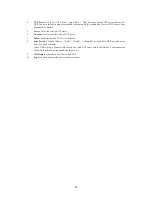
Limit out bandwidth, New HD format, Enable telnetd, Minimize video size, and the number P frames after
I frames.
6.
Recycle Recording, Auto Logon, Auto Skip — operations through a browser are not the same with
operations on the Host, so remote monitoring functions don’t support “
Auto Logon
” and “
Auto Skip
”.
The setting and modification of these two functions remotely can only be seen on the Host.
Also, the current status of the hard disk capacity (how much space can be used and has been left) will
be shown at the bottom of the screen.


