96
Motion Detection
This chapter explains how to set up motion detection using an example. Motion detection
should work along with Scheduling Recording function.
I.
Configuring the Cameras
1.
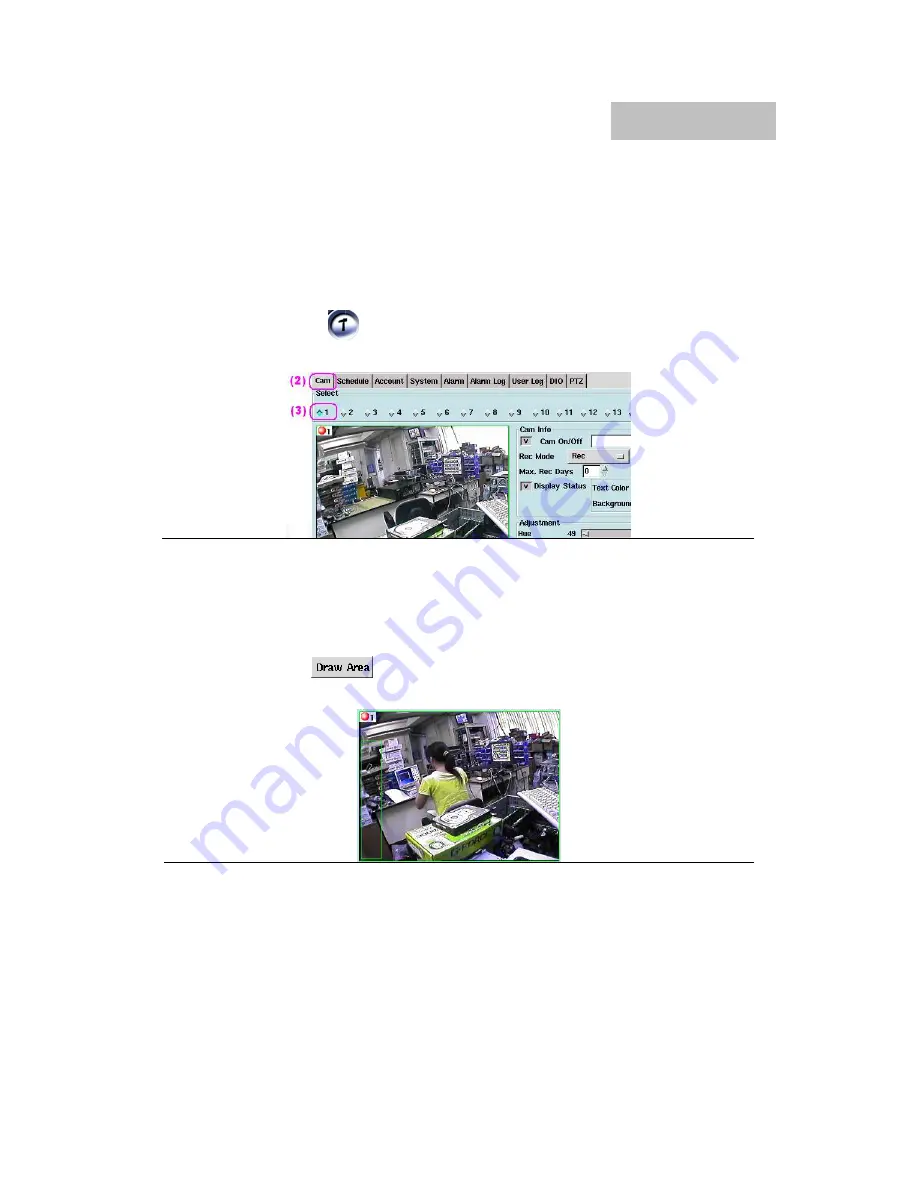
Click the ”Setup”
icon
on the main screen to enter the camera settings screen.
2.
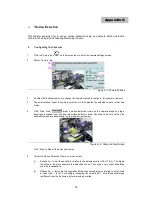
Select ”Camera” tab.
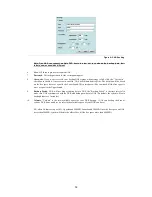
Figure G-1: Camera Settings
3.
Double click the diamond icon to choose the camera wanted to configure, for example, camera 1.
4.
The small window under the camera selection will then display the selected camera in real-time
mode.
5.
Click “Draw Area”
, draw a motion detection frame on the camera image by drag a
frame-sized window over the desired motion detection area. Continue to do this until all the
needed frames have been drawn (up to six detection frames).
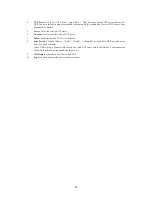
Figure G-2: Camera View Screen
Click “Stop” to hide all the detection frames.
6.
Under the Motion Detection Frame, user can select:
a)
Sensitivity – To set the sensitivity relative to the detected motion (from 1 to 5). The higher
the value is, the more sensitive the detection will be. Thus even a very slight stimulation
could be responded to.
b)
Differentia – A factor that distinguishes differences among images relating to entity, state
or class (from 1 to 10). For example, assuming the value to be 1, once the second image
is different from the first one, an alarm would be started.
Appendix G


