31
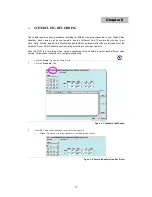
Cam Auto Switch
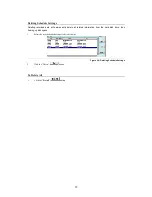
The third option under “
Others
” makes it possible to view different cameras automatically. When the
DVR is in Single View Mode, Quad View Mode or 9-Camera Mode, it can automatically show different
cameras at six-second intervals.
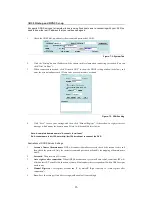
1.
Click the “
System
” Tab.
2.
Under “
Others
” click the checkbox next to “
Cam Auto Switch
”.
3.
Select the interval of Auto Switch
4.
Click “Apply”
, then “OK”
to activate the operation.
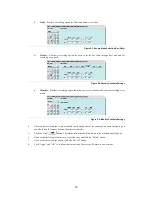
Minimize Video Size
Minimizing the video size allows the DVR System to save more hard disk space, but the system
performance will likely be somewhat degraded due to additional processing requirements associated
with the video compression algorithms.
1.
Click the “
System
” tab.
2.
Under the “
Others
” item click “
Minimize Video Size
”.
3.
Click “
Apply
”
, then “
OK
”
to activate the setting.
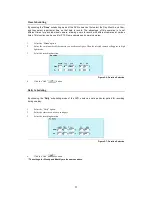
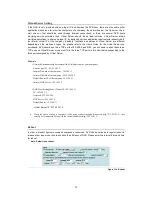
Number P Frames after I Frame
The “
Number P Frames after I Frame
” setting refers to the manner in which MPEG-4 compression will
be implemented by the DVR system. An “
I
” frame is the initial full frame of video information for any
given scene, while a “P” frame consists only of the incremental changes necessary to form the next
frame, rather than an entire new frame. The greater the number of P frames after each I frame, the
more space will be saved on the hard disk, but the more computation will be needed to uncompress the
video for playback. To use this setting:
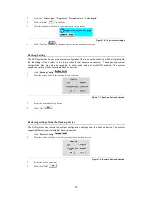
1.
Click the “
System
” tab.
2.
Under the “
Others
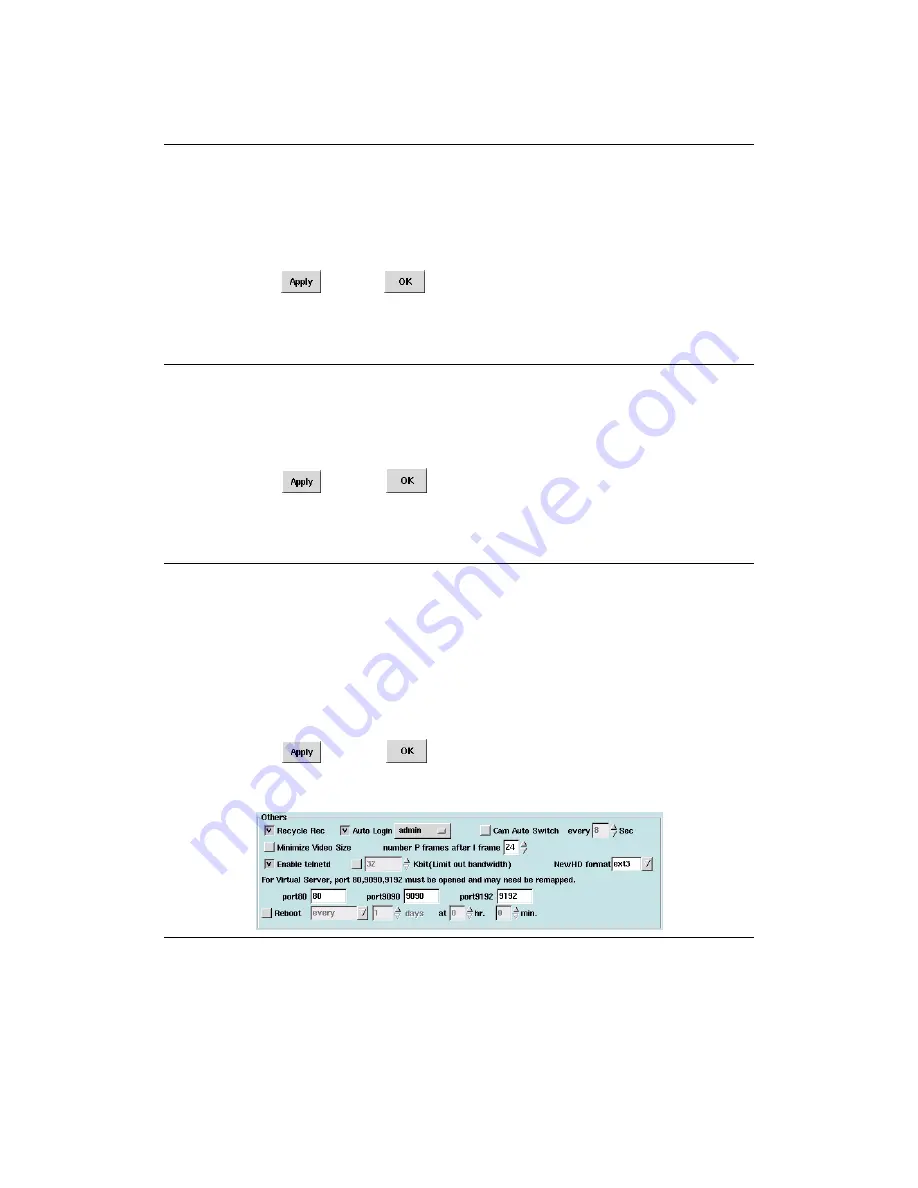
” item, adjust the “
Number P Frames after I Frame
” setting (29 is the default setting)
3.
Click “
Apply
”
, then “
OK
”
to apply the change.
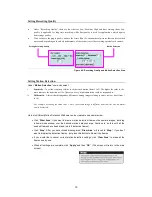
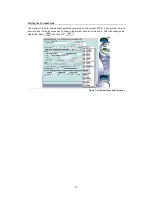
Figure 7-12: Number P Frames after I Frame Settings
Use of the “
Number P Frames after I Frame
” function will influence
1.
the quality of the video
2.
space used on the hard disk
3.
the speed of data transmission


