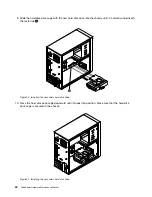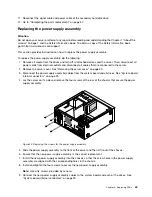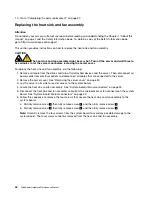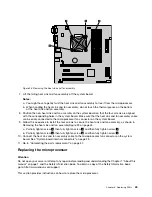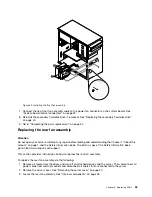
4. Disconnect the rear fan assembly cable from the system fan connector on the system board. See
“System-board internal connectors” on page 25.
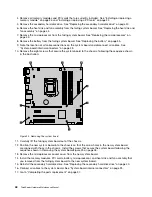
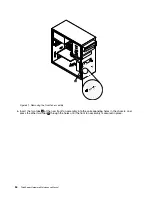
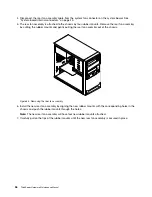
5. The rear fan assembly is attached to the chassis by four rubber mounts. Remove the rear fan assembly
by cutting the rubber mounts and gently pulling the rear fan assembly out of the chassis.
Figure 33. Removing the rear fan assembly
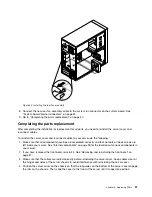
6. Install the new rear fan assembly by aligning the new rubber mounts with the corresponding holes in the
chassis and push the rubber mounts through the holes.
Note:
The new rear fan assembly will have four new rubber mounts attached.
7. Carefully pull on the tips of the rubber mounts until the new rear fan assembly is secured in place.
56
ThinkServerHardware Maintenance Manual
Summary of Contents for ThinkServer TS200v 1008
Page 1: ...ThinkServer Hardware Maintenance Manual ThinkServer TS200v Types 0981 0992 1008 and 1010 ...
Page 2: ......
Page 3: ...ThinkServer Hardware Maintenance Manual ThinkServer TS200v Types 0981 0992 1008 and 1010 ...
Page 12: ...6 ThinkServerHardware Maintenance Manual ...
Page 16: ...10 ThinkServerHardware Maintenance Manual ...
Page 28: ...22 ThinkServerHardware Maintenance Manual ...
Page 82: ...76 ThinkServerHardware Maintenance Manual ...
Page 92: ...86 ThinkServerHardware Maintenance Manual ...
Page 102: ...96 ThinkServerHardware Maintenance Manual ...
Page 105: ......
Page 106: ...Part Number Printed in USA 1P P N ...

