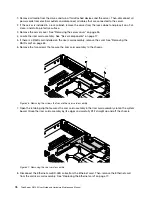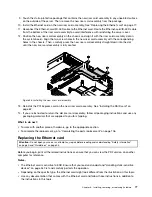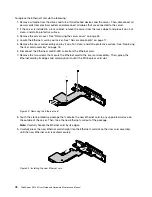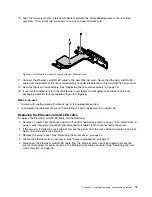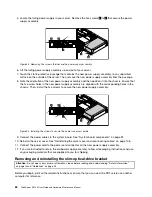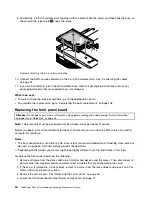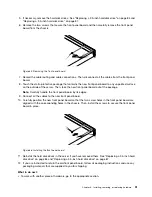
7. Remove the four screws that secure the 3.5-inch hard disk drive to the bracket and then lift the drive up
to remove it from the bracket.
Figure 62. Removing the 3.5-inch hard disk drive from the bracket
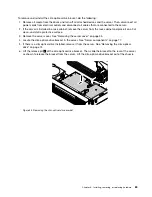
8. Position the new 3.5-inch hard disk drive into the bracket and then install the four screws to secure the
new 3.5-inch hard disk drive.
Figure 63. Installing the 3.5-inch hard disk drive to the bracket
Chapter 6
.
Installing, removing, or replacing hardware
89
Summary of Contents for ThinkServer RS140
Page 16: ...4 ThinkServer RS140 User Guide and Hardware Maintenance Manual ...
Page 18: ...6 ThinkServer RS140 User Guide and Hardware Maintenance Manual ...
Page 48: ...36 ThinkServer RS140 User Guide and Hardware Maintenance Manual ...
Page 122: ...110 ThinkServer RS140 User Guide and Hardware Maintenance Manual ...
Page 128: ...116 ThinkServer RS140 User Guide and Hardware Maintenance Manual ...
Page 132: ...120 ThinkServer RS140 User Guide and Hardware Maintenance Manual ...
Page 145: ......
Page 146: ......


